

SIGN IN
When adding any action from Power2CM to a flow for the first time, you will be asked to sign in using your M365 Credentials.

SAMPLE FLOWS
We have provided two sample flows to archive information from Power Automate to Content Manager. These sample flows will help you get set up with the FYB Power2CM Connector and can be used as a basis to design other flows:
- Email to CM Flow - This flow will archive sent/received emails to CM
- OneDrive to CM Flow - This flow will archive documents from the user's OneDrive
Before using these sample flows ensure you have completed all steps from the Power2CM Installation Guide.
Before importing the samples, you need to create a Power2CM Connection on Power Automate.
CREATING A POWER2CM CONNECTION
-
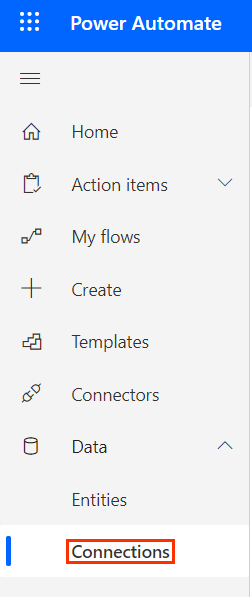
Once you have logged into Power Automate, click on Connections option within the left menu under Data
-
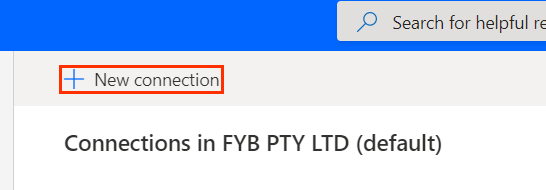
Click on the New connection button
-
Type Power2CM into the search bar and click on the Power2CM Connector (name may vary depending on the name given for the connector in the Power2CM Installation Guide)

-
Sign In with your desired M365 account
-
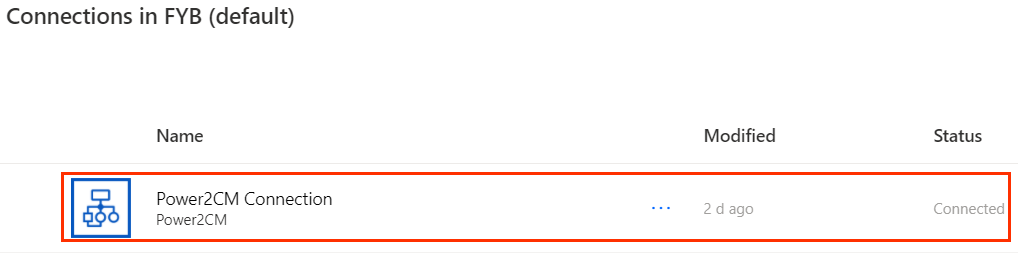
Your connection will now appear in the list of Power Automate connections. The status should state Connected
IMPORTING THE EMAIL TO CM FLOW
This flow will archive emails sent/received in the specified user's Outlook to Content Manager.
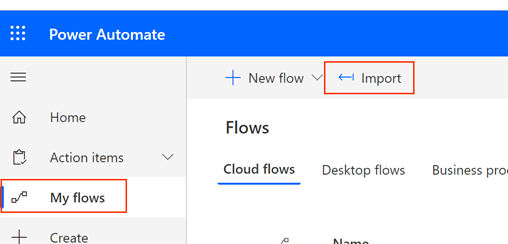
- Click on My flows
- Click on the Import button
- Click Upload

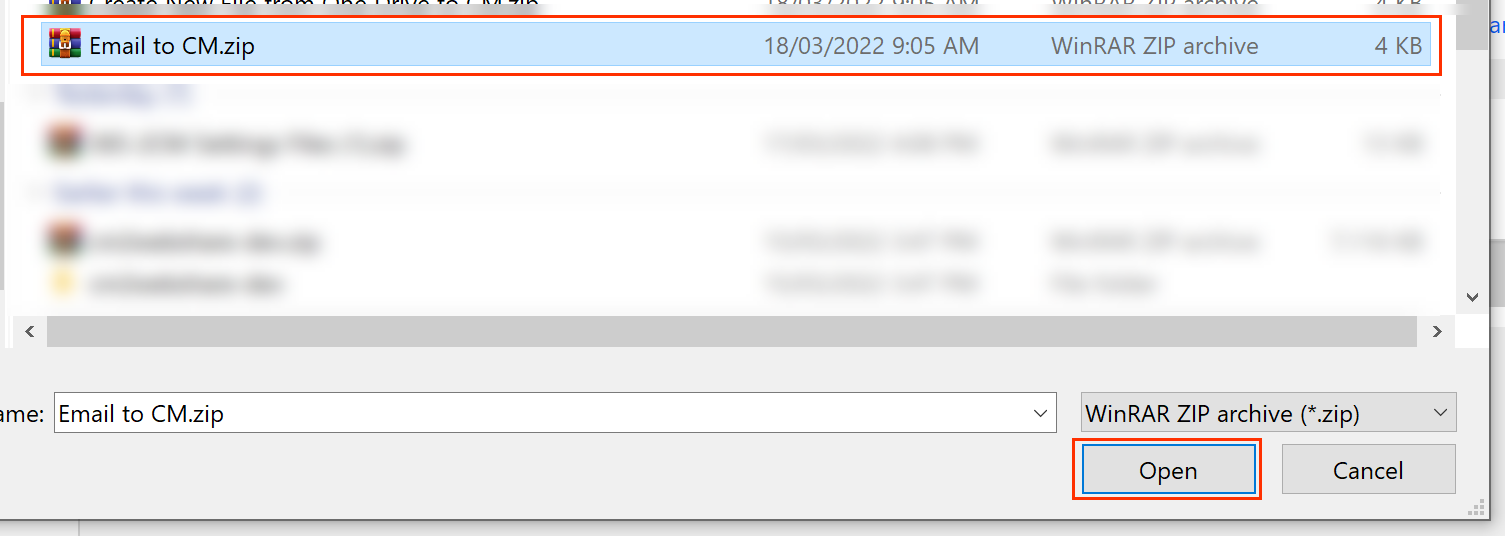
- Locate the Email to CM.zip file that was provided with your power2cm-files.zip and click the Open button
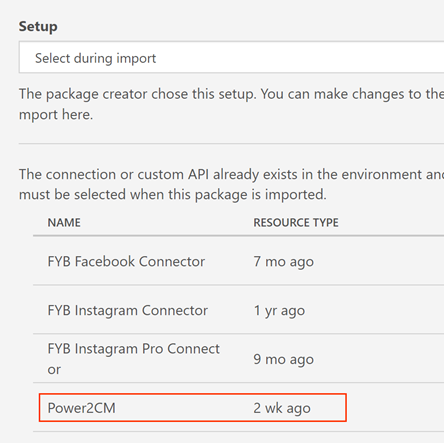
- Click Select during Import for the Power2CM Connector

- Select the Power2CM Connector
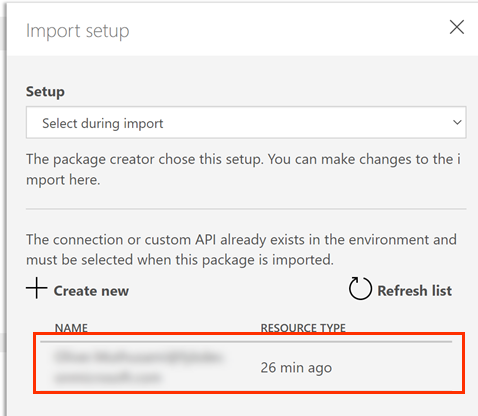
- Click Select during import for the Office 365 Outlook resource

- Select the required connection (this defaults to the account of the user completing the upload)
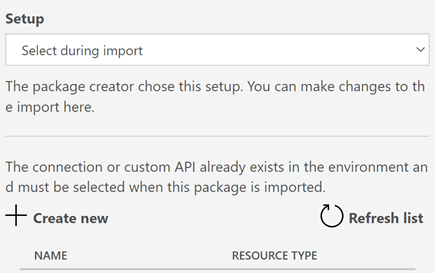
- Click Select During Import for the Power2CM Connection

- Select the Power2CM connection
- Click on the Import button

UPDATING FIELD VALUES
-
After the flow has successfully imported, click Open Flow

-
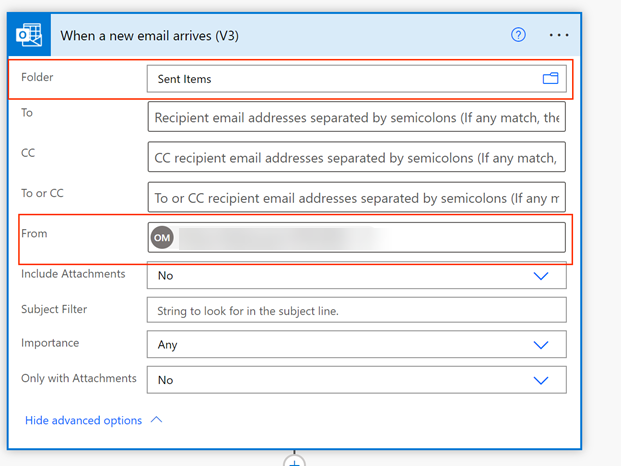
Click on the When a new email arrives action and update the fields as required. At a minimum, you need to input a user for the TO field. Any emails sent to this user will be captured. The other fields can be adjusted as required

-
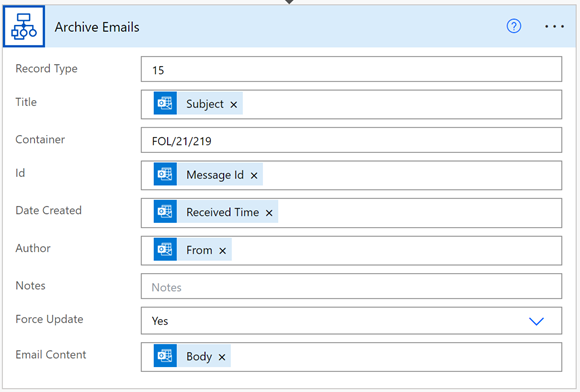
Click on the Archive Emails action and update the fields as required. At a minimum, the Record Type and Container fields need to be filled in. The Record Type field requires the URI of the record type you wish to capture emails with and the Container field requires a valid container record number

For full information on all the fields please refer to the POWER2CM ACTIONS > ARCHIVE EMAILS section of this guide.
-
Click the Save button

-
The flow will run automatically whenever the specified user receives an email
To archive emails sent by the specified user instead of received the below adjustments can be made.
- Change the Folder field to Sent items and copy the user from the To field into the From field.
IMPORTING THE ONEDRIVE TO CM FLOW
This flow will archive documents from the user's OneDrive to Content Manager.
-
Click on My flows
-
Click on the Import button
-
Click on the Upload button
-
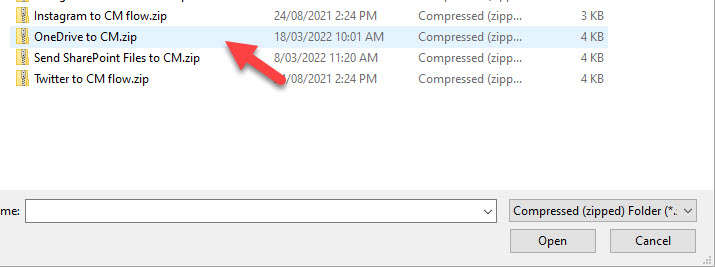
Locate the OneDrive to CM.zip file that was provided with your power2cm-files.zip and click on the OK button
-
Click Select during Import for the Power2CM Connector resource
-
Select the Power2CM Connector
-
Click Select during import for the OneDrive for Business Connection resource
-
Select the required connection (this defaults to the account of the user completing the upload)
-
Click on the Select During Import option for the Power2CM Connection
-
Select the Power2CM connection created earlier in the guide
-
Click on the Import button
UPDATING FIELD VALUES
-
After the flow has successfully imported, click on the Open Flow option
-
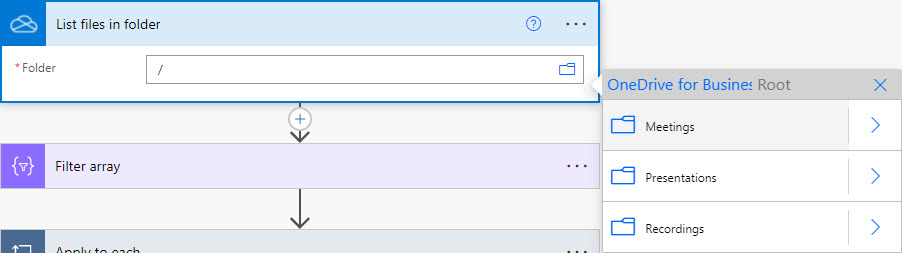
Click on the List files in folder action and update the Folder field as required. Choose the desired OneDrive folder you wish to capture files from
-
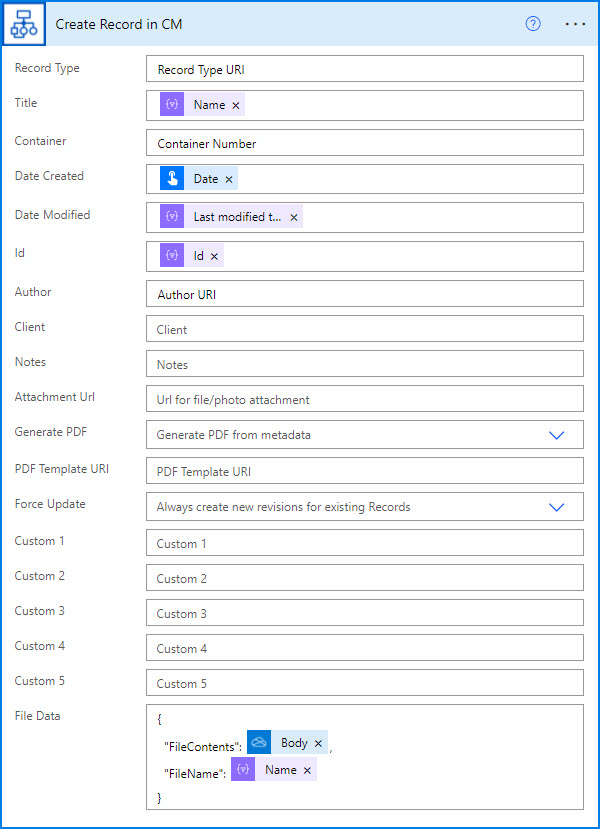
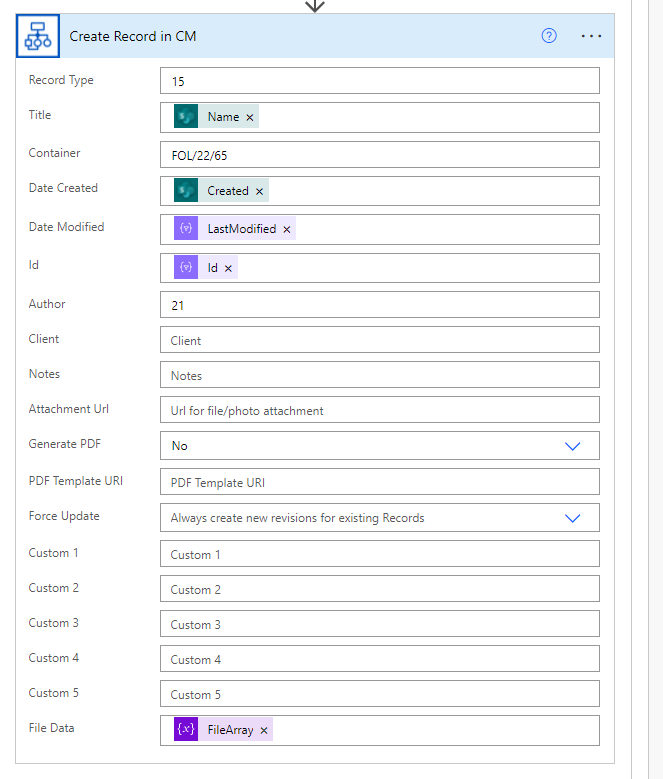
Click on the Apply to each action and then the Create Record in CM action. At a minimum, you must fill in the Record Type, Container and Author fields.
For full information on all the fields please refer to the POWER2CM ACTIONS > CREATE RECORD IN CM section of this guide.
- Click on the Save button
POWER2CM ACTIONS
The following Power Automate actions are provided with the Power2CM connector.
GET RECORDS ACTION
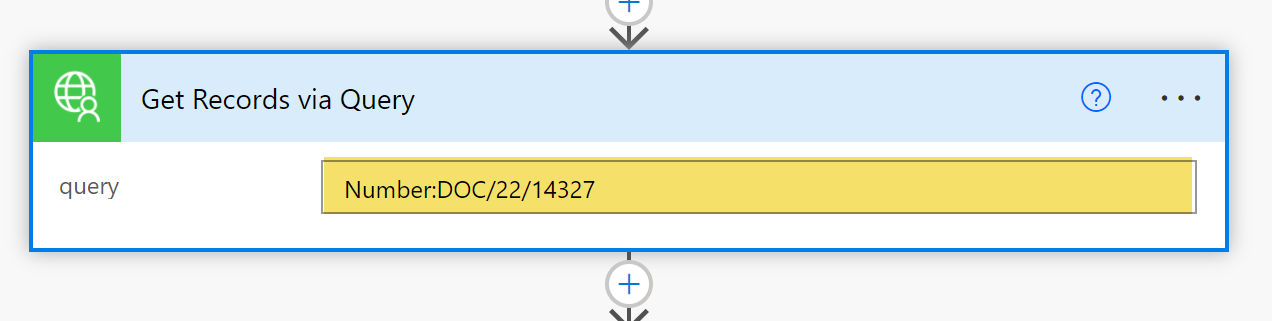
Used to search for records given the search criteria.

| Name | Description |
|---|---|
| query | The search criteria for retrieving records. This takes a standard Content Manager search string. For example registeredOn:today or title:meeting |
EXAMPLE USE
- Add the Get Records action to a flow
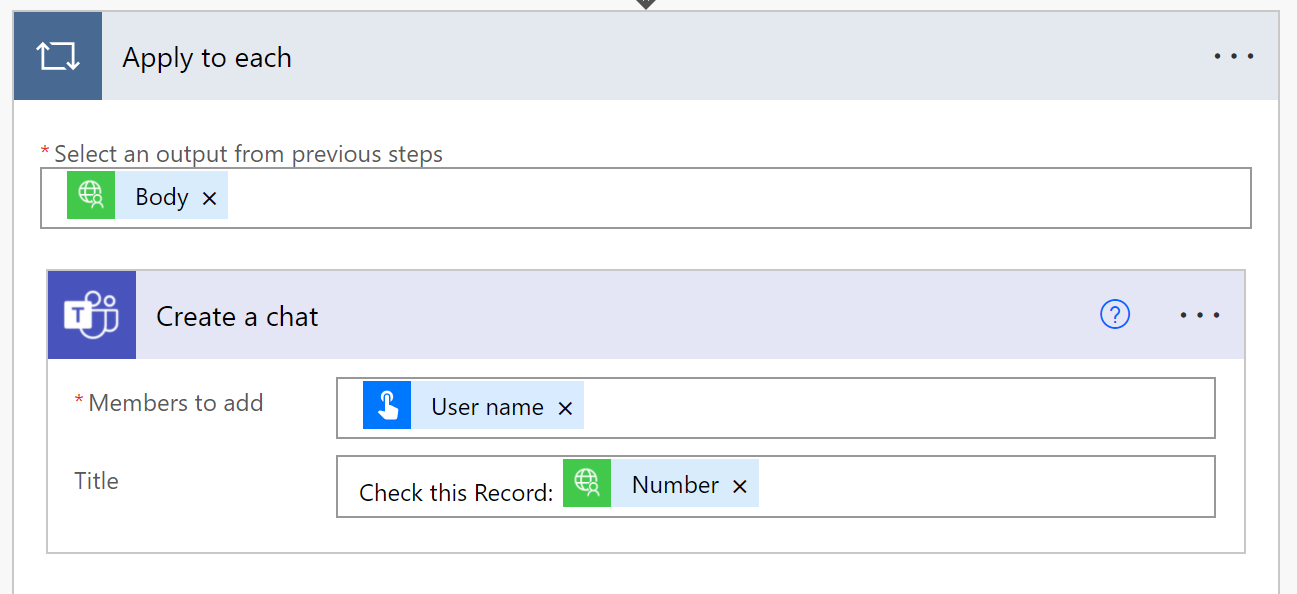
- Get Records returns a list of records, so using any of the dynamic content will result in an Apply to Each action to cater for each record returned from the search
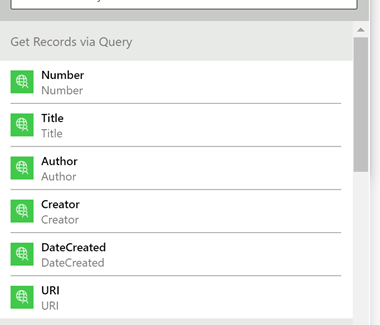
- The Get Records action will have the following dynamic content
| Name | Description |
|---|---|
| Number | The Record Number |
| Title | The title of the Record |
| Author | The full name of the Record author |
| Creator | The full name of the Record creator |
| DateCreated | The date created of the record |
| URI | The URI of the record |
- You can then use this dynamic content at any steps in the flow
CREATE RECORD IN CM ACTION
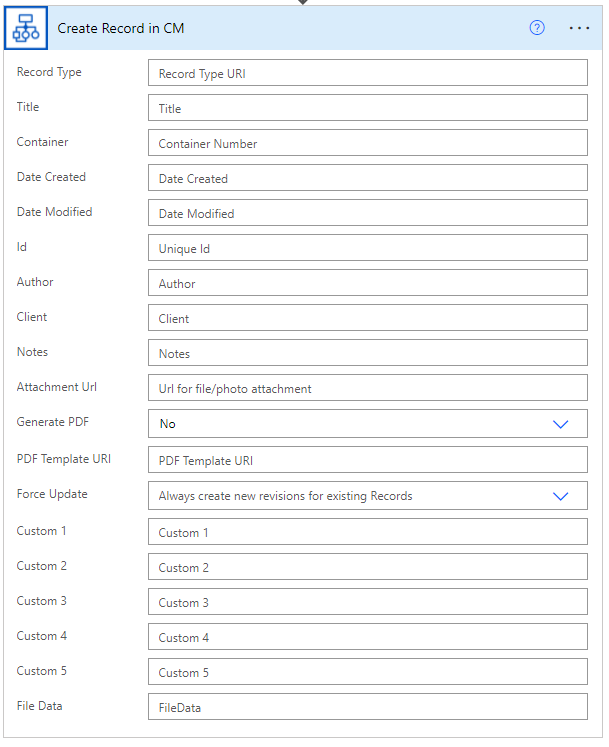
Used to create a record in Content Manager using data from the flow or data typed into the fields below.
The maximum size of a file used in the File Data field is 16MB.
| Name | Description |
|---|---|
| Record Type | The record Type URI |
| Title | Title of the record |
| Container | Container number of the container that the record will be created in |
| Date Created | The date created of the record |
| Date Modified | Used for updating existing records. If the date supplied in this field is greater than the date modified of an existing record, the existing record will be updated with any new values. |
| Id | The id of the item that will be archived into Content Manager (e.g the Facebook post id or file id). This field is used to locate existing records to update with new values. |
| Author | The location URI of the author of this record |
| Client | The location URI of the client of this record |
| Notes | Data to be saved to the Notes field of this record |
| Attachment Url | Url to a file or image that will be saved as the electronic document of this record (This only applies to social media posts) |
| Generate PDF | If Yes is selected, a pdf will be generated using the Title, Date Created, Author, Attachment Url and Notes fields. This pdf will be set as the electronic document of the record. (This only applies to social media posts) |
| PDF Template URI | The URI of a record to be used as the template for generating pdf files. See the PDF TEMPLATES section for more information (This only applies to social media posts) |
| Force Update | If Yes is selected, existing records are always updated (new revisions created) every time the flow is run. This is for scenarios where the preceding connector (e.g. The FYB Instagram Pro Connector) does not have a date last updated field |
| Custom 1 - 5 | Data added to these fields will populate onto the mapped CM additional field. The additional fields are mapped via the Power2CM Admin Console. See the Admin Guide for further details |
| File Data | Used to transfer documents(files) to Content Manager. See the FILE DATA section for more information. |
FILE DATA
The File Data field allows for the processing of file content from Power Automate to Content Manager. The below example uses the SharePoint Get File Content action to demonstrate but any action that returns valid file array data can be used.
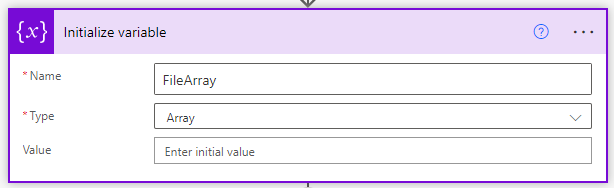
You will need to create a File Array action like the one below.
The data from the SharePoint Get File Content step will assist with returning the data required. The Get File Content action will return the content type (mime type) and content (base64 string) of the file found. You can then pass this data to the File Array action with the following formatting.
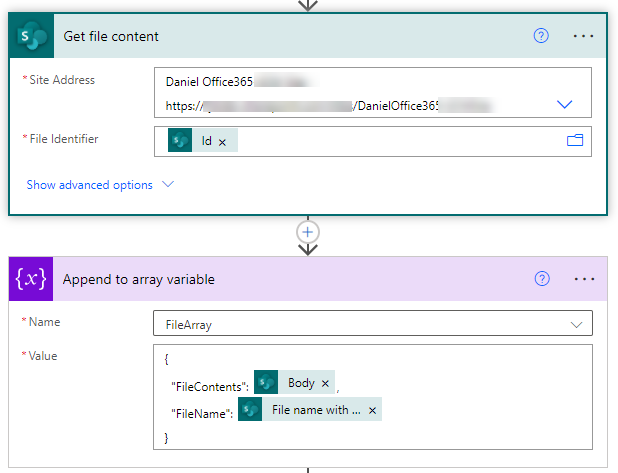
You can now fill in the File Data field of the Create Record in CM action using the File Array.
PDF TEMPLATES
Only required if capturing social media posts.
The PDF template must be a Word Document that is stored within Content Manager and will be referenced in the PDF Template URI field using its URI.
The following placeholders are available for use when building a PDF template in a Word Document:
| PLACEHOLDER | DESCRIPTION |
|---|---|
| {TITLE} | The title of the record generated from the flow |
| {RECORD_NUMBER} | The record number of the record generated from the flow |
| {DATE_CREATED} | The date created of the record generated from the flow |
| {AUTHOR} | The author of the record generated from the flow |
| {NOTES} | The data supplied to the Notes field of the CREATE RECORD IN CM action |
| {ATTACHMENT} | Only available if the URL supplied to the Attachment Url field in the CREATE RECORD IN CM action is an image or gif |
| {CLIENT} | The client of the record generated from the flow |
| {ID} | The Power2CMID additional field value of the record generated from the flow |
| {CUSTOM1} | The additional field value of the record generated from the flow that was mapped to the custom1 field |
| {CUSTOM2} | The additional field value of the record generated from the flow that was mapped to the custom2 field |
| {CUSTOM3} | The additional field value of the record generated from the flow that was mapped to the custom3 field |
| {CUSTOM4} | The additional field value of the record generated from the flow that was mapped to the custom4 field |
| {CUSTOM5} | The additional field value of the record generated from the flow that was mapped to the custom5 field |
ARCHIVE EMAILS ACTION
This action is used to file emails from a Power Automate flow into Content Manager.
| NAME | DESCRIPTION |
|---|---|
| Record Type | The record type URI |
| Title | Title of the record |
| Container | Container number that the email will be stored in |
| Id | The id of the email that will be archived into Content Manager. This field is used to locate existing records to update with new values. |
| Date Created | The date created of the email |
| Author | Specify the email or full name of the person that the email is from. If no author is found, the location of the account running the app poll will be used. |
| Notes | Data to be saved to the Notes field of this record |
| Force Update | If Yes is selected, existing records are always updated (new revisions created) every time the flow is run. |
| Email Content | The file data of the email. This is used to create an electronic file of the email for the record |
SHARING CUSTOM CONNECTORS/FLOWS
It is possible to share customer connectors and flows with other users. Any of the connectors and flows setup for Power2CM can be shared.
Custom connectors must be shared first before the flows can be used by the user.