GETTING STARTED
If you are looking for instructions about using the Adobe Connector please see the guide here.
- Open a web browser and browse to FYB Mediazel
- If you are using a Mobile device, log in using Windows credentials. You will also need to download and use the Chrome App
- If you are logged in from a remote location, ensure the appropriate VPN is connected
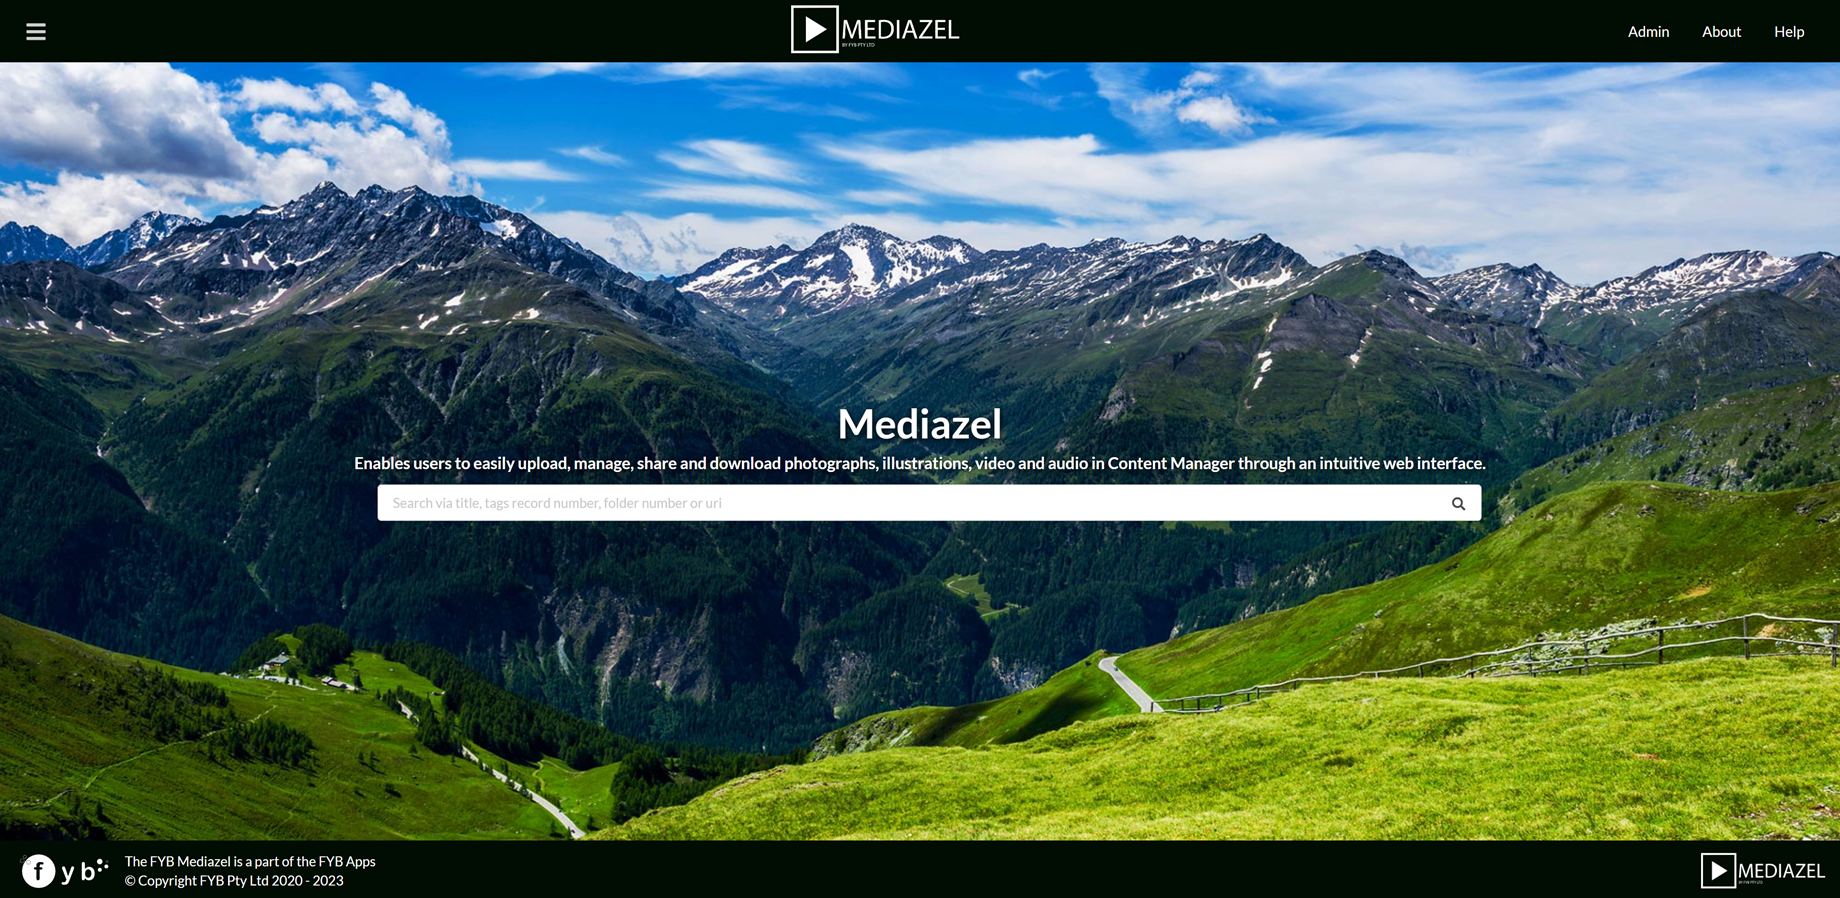
- Once logged in, the Home Page will be displayed.
NAVIGATION
DROP-DOWN MENU
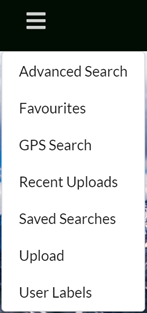
The drop-down menu allows you to navigate to different areas of the application, each navigation item is explained below. Further detail can be found under the corresponding heading throughout this document.
| NAME | DESCRIPTION |
|---|---|
| Advanced Search | Advanced Search modal for searching for specific Media Items |
| Favourites | Displays the current user's favourite media items |
| GPS Search | Search for Media Items using Google Maps. This feature is only available if you have configured a Google Maps API Key. |
| Recent Uploads | Displays the current user's recently created or modified media items |
| Saved Searches | Displays a pop-up window allowing users to select and run or delete a saved search |
| Upload | Navigate to the Upload Page |
| User Labels | Displays a pop-up window allowing users to select a label to search for items associated with that label |
TOP-RIGHT MENU ITEMS

| NAME | DESCRIPTION |
|---|---|
| Admin | Opens the Admin page. Only Content Manager Administrators, Record Managers or whitelisted users have access to this page |
| About | Opens the About window |
| Help | Opens the Mediazel User Manual in Document 360 |
HOME PAGE
The Home page is the first point of navigation. The Home Page allows for searching for the latest versions of Media Records across Content Manager using the search bar.
SEARCH BAR

The Search Bar is used to search for Media Records via its:
- Title
- Record Number
- URI
- Tags
- Container Number
Alternatively, you can search for all Image, Video or Audio records by clicking on one of the Media Type options.

ADVANCED SEARCH
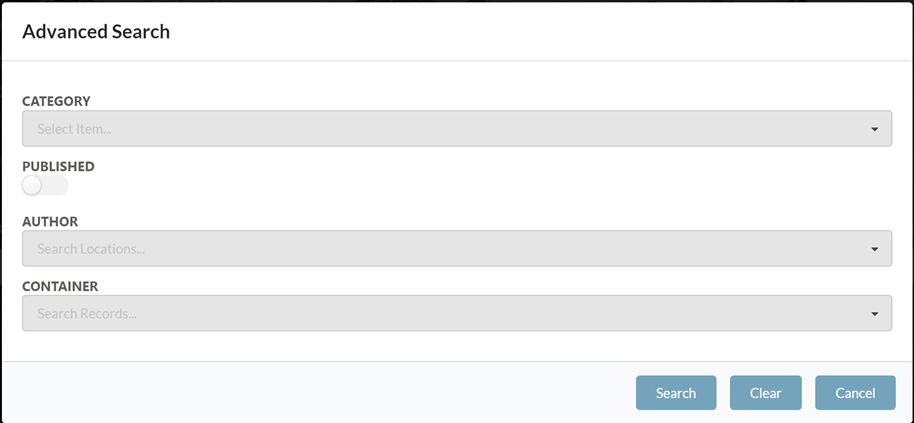
The advanced search window allows you to combine criteria into a more refined search. It is accessible via the main hamburger menu. The fields shown in the Advanced Search window are configured via the Admin Console.
SAVED SEARCHES
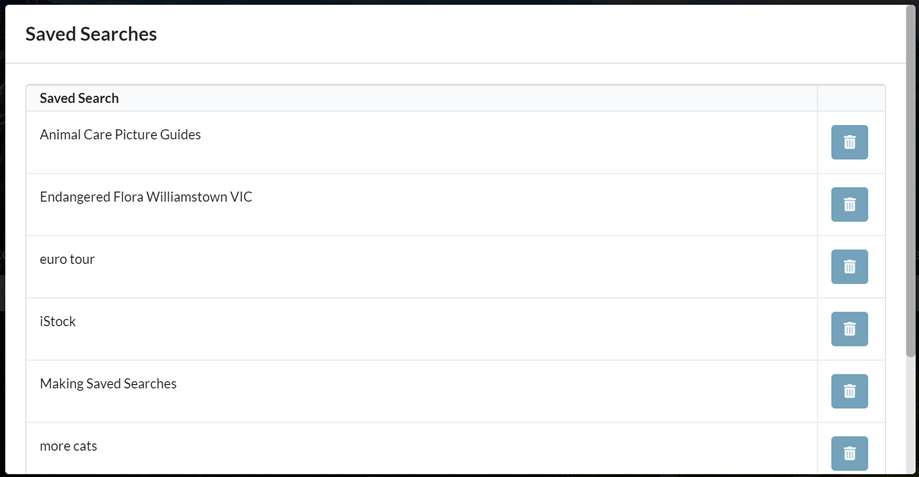
The Saved Searches window allows users to select and run or delete a saved search. Saved searches can be deleted using the trash button. It is accessible via the main hamburger menu. The Saved Searches displayed are from the Mediazel Search Group which is configured in the Admin Console.
The saved searches that are visible to you are the same saved searches you can access via Content Manager. Only the saved searches that are within the Mediazel search group are displayed.
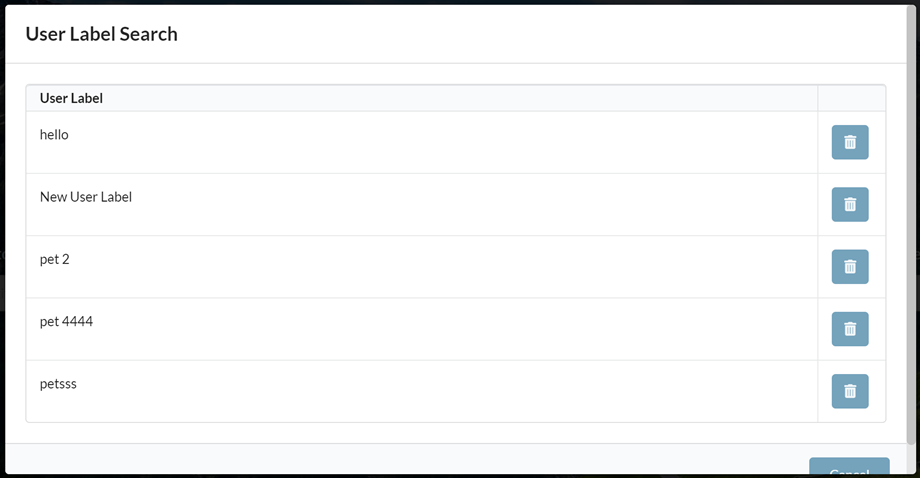
USER LABEL SEARCH
The User Label Search window allows users to select a user label to search for items associated with that label. Labels can also be deleted using the trash button.
The visible user labels are filtered by the logged-in user. Only user labels that the logged-in user has created will be visible.
GPS SEARCH PAGE
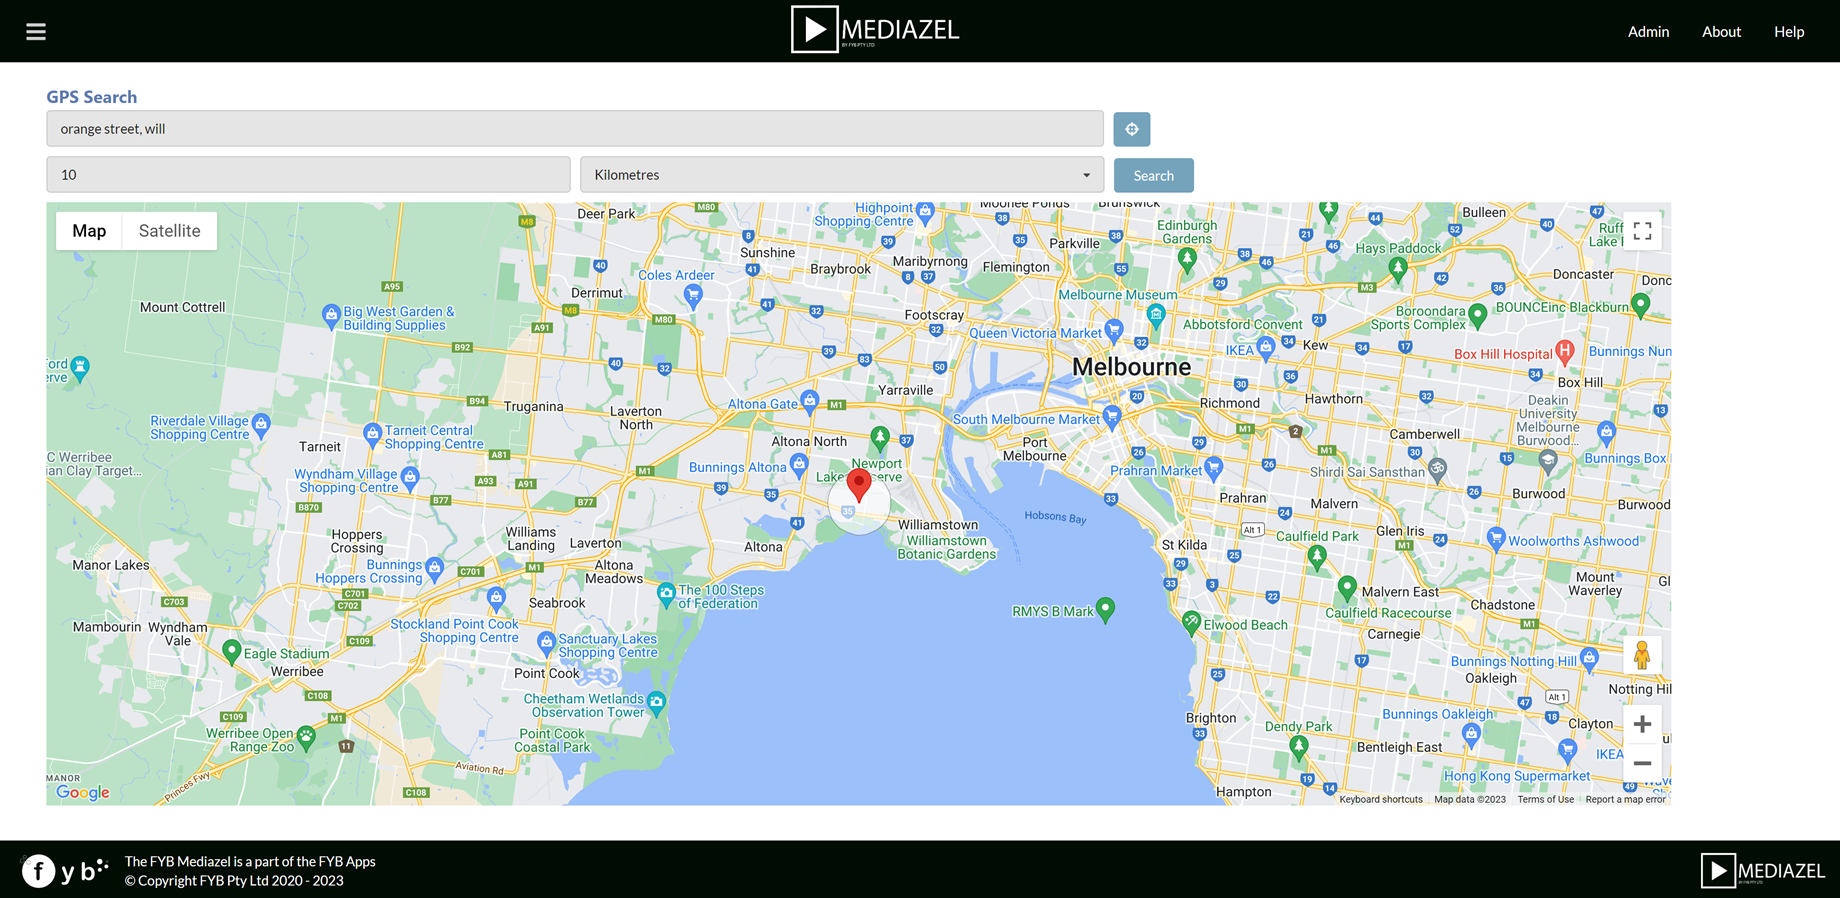
The GPS Search page allows for searching for Media items via its GPS Location. It is accessed via the main hamburger menu in the top right.
This feature is only enabled if a Google Maps API Key has been configured in the Admin Console
SEARCHING FOR RECORDS NEAR AN ADDRESS
-
Enter an address into the search bar and select the auto-complete suggestion

-
Specify a radius for Mediazel to locate media near the address, and click on the Search button

-
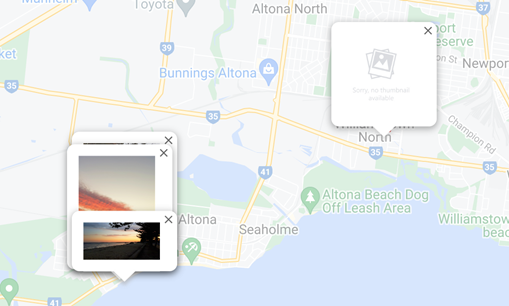
Mediazel will draw a radius around the specified address and will drop Markers at the location of the Media Items within the given radius. Each Marker will contain the Media Item's thumbnail
-
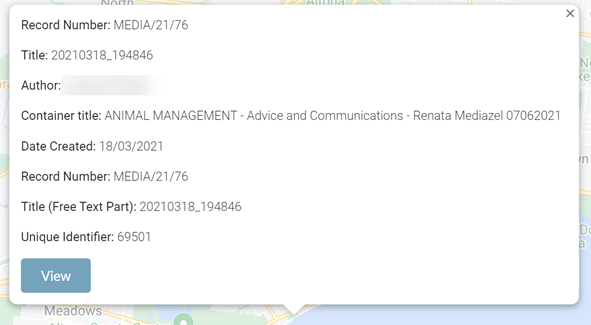
Click on a Marker to view the metadata of the Media Item.
-
Clicking on the View button will open the Media Details Page for the selected Media Item
SEARCHING FOR MEDIA ITEMS NEAR YOUR CURRENT LOCATION
- Click on the Current Location button

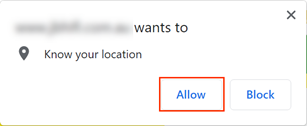
- Consent to the browser knowing your current location by clicking Allow
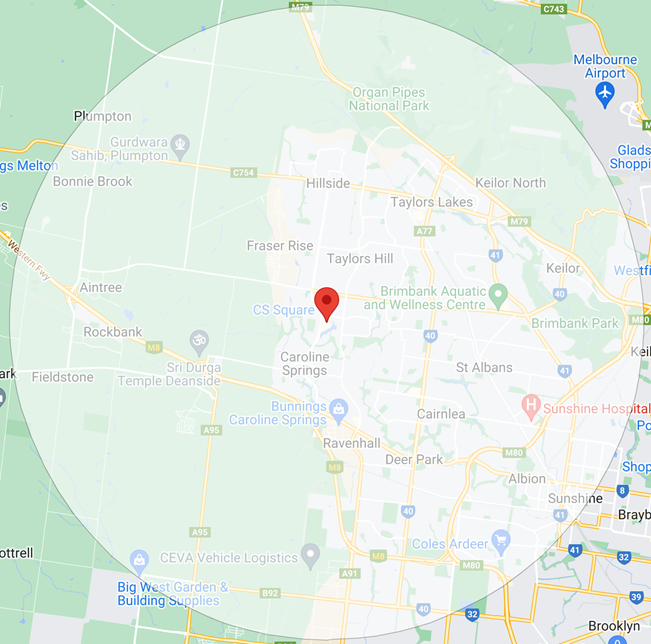
- Mediazel will locate Meida Items near your current location using the specified Radius
- The radius can be increased or decreased before doing a Current Location search by using these fields

UPLOAD PAGE
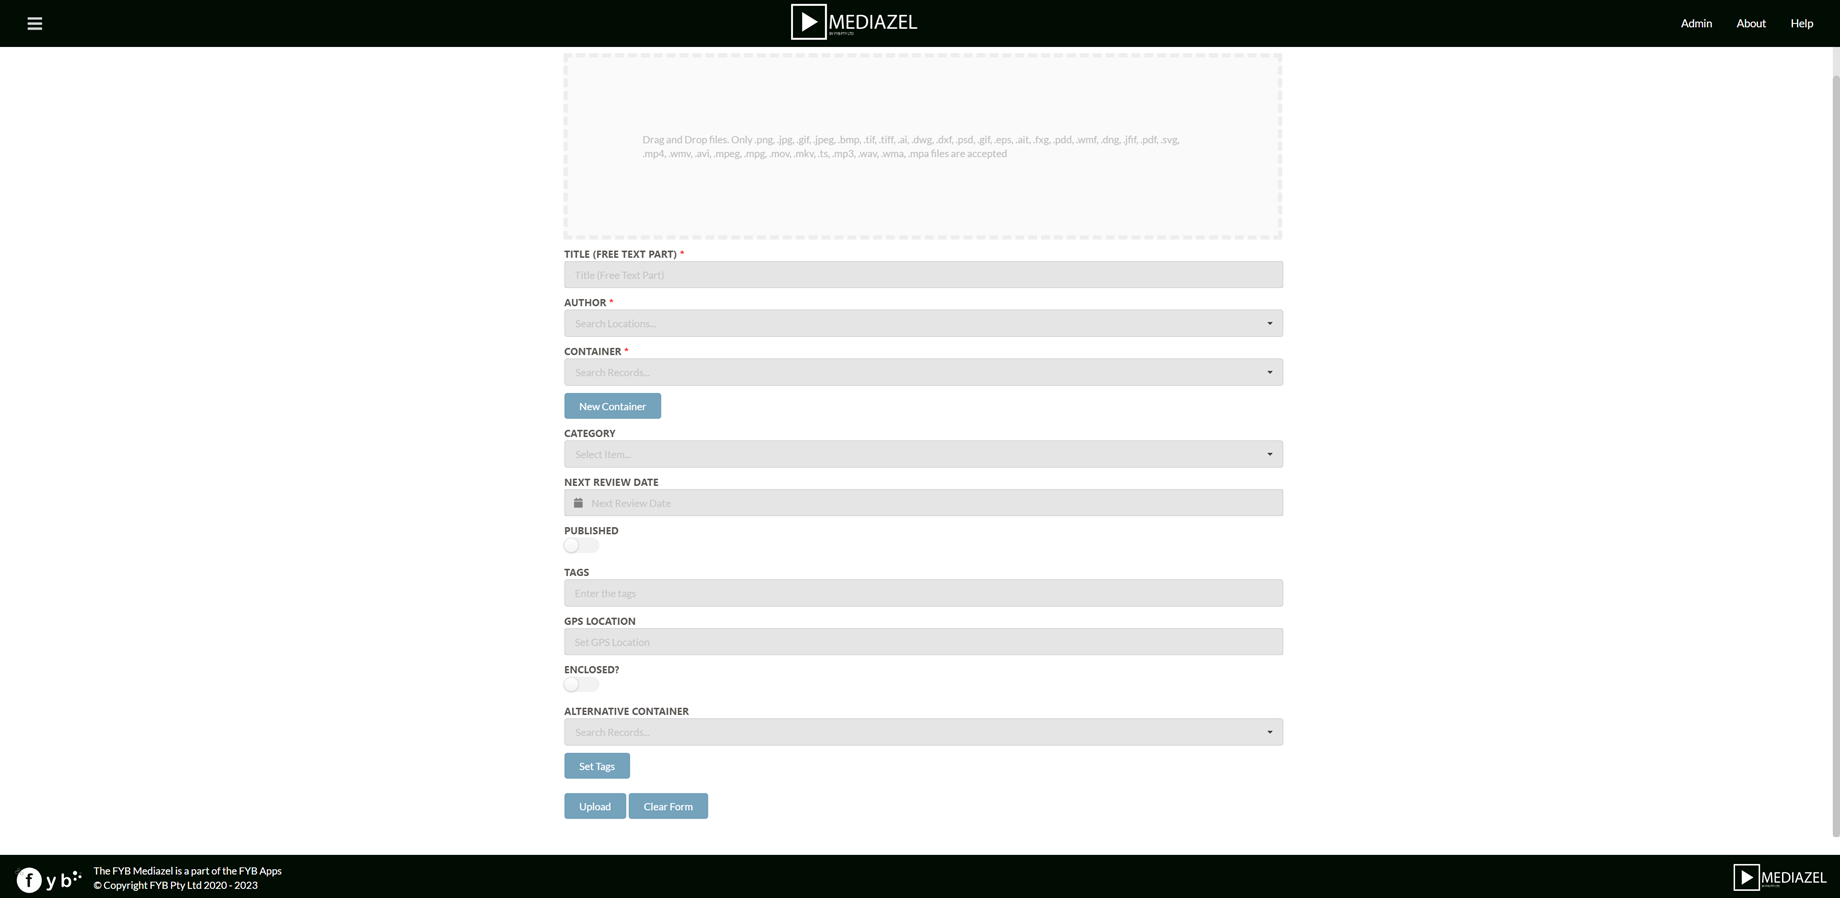
From the upload page, users can easily upload a collection of audio, images or videos in Content Manager using a single form.
UPLOADING MEDIA ITEMS
-
Drag and Drop or Click to Upload - Either drag and drop media items from your PC into the perforated box or click the box to select the desired media items

Note: Once the files are selected the box will display the number of files to be uploaded and the size of the upload. -
Fill in the mandatory fields. The fields listed are the stock and additional fields that have been set for the Media Record Type in Content Manager.
If the Title is left blank, the file name will be used as the title
- To add searchable tags to all media items, enter a word and press the Enter key.
::: (Info)(Note)
If you're using the Google Cloud Vision feature to auto classify the images it's optional to supply the Tags. Otherwise, the application will set the tags automatically based on the analysis provided by Google.
:::

Alternatively, click on the Set Tags button to edit tags for individual media items. This will open a new window as illustrated below.


The edit tag window allows the user to adjust tags and apply them to individual or multiple media items. To edit tags for individual or multiple items:
- Select the desired media items from the window by clicking on the tick icon. The icon will change to a white colour, indicating that the item is selected.
- Enter the tag in the input field on the left-hand side
- Press the Set Tag(s) for Selected Media button to set the tag for the selected items. A notification will appear informing the user that the tags have been set for the selected Media Items.
- Hover over an image to show the current tags set for the image
- Click on the Close button once
-
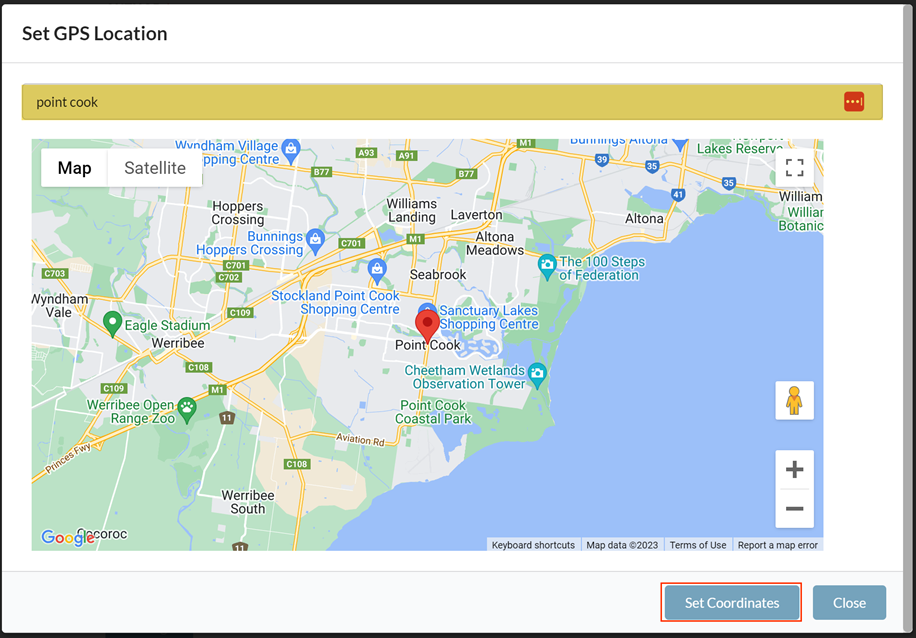
Click on the GPS Field to set the GPS Coordinates for the Media Items.
Enter and select an Address then click Set Coordinates to set the GPS coordinates.
-
Click on the Upload button

-
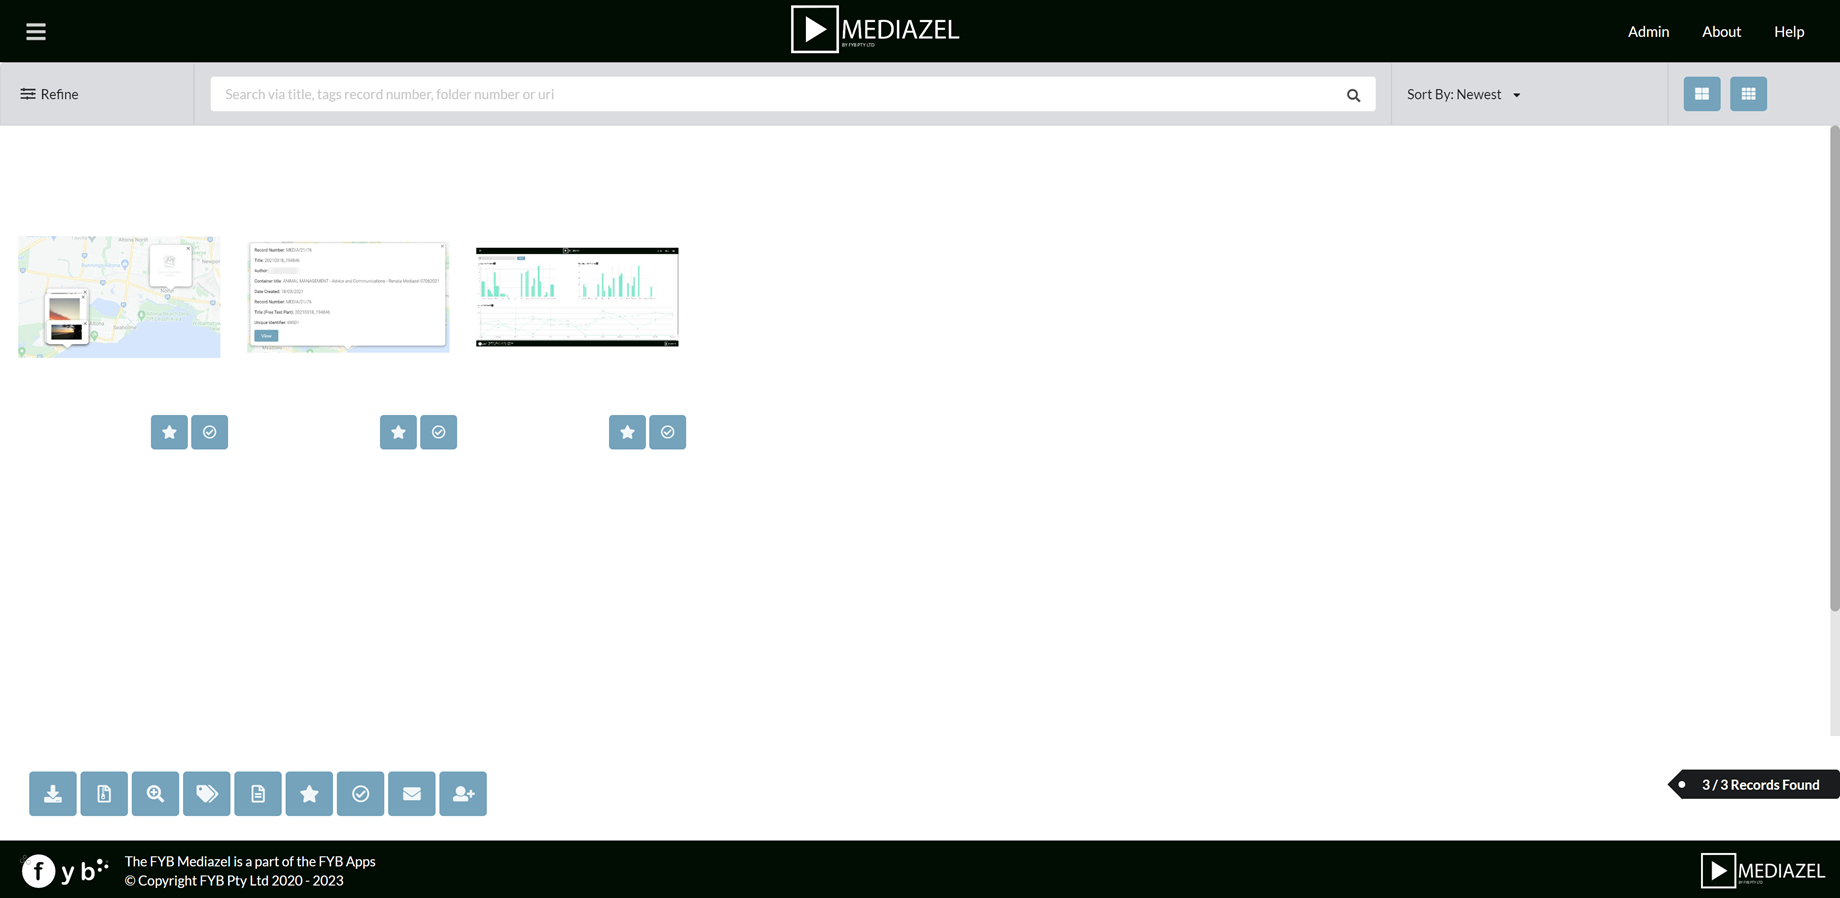
Once the files have been successfully uploaded, you will be directed to the Search Results page containing the newly uploaded Media Items.
EXTRACTING AUDIO FROM VIDEO FILES
When uploading MKV, MOV, WMV, MP4 and/or AVI files, the audio from the video file can be extracted as a separate MP3 Record file by selecting the Extract Audio checkbox.
The MP3 Record will be a copy of the Video Record (same container, access controls, field values etc) except it will have an MP3 electronic file
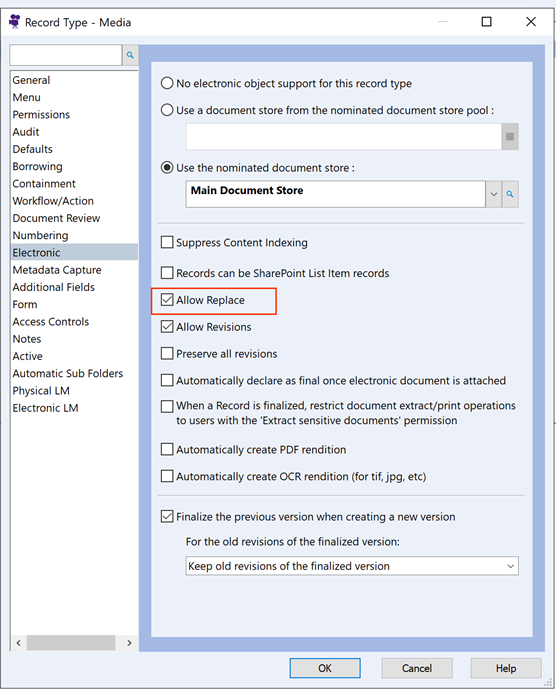
The Allow Replace option for the Record Type must be enabled for this feature to work
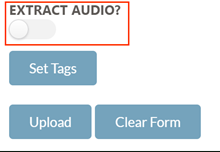
The Extract Audio option is only available for MKV, MOV, WMV, MP4 and AVI files
SEARCH RESULTS PAGE
The Search Results page is displayed for any searches made in Mediazel.
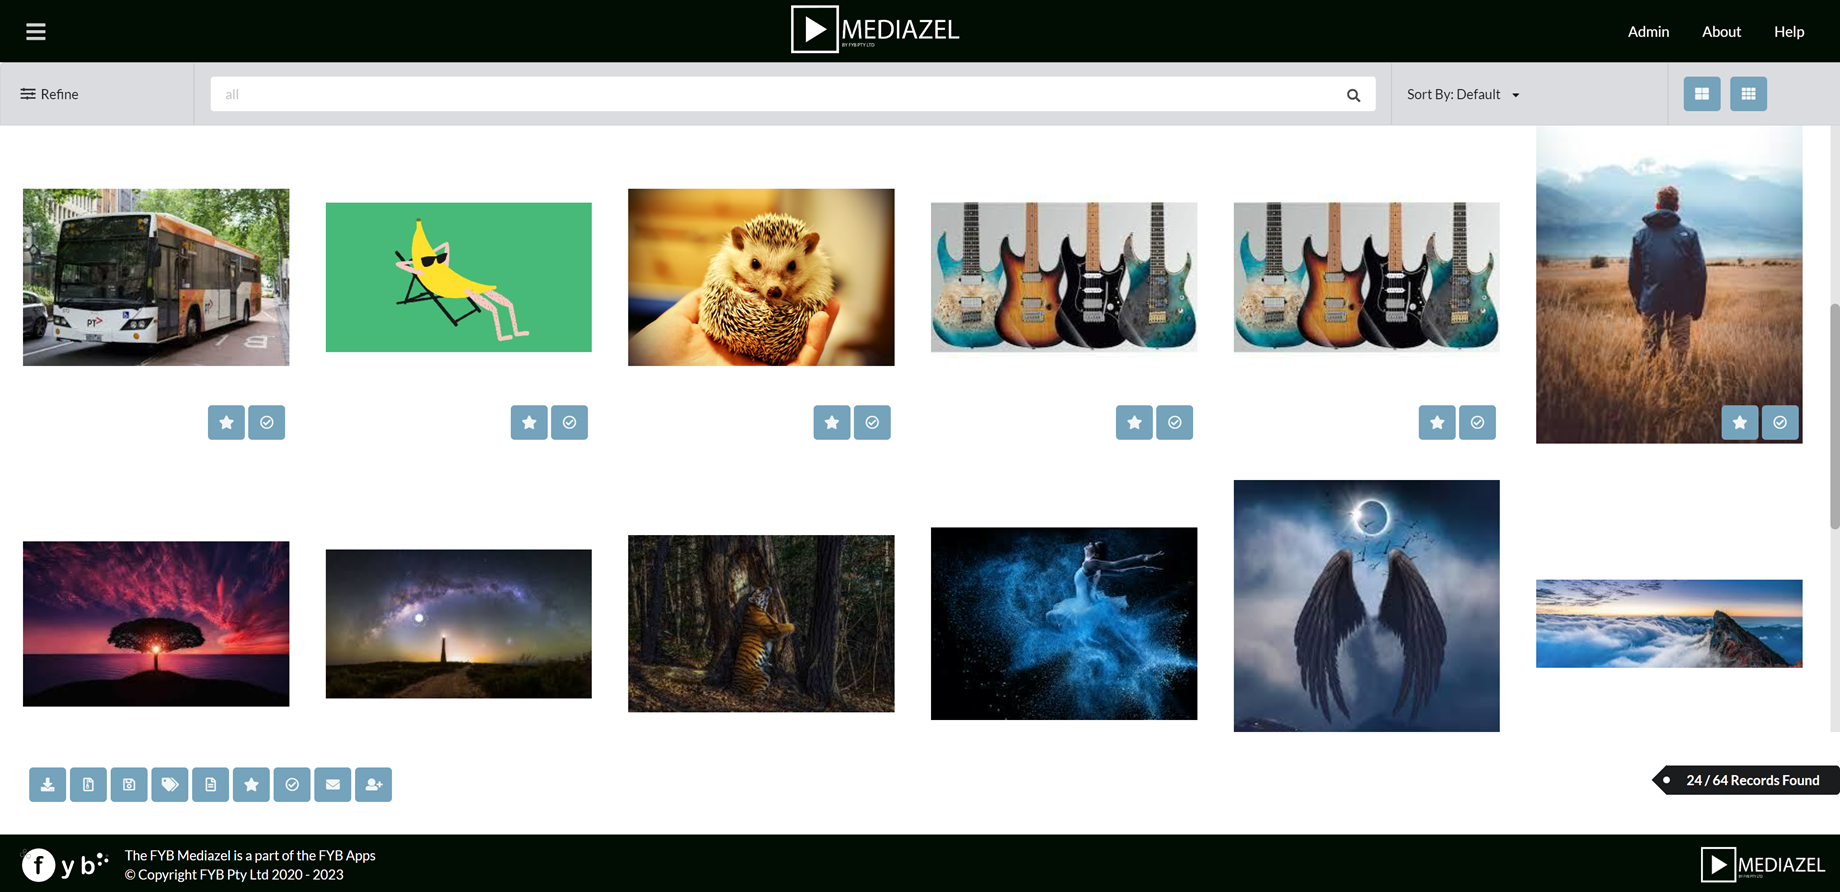
RESULTS HEADER

REFINE
Clicking this button will display the Refine Search Menu.
SEARCH BAR
Use the search bar to run a new search.
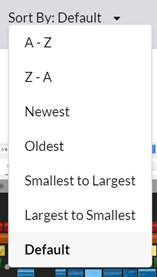
SORTING
Use the Sort By dropdown options to sort the current set of results by the selected option.
TOGGLE SHOW MORE/LESS ITEMS
Clicking the buttons will either show more or fewer items per page.

Show Less

Show More

THUMBNAIL
A thumbnail for each image record returned is generated and displayed.
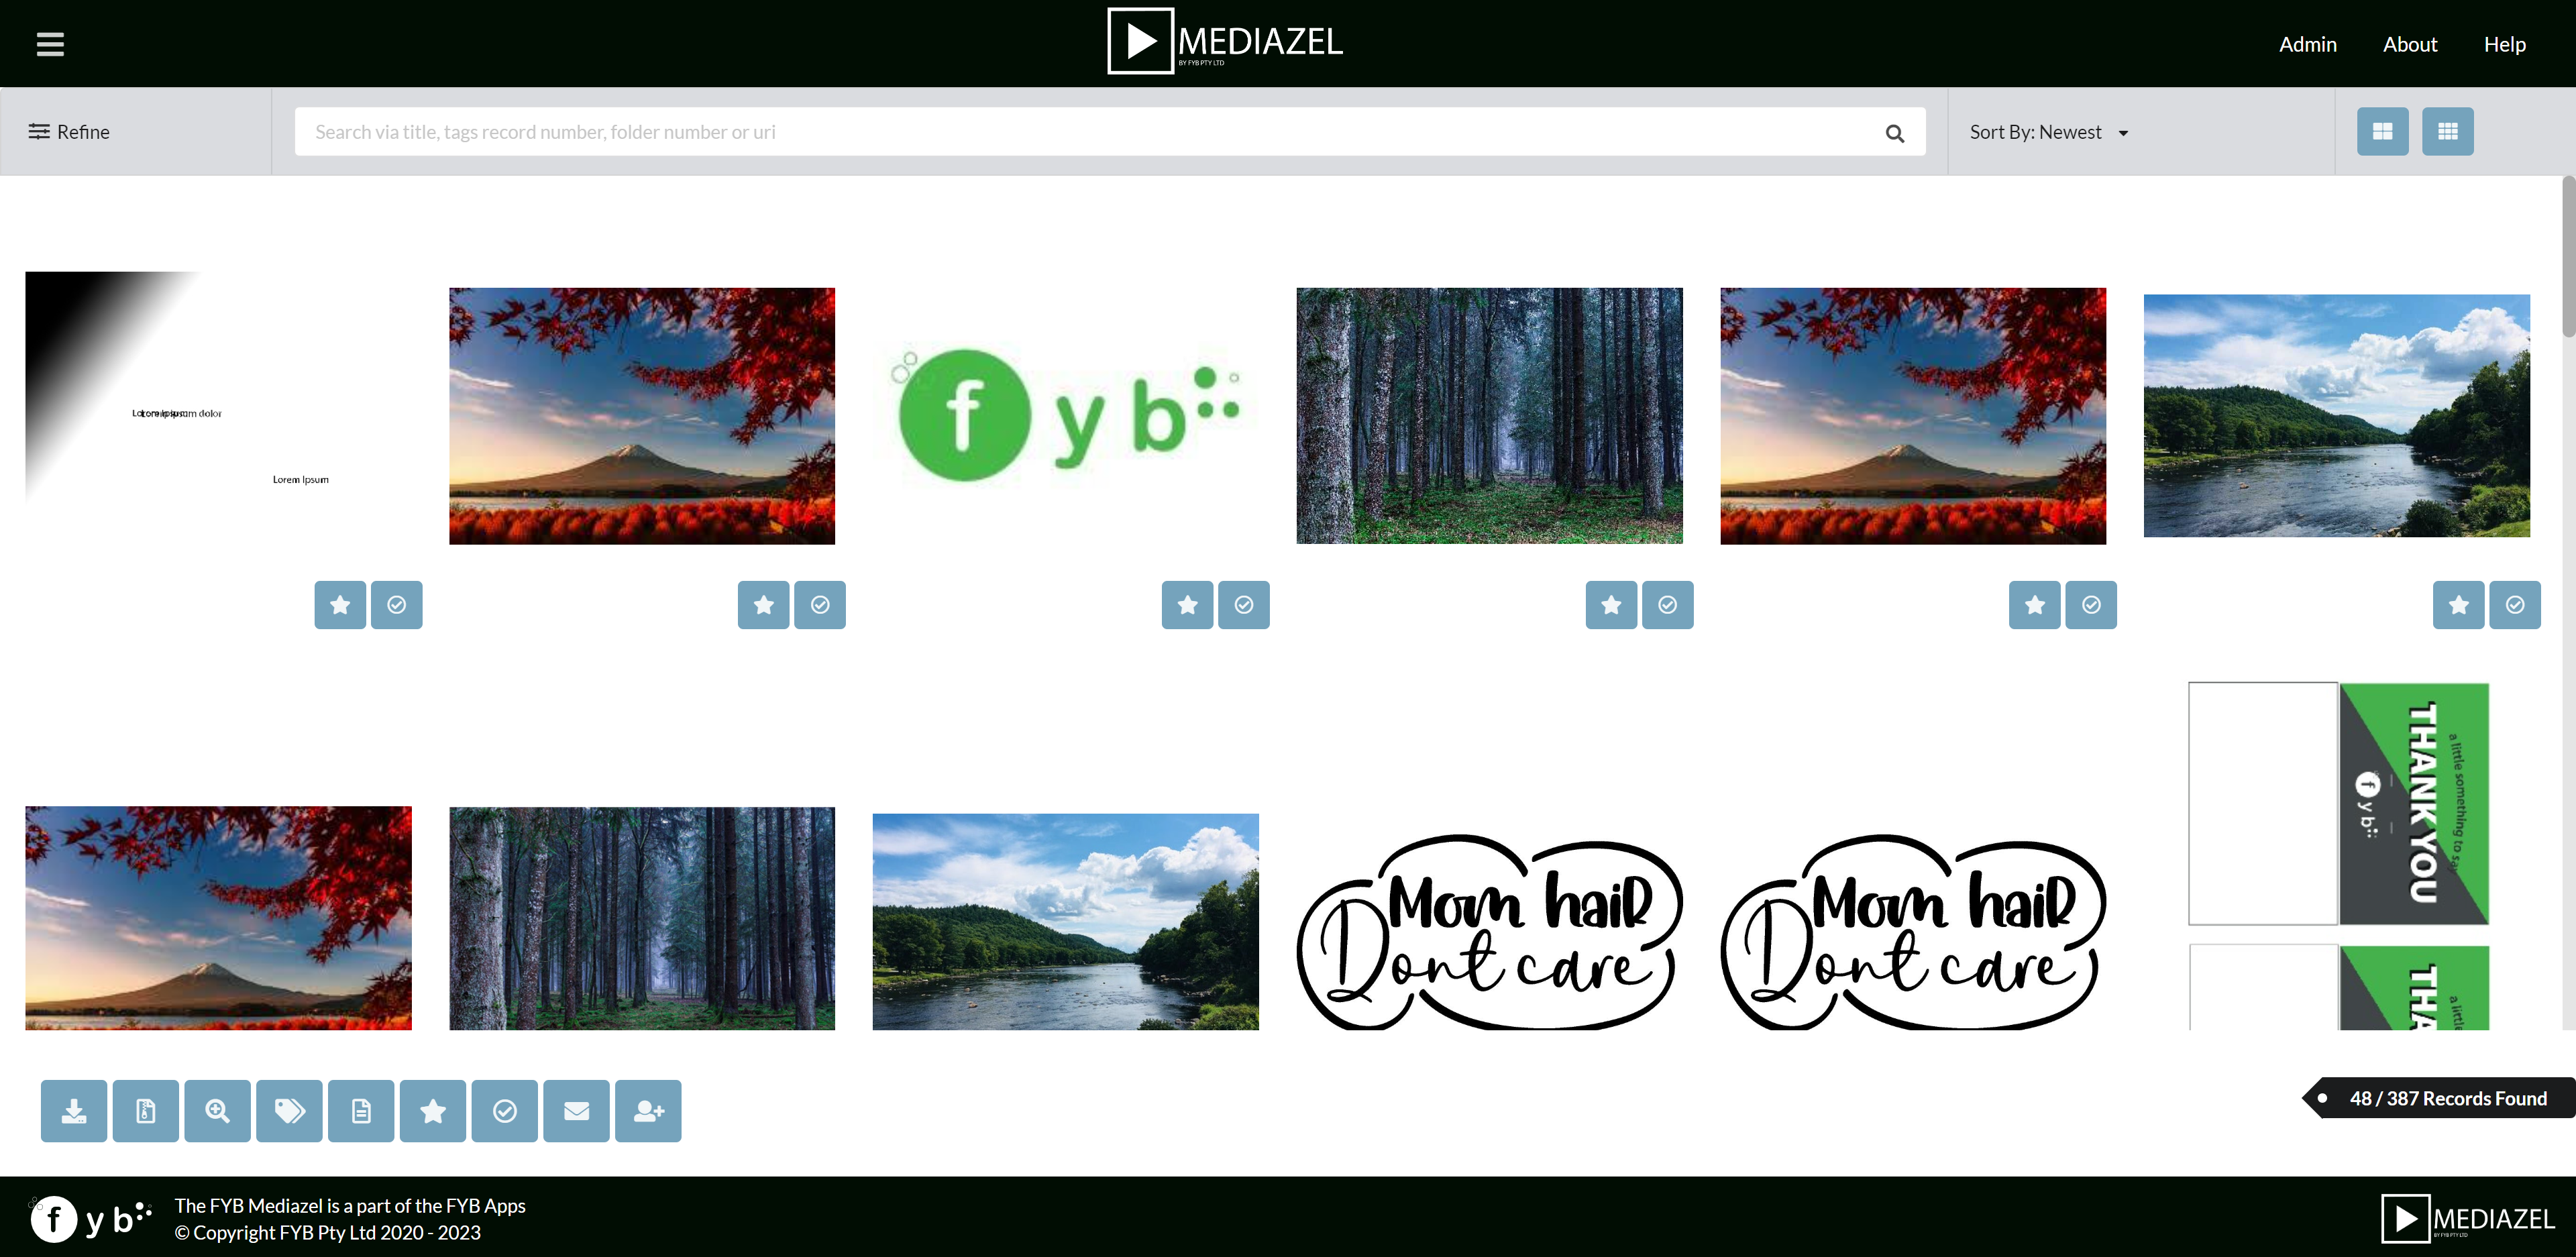
Clicking on a Thumbnail will display the Media Details page for the selected Record.
TOGGLE FAVOURITES
Use the star button to add the Record to the user's favourite Records.
TAG/UNTAG RECORDS
Use the checkmark button to tag/untag records. Tagging Records is required when using the Search Results Buttons.
METADATA
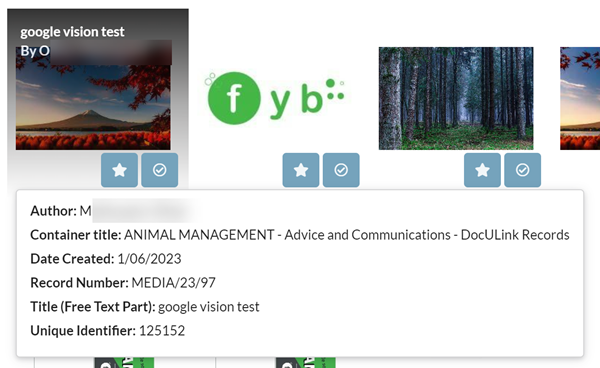
Hovering over a Media Item will show the Title and Author of the Record as well as the Tooltip fields. The Tooltip Fields are set in the Admin Console.
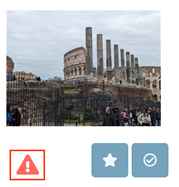
RESTRICTED RECORDS
If there is a red exclamation icon appearing on the thumbnail image this indicates that the media item has a restriction (Image restriction are not specific to the Mediazel they are rules that is defined by the business needs).
The exclamation icon can either be enabled or disabled by an administrator via the admin console.
SEARCH RESULTS BUTTONS

DOWNLOAD

Clicking the download button will download the selected Media Items.
DOWNLOAD AS A ZIP

Clicking this button will download the tagged Media Items as a single ZIP file.
SAVE THE CURRENT SEARCH

Clicking this button will display the Add Saved Search modal. This modal is used to save the current Mediazel Search as a new Saved Search. The Saved Search will be stored under the Saved Searched Parent (set in the Admin Console) in Content Manager.

UPDATE TAGS

Clicking this button will display the Update Tags modal. This modal is used to update the tags of the selected Media Items.
Type into the field and press Enter to add a tag.
Click Save

EXPORT PDF

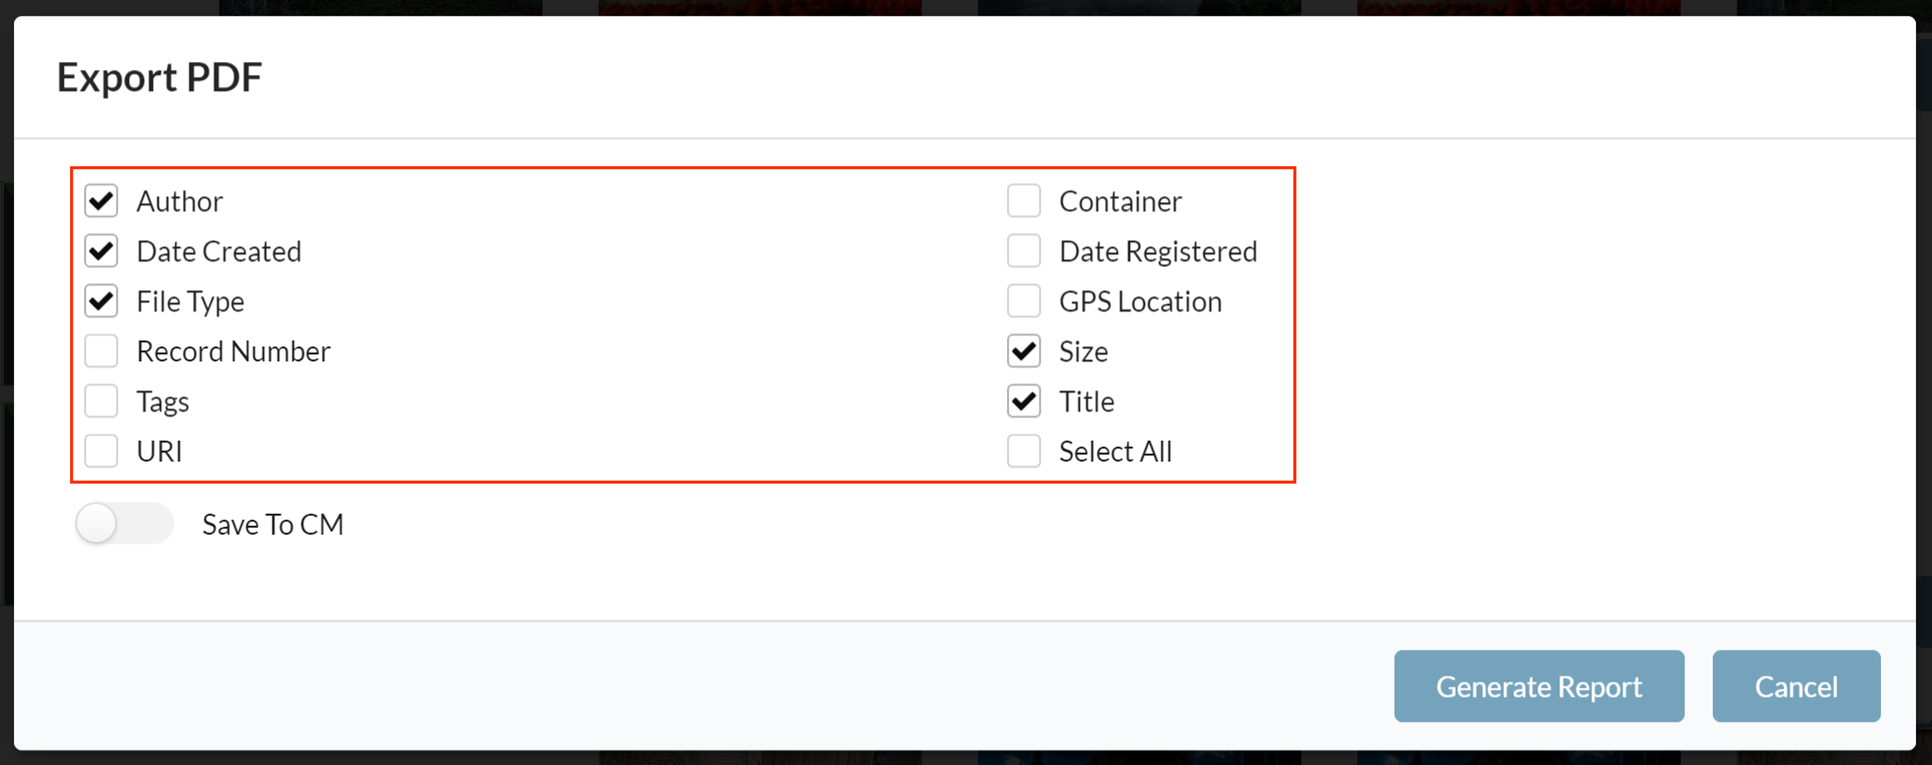
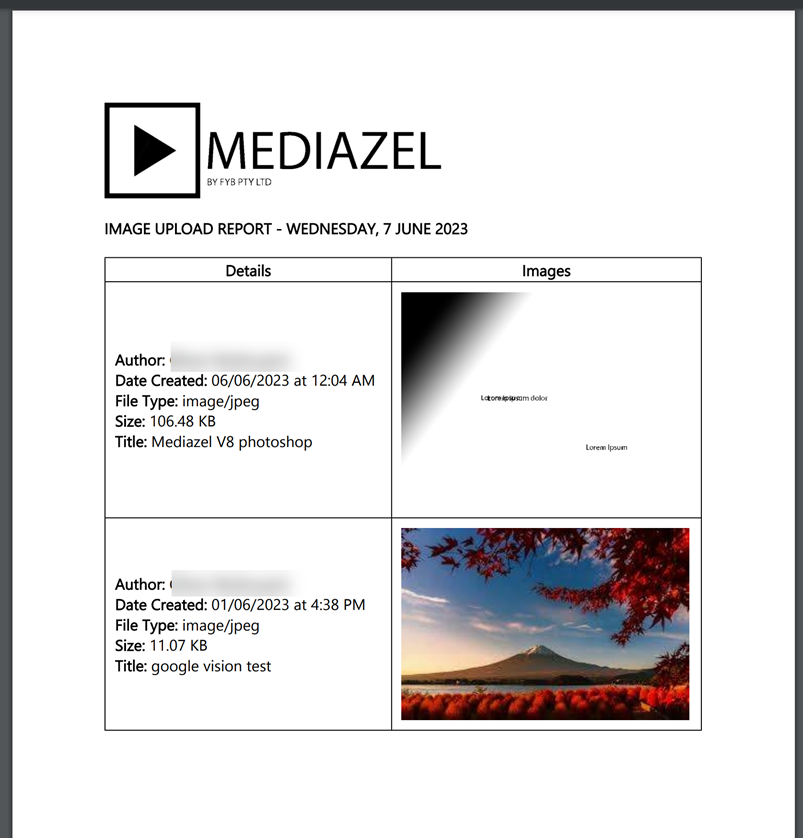
Clicking this button will display the EXPORT PDF modal. This modal is used for generating a PDF report of the tagged Media items.
-
Select the Metadata fields to be displayed for each tagged Media item in the PDF.
-
Enable Save To CM if you want the PDF to be saved to Content Manager (optional). If this option is enabled, you will need to fill out the mandatory Record Type fields.

-
Click Generate Report

-
The PDF will be generated. If the Save To CM option was enabled, the Record of the PDF will also be generated in CM.
ADD TO/REMOVE FROM FAVOURITES

Clicking this button will either add or remove the selected Media Items from the user's favourite records.
SELECT/UNSELECT ALL

Clicking this button will either select or unselect all loaded Media Items
EMAIL LINKS

Clicking this button will display the Email Links modal. This modal will allow users to send an email containing hyperlinks of the selected link type for each selected media item.
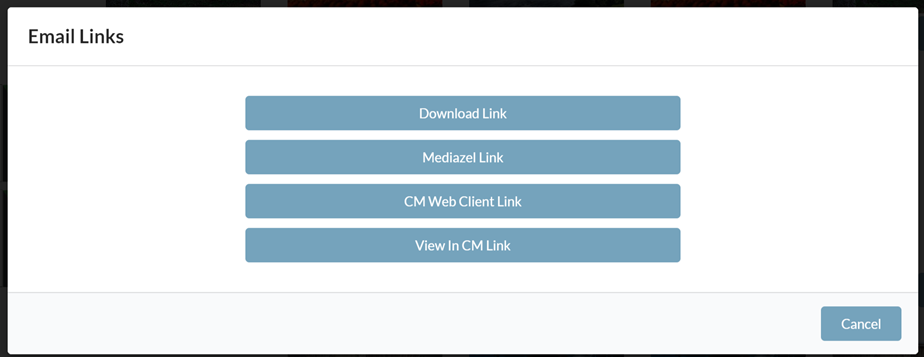
- Download Link - Generate a link to download the file
- Mediazel Link - View the item in Mediazel
- CM Web Client Link - View the selected items in the CM Web client
- View In CM Link - View the selected items in Content Manager
ADD TO USER LABEL

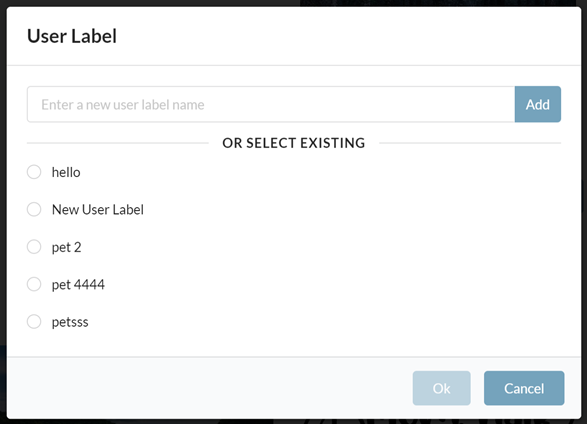
Clicking this button will display the User Label modal. This modal will allow users to add the selected Media items to either a new User Label or an existing one.
TOTAL RECORDS

The current number of records loaded out of the total number of records found is displayed here.
The number of records displayed per page can be changed via the Admin Console
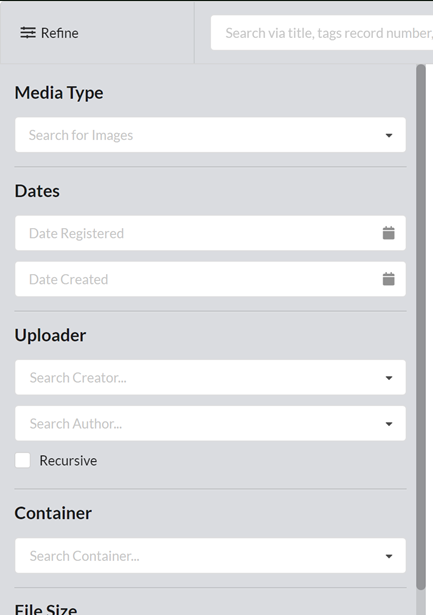
REFINE FIELDS
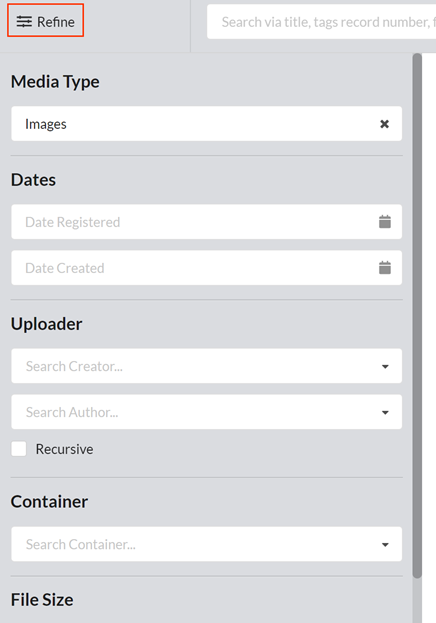
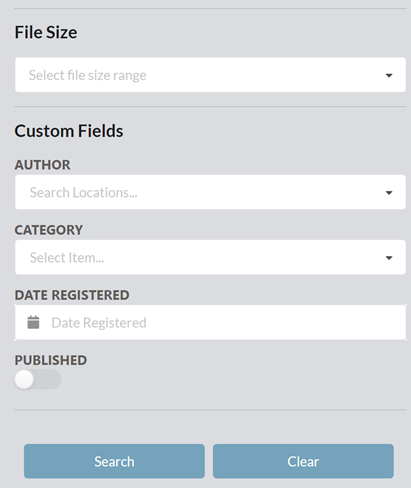
Use the refine fields to refine the current set of search results.
To open the Refine Search menu, click the Refine Button
MEDIA TYPE
Search for records using the Media Type.
DATES
- Date Uploaded - Filters results based on the registered date of the items.
- Date Created - Filters results based on the creation date of the items.
Acceptable Date formats are:
- 06/07/2015, 06/07/15, 6/7/15, 06 07 2015, 6 7 15, 6-7-15, 6-july-15, 6-jul-15, 6 jul 15
- Today, yesterday
- This Second, Minute, Hour, Day, Week, Month, Quarter, Year
- Last 3 Seconds, Minutes, Hours, Days, Weeks, Months, Quarters, Years
- Year to Date, Week to Date, Month to Date, Quarter to Date, Year to Date
- Financial year - FY2014
- Range search - 15 June 2015 TO 04 July 2015
UPLOADER
- Uploader - Filters results based on the name of the Creator of the item
- Creator - Filters results based on the name of the Author of the item.
- NOTE: The recursive Checkbox will determine if the filter search is recursive.
CONTAINER
Filter result based on container
FILE SIZE
Filter results based on its FIle Size
CUSTOM FIELDS
Filter result with custom fields (fields can be customized via the Admin Console)
BUTTONS
- Search - Runs the refined search and returns media items that match the search criteria
- Clear Form - Clears the Refine Search panel
MEDIA DETAILS PAGE
Clicking on a Media Item from the Search Results page will display the Media Details Page.
This page displays comprehensive metadata associated with the Media item selected, along with action buttons and a secondary menu.
Depending on the media item selected the detail page will display the different controls relevant to the media format type as illustrated below.
IMAGE TYPE
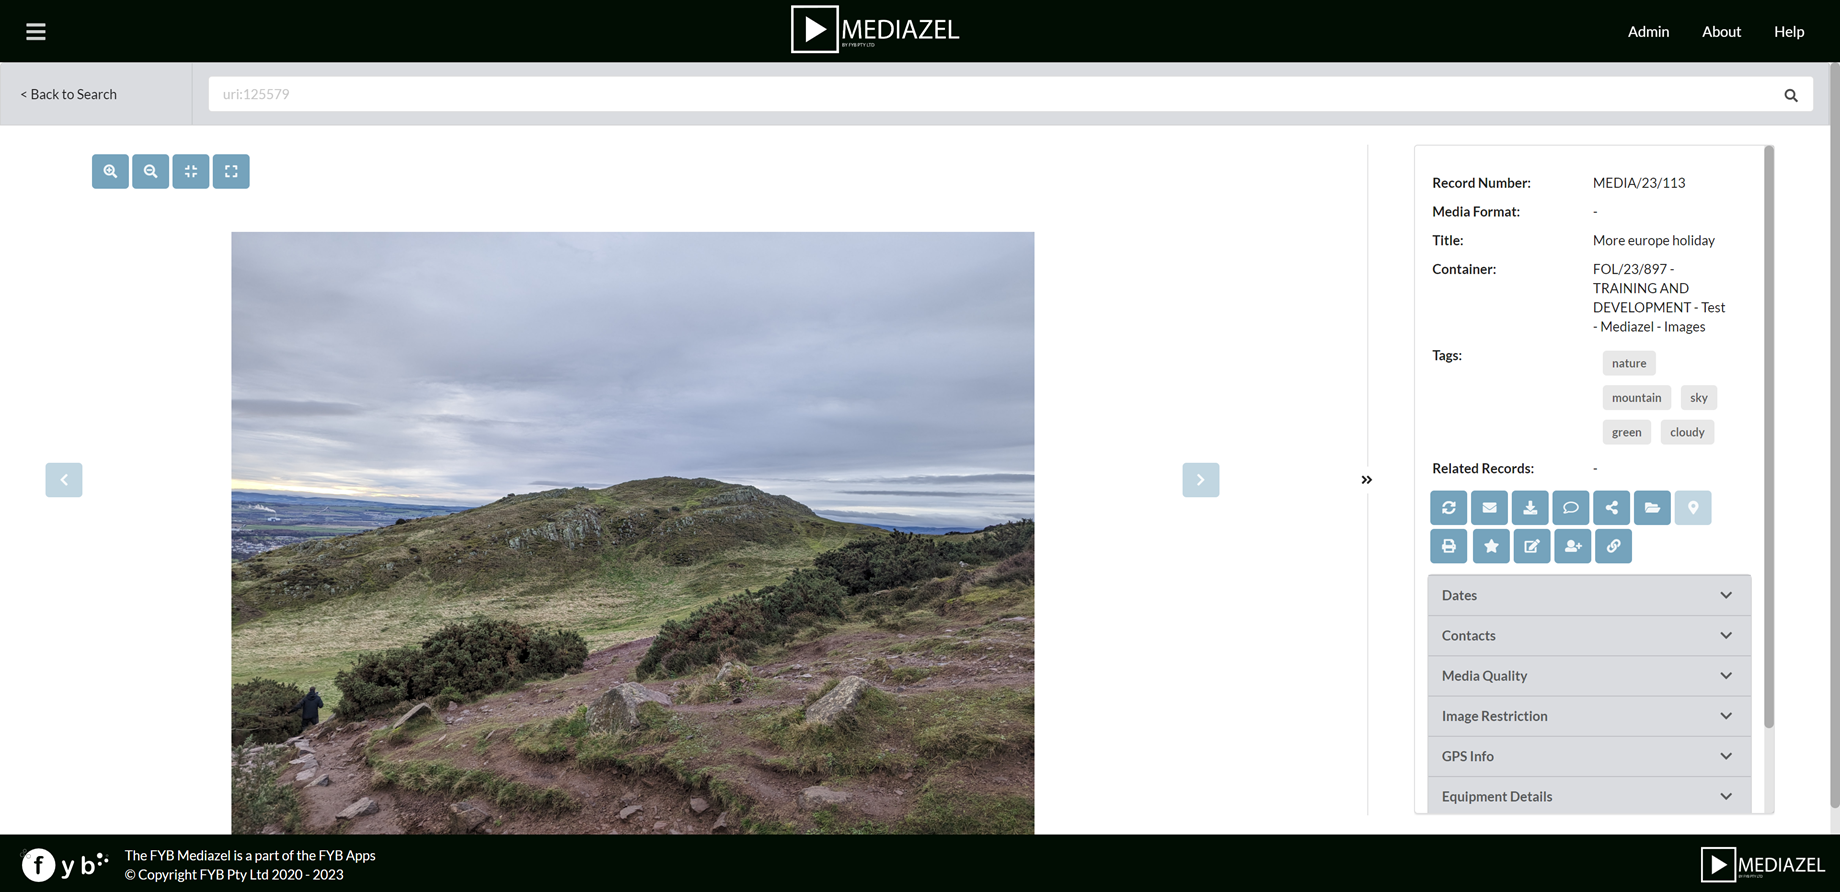
ZOOMING IN/OUT
To zoom in/zoom out of an image, you can either:
- Scroll in/scroll out using your mouse whilst the cursor is on the image
- use the magnifying glass buttons

RESET ZOOM
Use this button to reset the zoom

VIEW FULL SCREEN

Clicking this button will allow you to view the image in Full-Screen mode.
VIDEO TYPE
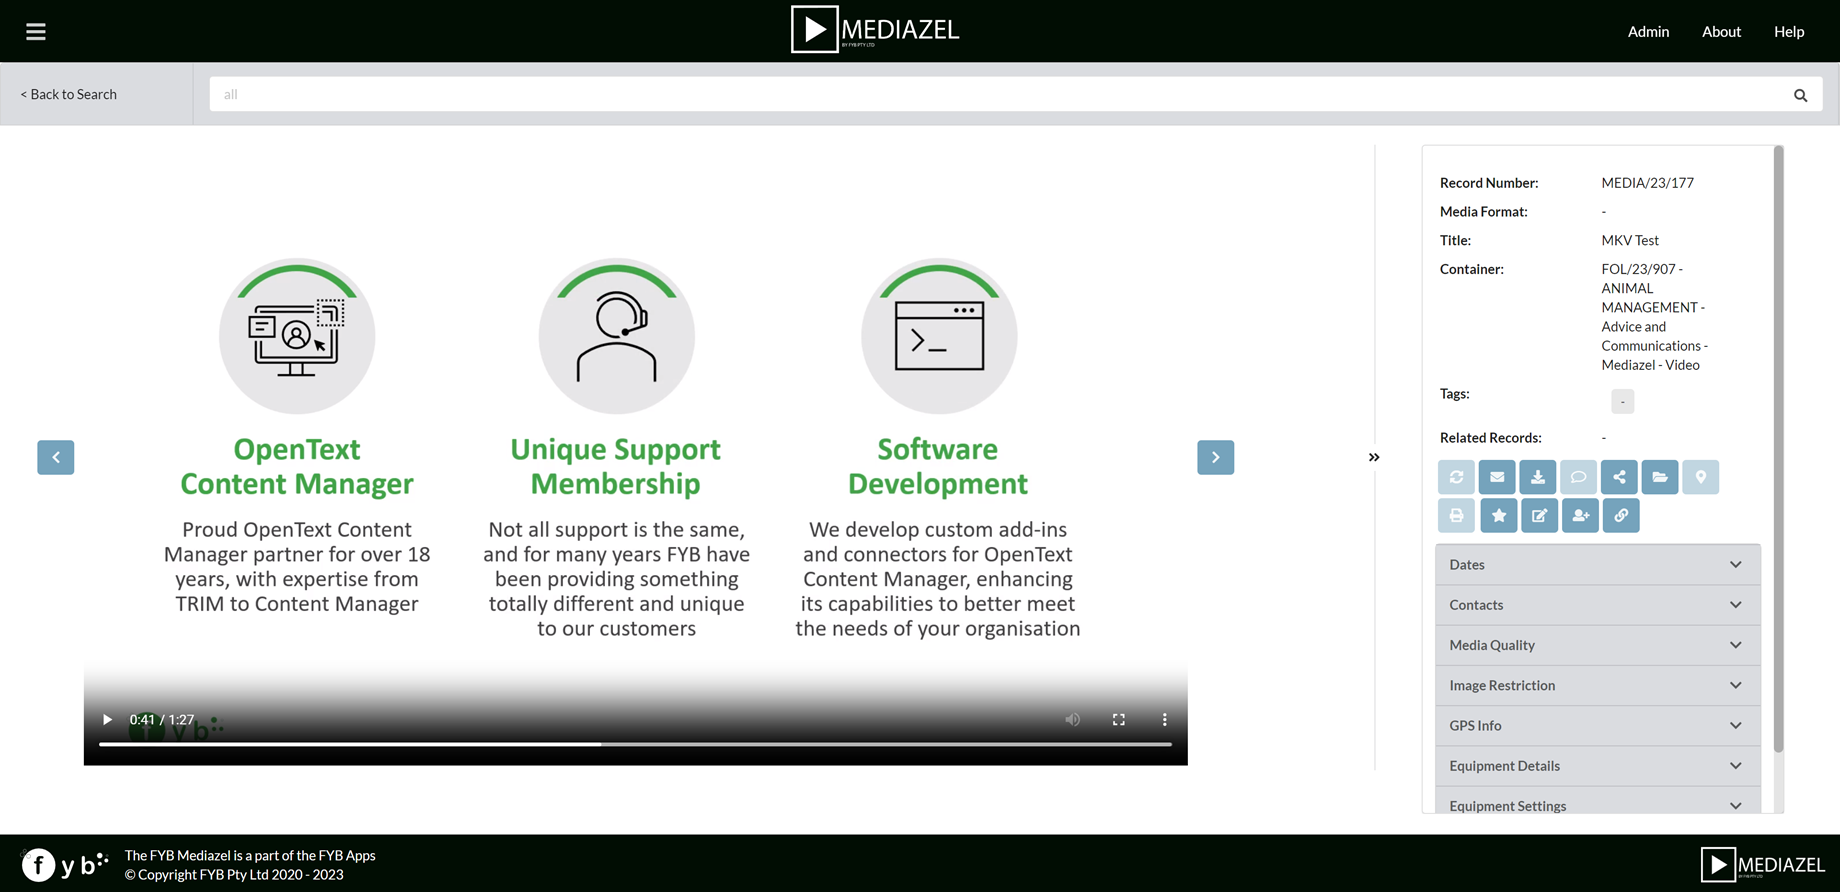
Not all video formats can be streamed in the browser, this is different based on the browser you are using. Please refer to the links below for details on the supported and unsupported format of each browser:
AUDIO TYPE
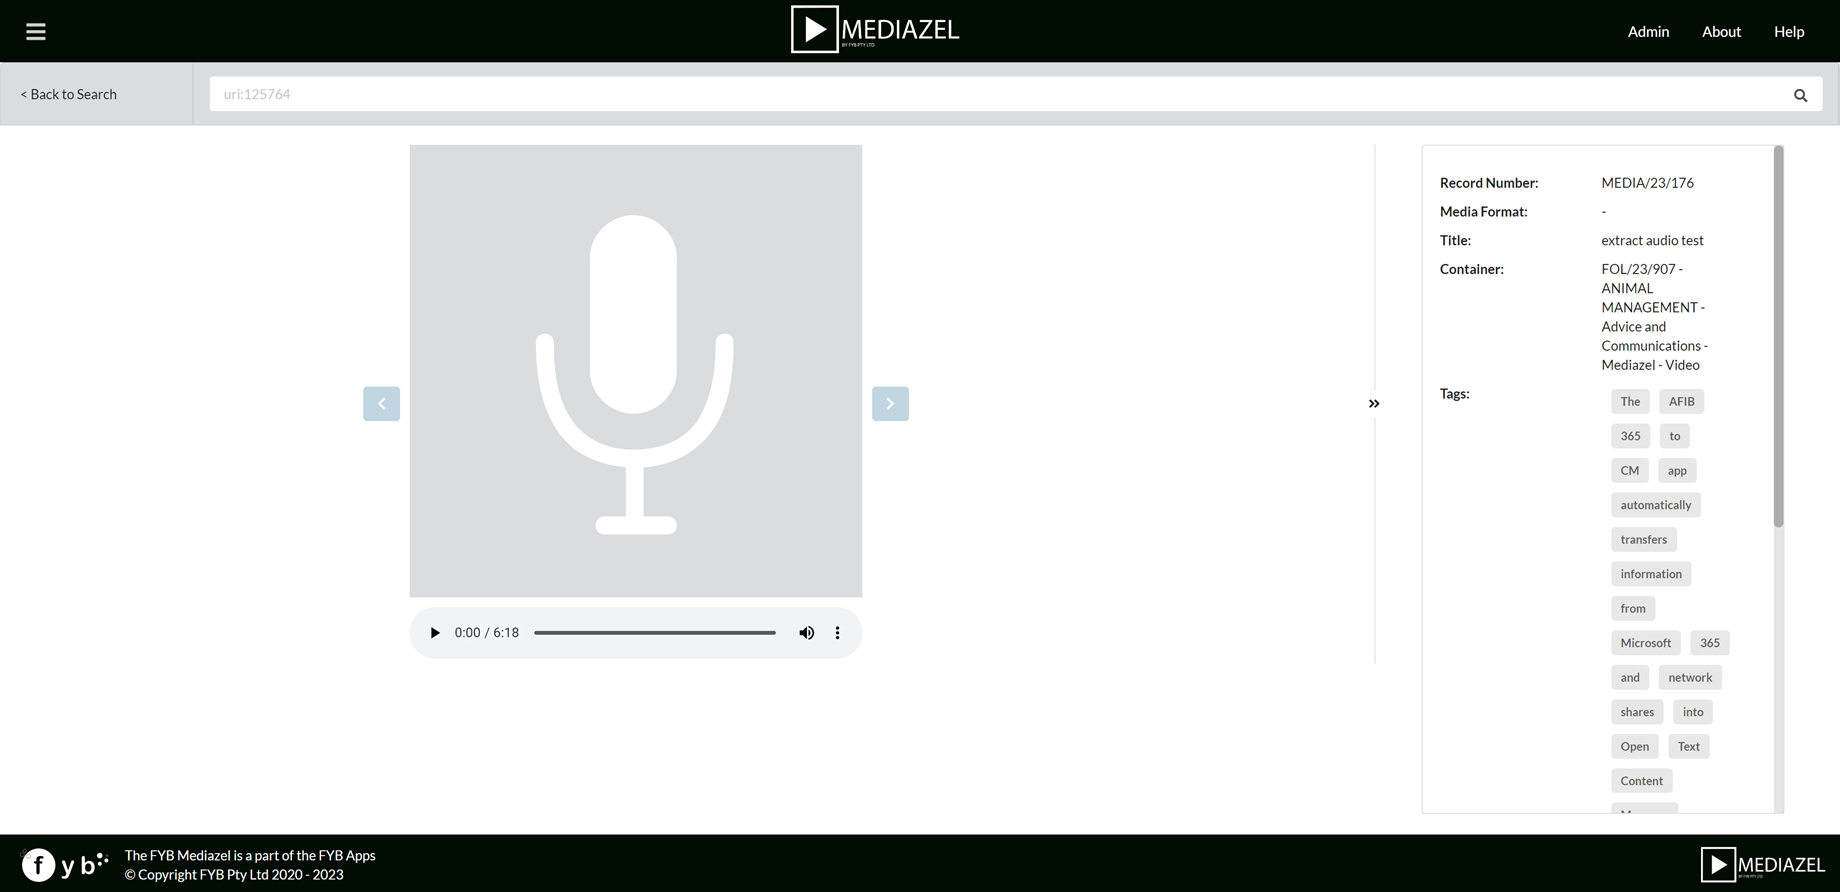
NAVIGATION BUTTONS
BACK TO SEARCH

Redirects the user to the search results page.
ARROW BUTTONS


Allows the user to navigate through all media items from the search results. Alternatively, use the left and right keys on your keyboard to navigate through the media items.
ACTION BUTTONS

ROTATE IMAGE

Clicking this button will rotate the image.
EMAIL LINK

Clicking this button will display the Email Links modal.
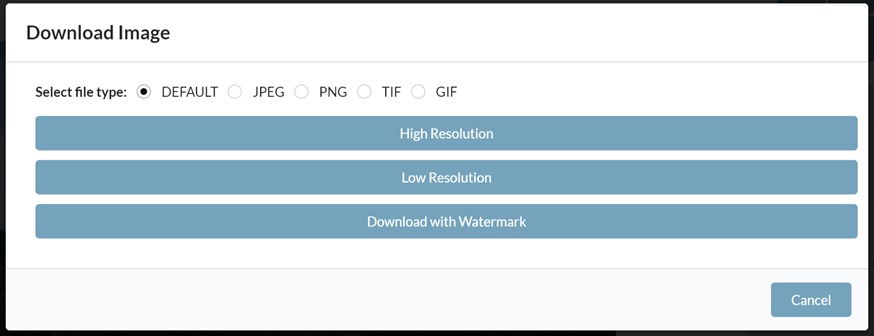
DOWNLOAD FILE

Clicking this button will display the Download Image modal.
The Download Image modal allows you to download the current image in various formats.
ANNOTATIONS
To create an annotation, hold down the Shift key and click and drag over the image.
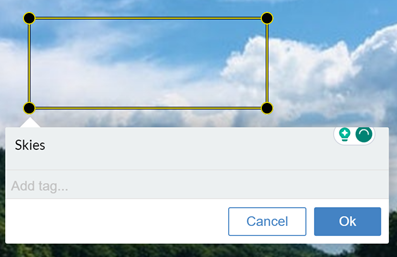

Clicking the annotations button will open the Annotations modal.

-
Download Annotation
Download an existing annotated rendition
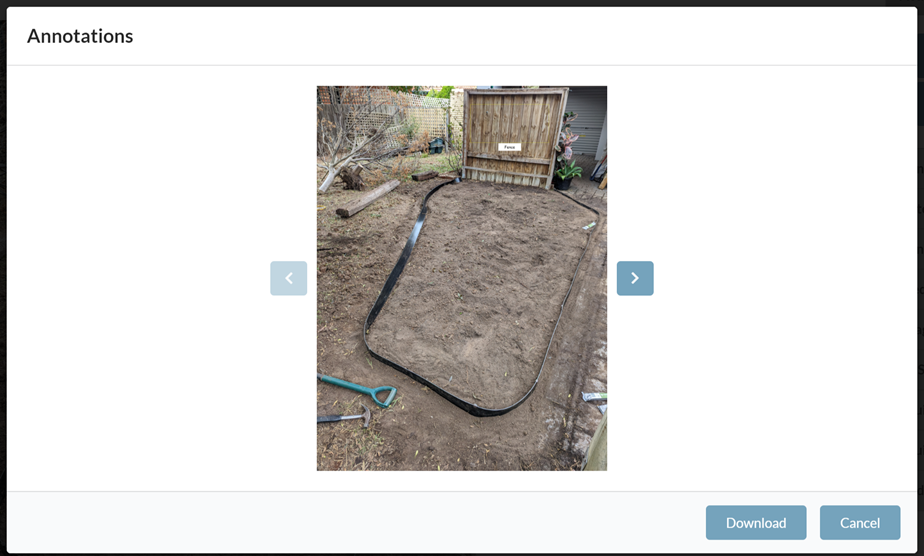
-
Download Current Annotation
Download the current annotated image -
Save Annotation as Rendition
Save the current annotated image as a new Record Rendition
SHARE FILES

Copies a URL link to the clipboard that can be used to download the original media item. A notification will appear indicating the link has been copied.
FIND MEDIA ITEMS FROM THE SAME CONTAINER

Searches for media items contained in the same Record Container.
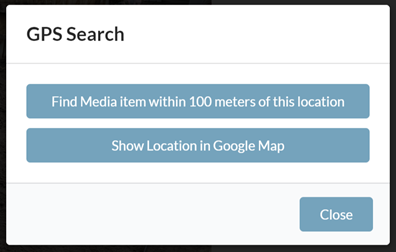
FIND MEDIA ITEMS NEAR THIS LOCATION

Searches for media items near the GPS location of the current item.
NOTE: Only media items with GPS coordinates will have this button enabled.
PRINT IMAGE

Click to print the current media item. This will launch the browser's default print window.
FAVOURITE

Adds or removes the media item from the user's Favourites.
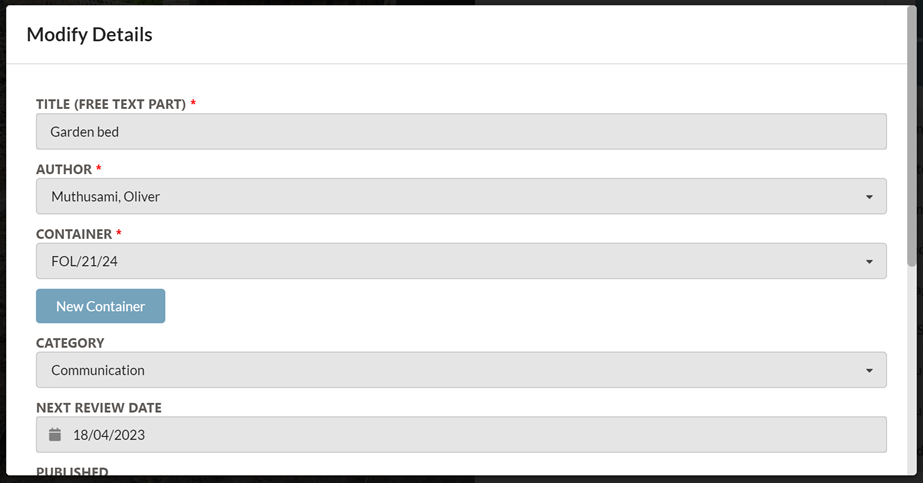
EDIT METADATA

Click this button to update the Record Medatada for the Media item.
ADD TO USER LABEL

Click this button to add the Media Item to a new or existing User Label.
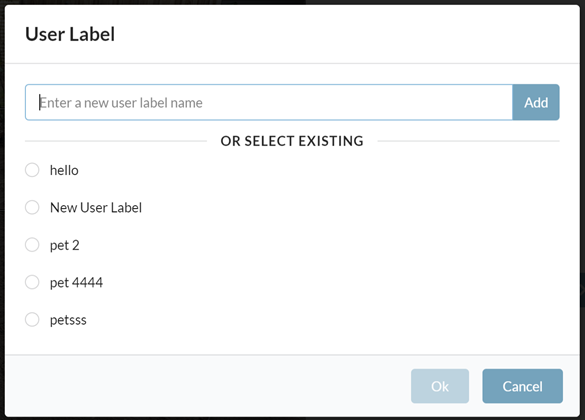
- Add to a new User Label: Enter the name of the user label and click Add.
- Add to an existing label: Select and existng User label and click Ok.
RELATED RECORDS

Click this button to view, download or add Related Records
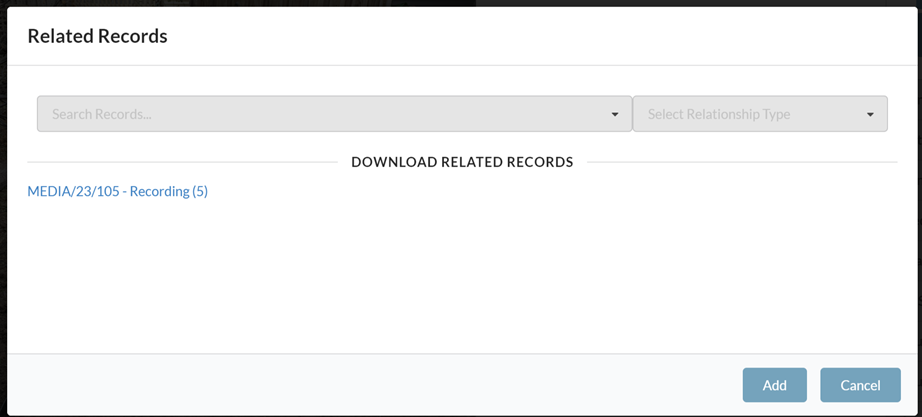
DOWNLOAD RELATED RECORDS
Click on the related record from the available list. The document will download through your browser to your Downloads folder.
ADD NEW RECORD RELATIONS
- Search for and select a media record

- Select the Relation Type
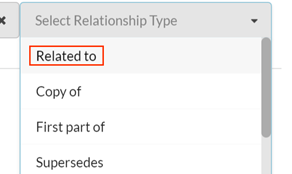
- Click Add

- The relationship will be added

METADATA
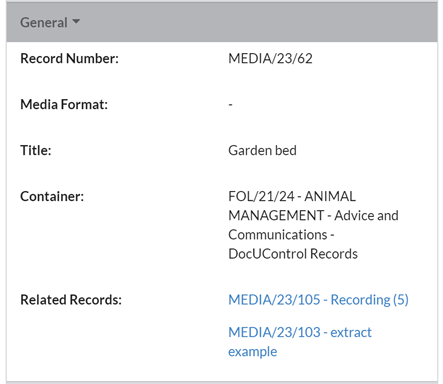
GENERAL
Displays general metadata associated with the Media item
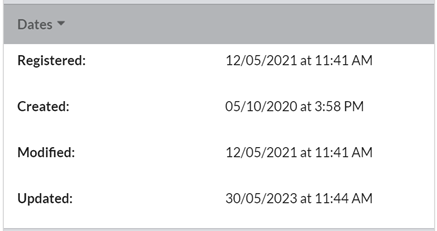
DATES
Displays commonly used Date values
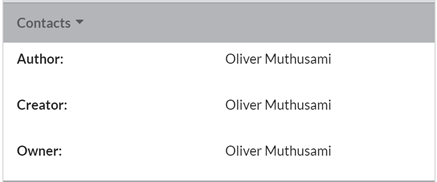
CONTACTS
Displays commonly used Location values
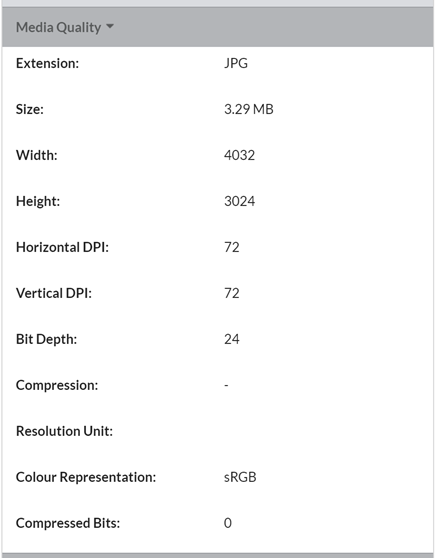
MEDIA QUALITY
Displays all metadata fields associated with the quality of the media item
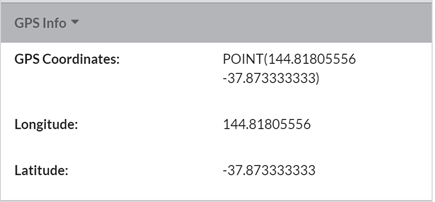
GPS INFO
Displays the information associated with the location where the image was taken
EQUIPMENT DETAILS
Displays all metadata fields associated with the equipment used to take the media item

ADDITIONAL DETAILS
Displays any additional fields configured for the Media Record Type. The Additional Fields displayed are set in the Admin Console
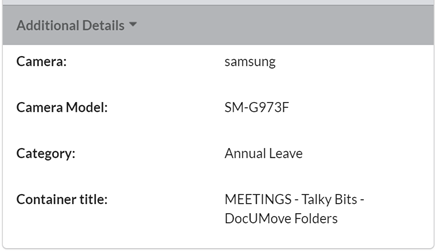
IMAGE RESTRICTIONS

Note: If the current media item does not have all required image restrictions an alert message will be displayed as shown below (This message is customizable via the admin console).

The detail restriction message can be enabled or disabled by an administrator via the Admin Console.