
GETTING STARTED
Note that DocULink is made up of two components. There is a web application used for uploading linked documents and there is an external link inside of Content Manager that allows you to check out/in linked documents.
This guide is broken into two main parts:
- DocULink Web Application
- DocULink External Link
SUPPORTED FILE TYPES
Currently DocULink supports the following file types:
| Application | Extension |
|---|---|
| Word | doc, docx, docm |
| Excel | xls, xlsx, xlsm |
| PowerPoint | ppt, pptx, pptm |
DOCULINK WEB APPLICATION
LAUNCHING DOCULINK
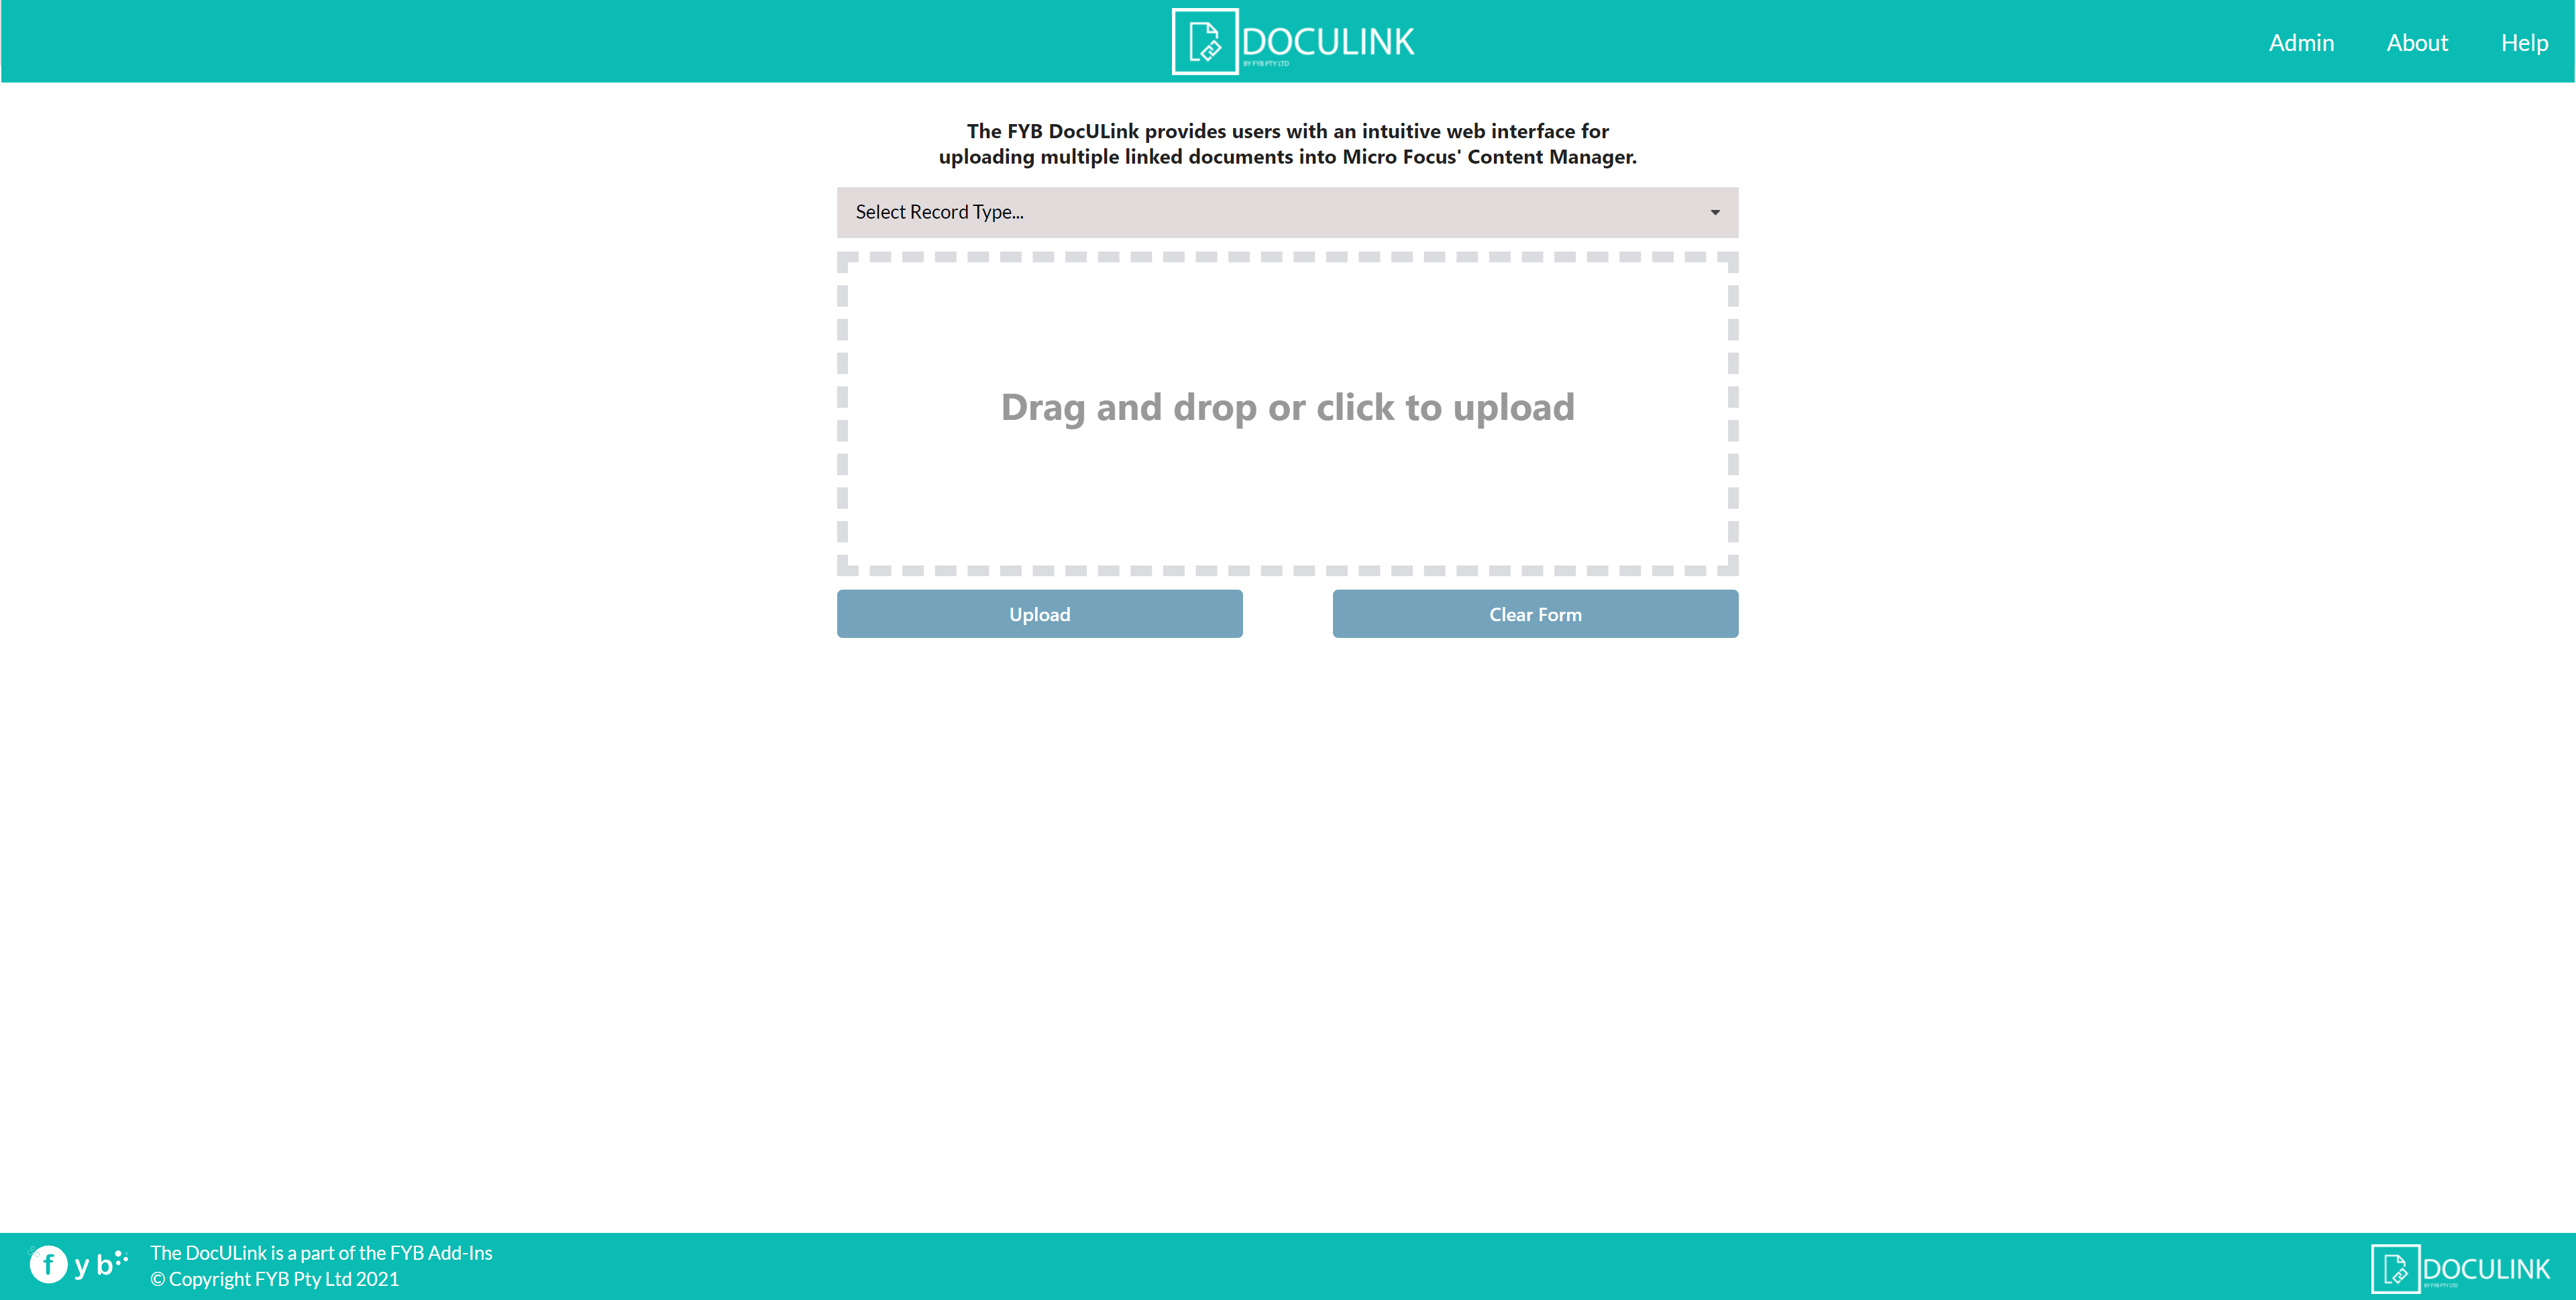
Open a web browser and browse to the DocUlink address. This will load the DocULink home page (as illustrated below).
UPLOADING DOCUMENTS
RECORD TYPE SELECTION
On the Home Page, select the desired Record Type from the dropdown list.
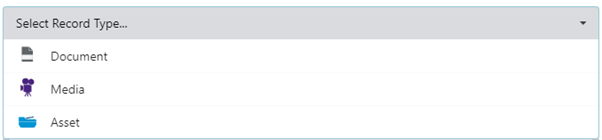
Record Types that support the capture of electronic documents will be listed. Record types that use manual record numbering patterns will not be shown.
METADATA ENTRY
The fields on the page may be different based on the selected record type. The value you place in the field(s) will be applied to all the documents being uploaded in the batch. The Title field is optional as it can be captured from the properties of the electronic document if left blank.
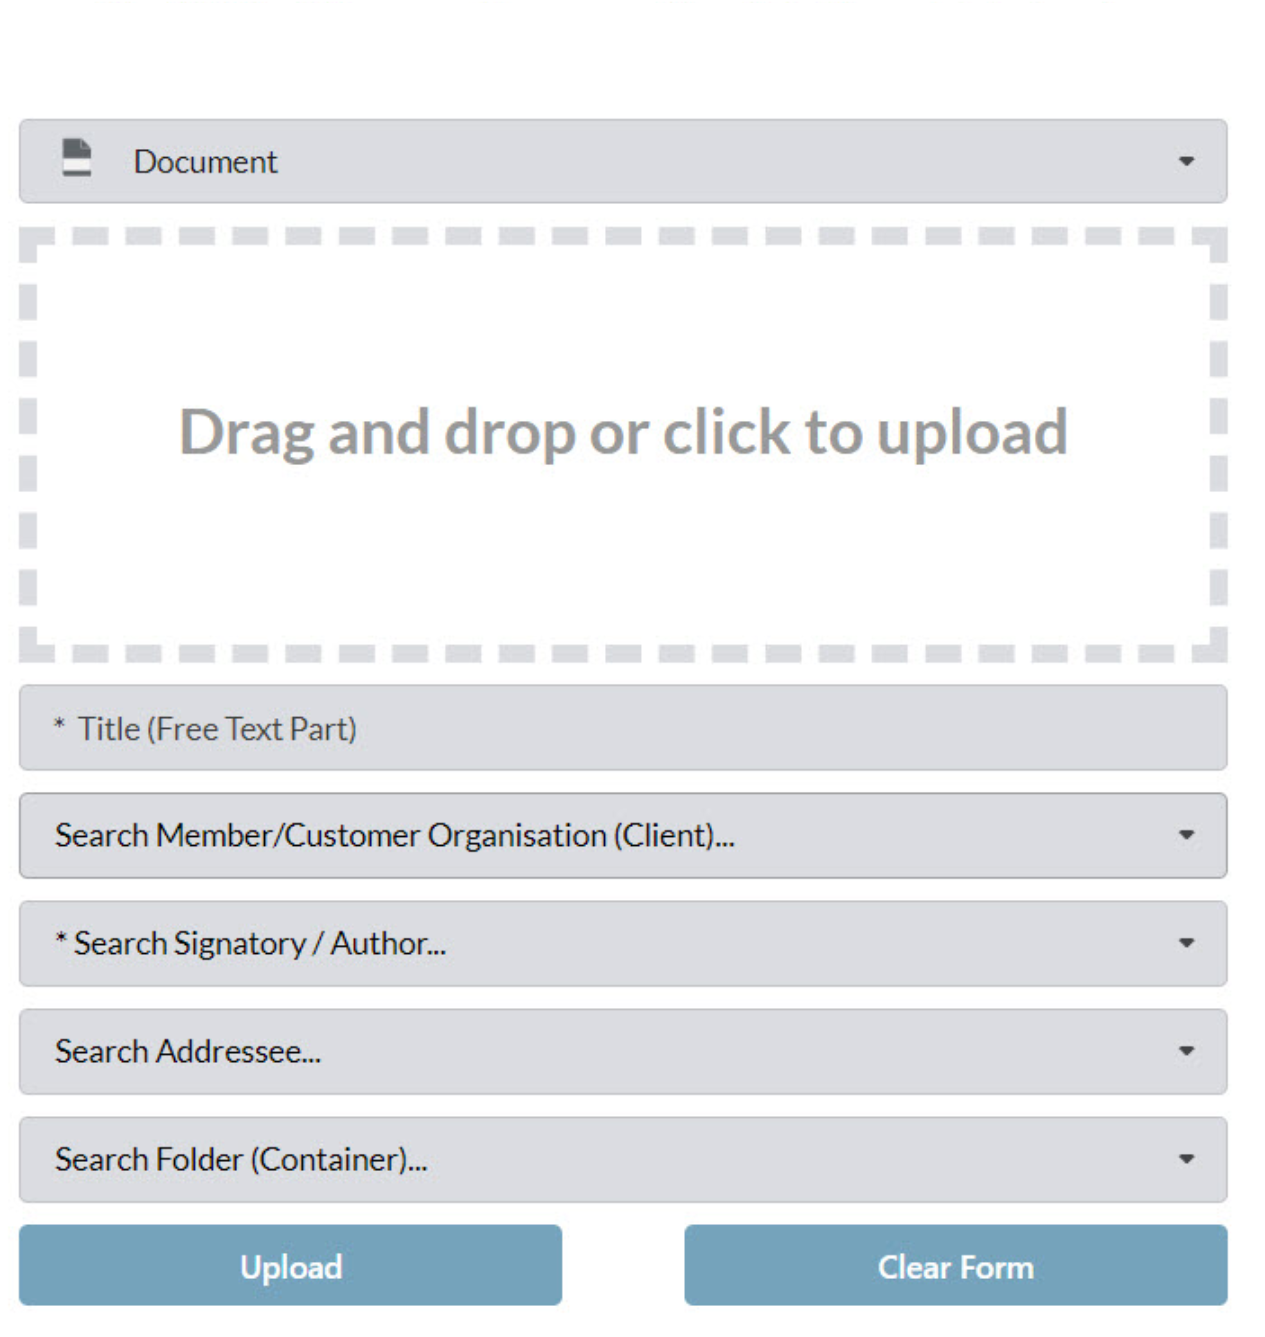
FILE SELECTION
Place the files you wish to upload into the drag and drop area. Alternatively, click on this area to open a file browser window.
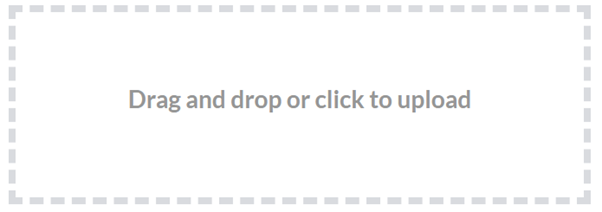
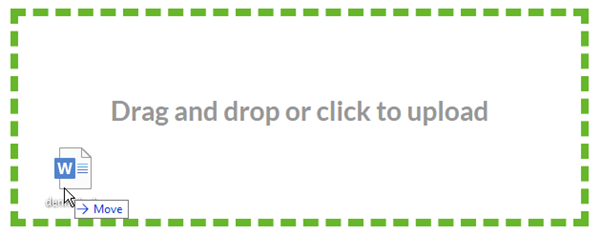
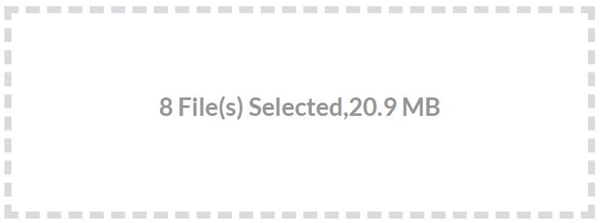
Once the files are selected, the drag & drop area will display the number of files to be uploaded.
FYB DocULink may experience delays when uploading a file size of 400MB or more.
LOCATION SELECTION
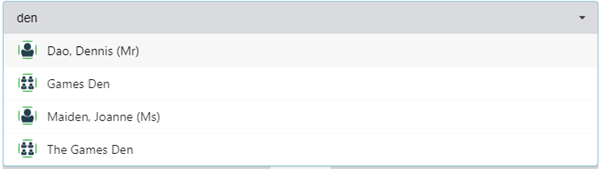
Enter in the author name. Start typing the author or organisation and select the suggestion from the list. The list will auto-populate every time a new letter is typed. Select the appropriate author or organisation from the drop-down list.
FOLDER/CONTAINER SELECTION
To enter the Container details, simply start typing the folder Title or Record Number that the documents will be uploaded to in Content Manager.

DATE SELECTION
For any date fields click on the calendar icon to open the date time picker and click on the desired date from the calendar.

UPLOAD
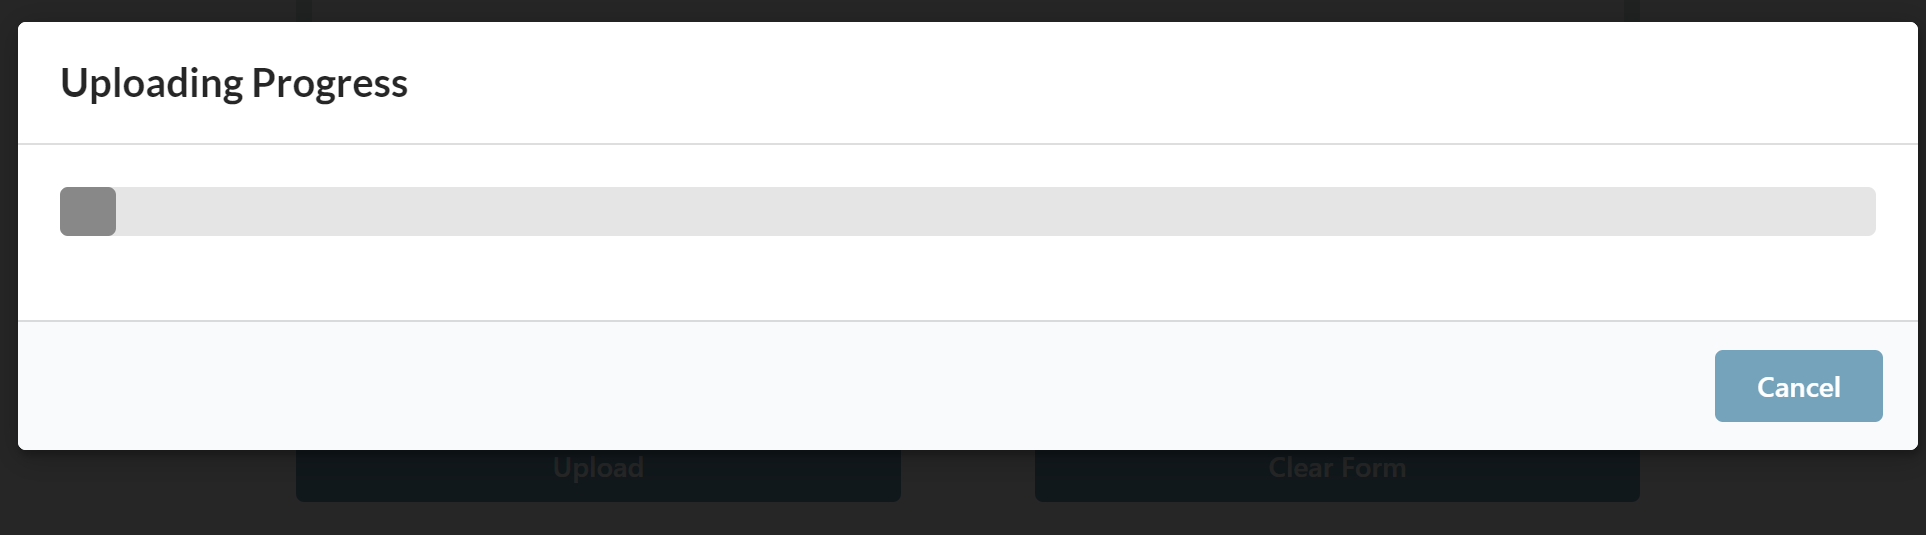
Once all the required fields have been populated click on the upload button to submit the documents to Content Manager, a progress bar will appear indicating that the files are being uploaded. A "Linked Document" record relationship will be created for all documents uploaded.

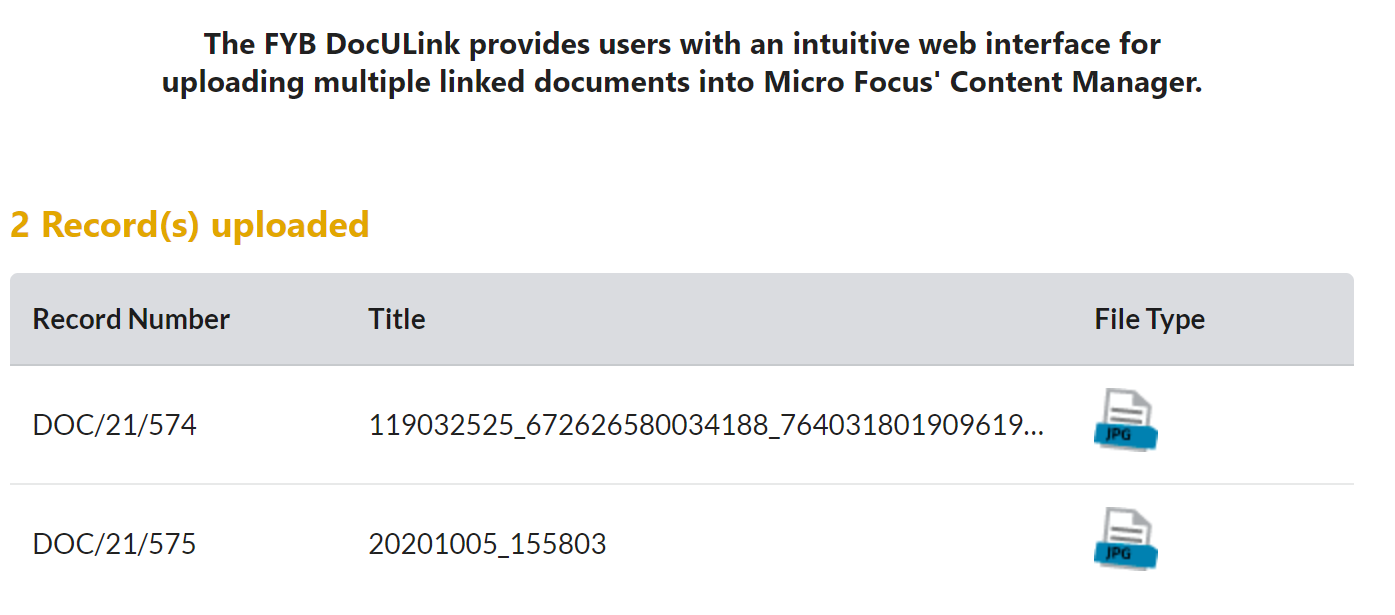
RESULTS
Once all the documents have been processed you will be redirected to the result screen. From here you will find general information about the type of documents that have been uploaded, the record number of the document in Content Manager and the number of files that have been successfully uploaded.
To return to the Home page please click on the Return Home button or alternatively click the DocULink Logo.
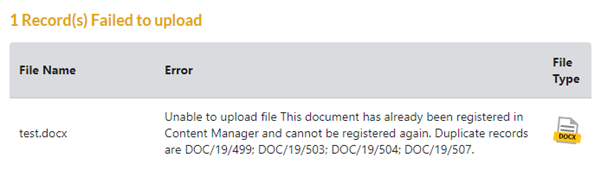
If any documents fail to upload into Content Manager, DocULink will display information of the error as illustrated below.
UPLOADING DOCUMENTS AS REVISIONS
If the Upload documents with duplicate titles as new revisions? option has been enabled in the Admin section then the upload process will differ as below.
DUPLICATE FILENAMES
Files that contain the same title as a record title within Content Manager will be displayed. For each listed file, you can select the record that the document will become a revision of.
After specifying the container, the application will automatically select the duplicate records with the same title within the selected container.
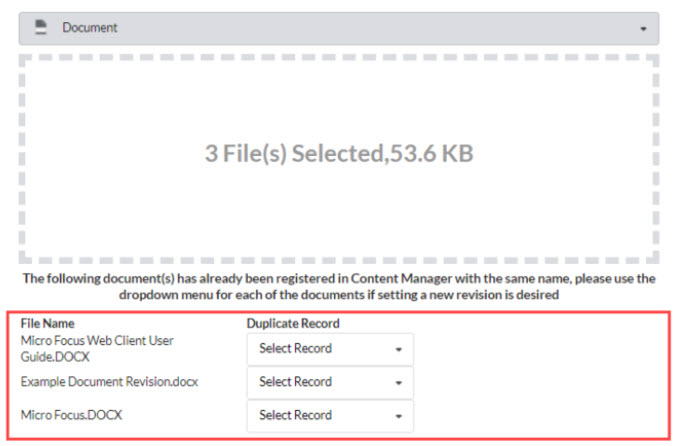
If there is a need to select the duplicate record individually (e.g. there is more than one to choose from) you can select the record using the respective combo box in the Duplicate Record column.
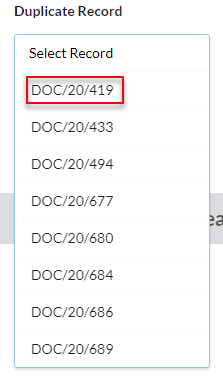
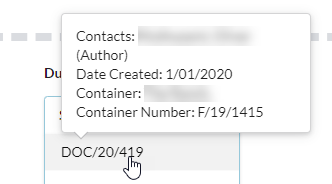
Each combo box will contain all records that share an identical title with the file's name. Hovering over any record number will display the following details for that record:
- Contacts
- Date Created
- Container
- Container Number
UPLOAD
Click the Upload Button. If there are one or more files that contain unique titles or are not linked as new revisions, the metadata fields will need to be populated.
DOCULINK EXTERNAL LINK
USING DOCULINK EXTERNAL LINK
The following instructions will only apply to records that have a "Linked Document" relationship with another record.
When opening Word documents that contain links to other Word documents, the Open all documents checkbox must be enabled
- In Content Manager, locate the record that contains a Linked to relationship you wish to checkout
- Right click on the relevant record and navigate to and select Send to > FYB DocULink
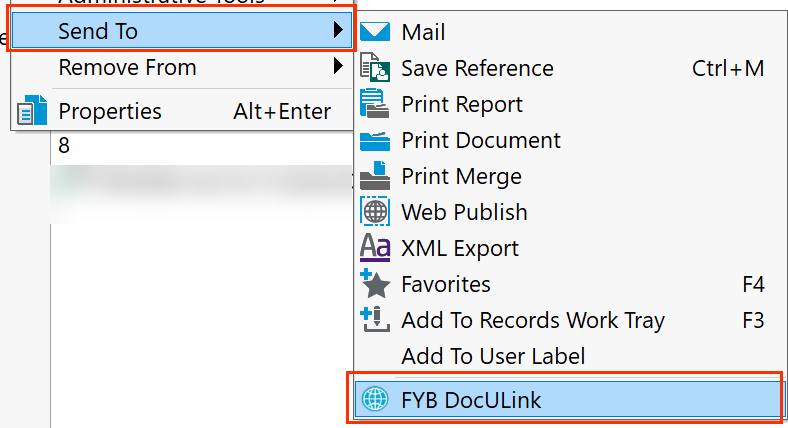
- DocULink will open
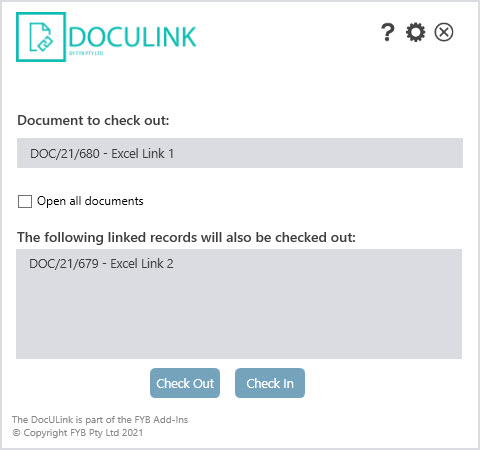
| FUNCTIONALITY | DESCRIPTION |
|---|---|
| DOCUMENT TO CHECK OUT | Displays the document number and title that will be checked out. The broken link in this document will be updated. |
| OPEN ALL DOCUMENTS | If checked, all linked records will open. If unchecked, only the record listed in the Document to check out field will be opened. |
| LINKED RECORDS TO BE CHECKED OUT | Any record that shares a “Linked to “ relationship with the record to be checked out will appear here. |
| CHECK OUT | This button will commence the check out process. Only the main record will be opened unless the Open All Documents checkbox is enabled. |
| CHECK IN | This will check in all records that were checked out by DocULink after clicking the Submit button. |
| HELP | Opens the DocULink help file in Document 360. |
| SETTINGS | Clicking the cog icon opens the configuration menu. |
| CLOSE | Clicking the close button will close DocULink. |