OVERVIEW
The Custom Type Request Settings allow for the configuration of multiple Custom Types from Service Now to capture selected Custom Types from Service Now to be populated into Content Manager.
CONFIGURING A NEW CUSTOM TYPE
To create a new Custom Type for Service2CM to poll, complete the following steps:
-
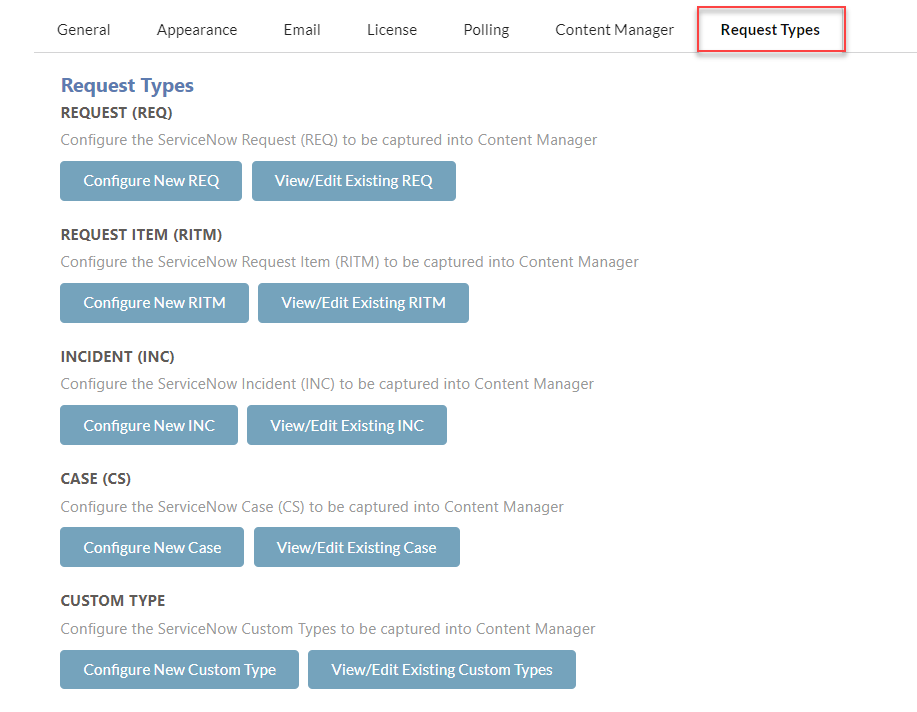
Click on the Request Tab in the Service2CM interface
-
Click on the Configure New Custom Type button

-
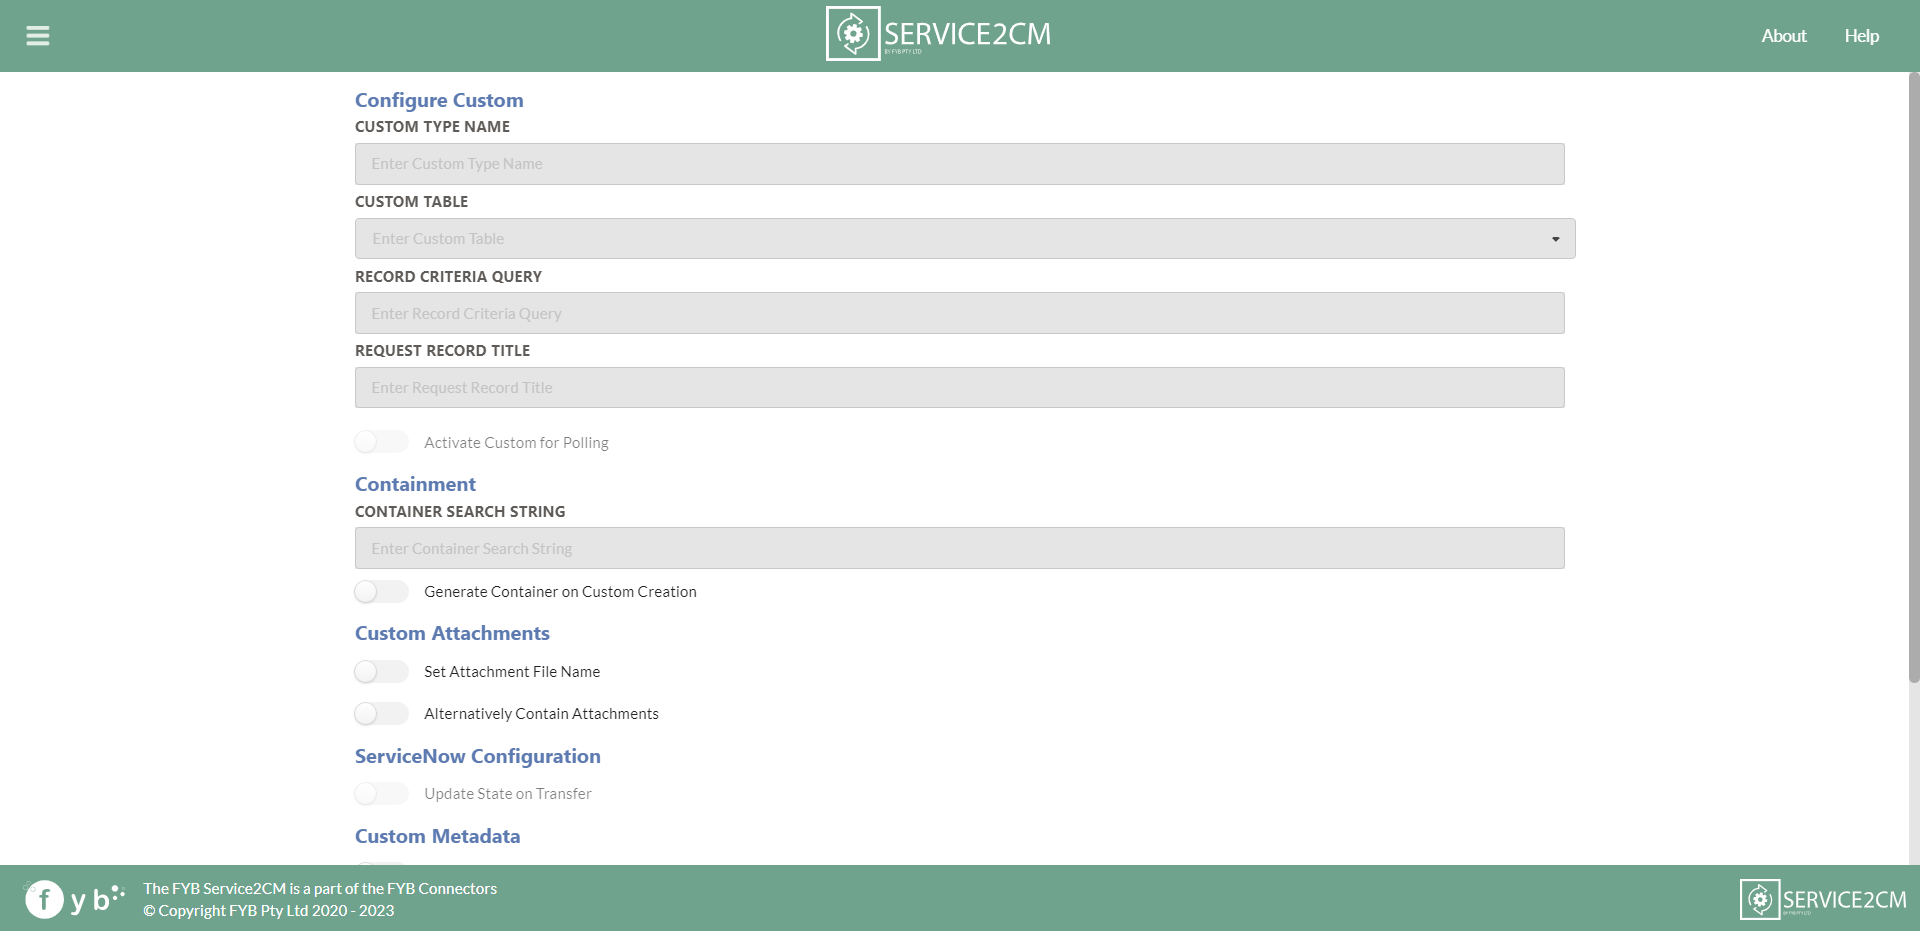
The Custom Type configuration page will load as follows
-
Fill out all the data you would like to do when polling for Custom Types in Service Now. Please see the fields below for further information on what can be configured.
-
Click on the Save button

If the form uses reference type or look up select boxes form variables. You must have the lookup field tag enabled on the form variable as this will provide Service2CM with the correct path to obtain the display value data to the correct table.

CUSTOM TYPE POLLING NAME
The Custom Type Name is a unique descriptive name for the type being created.

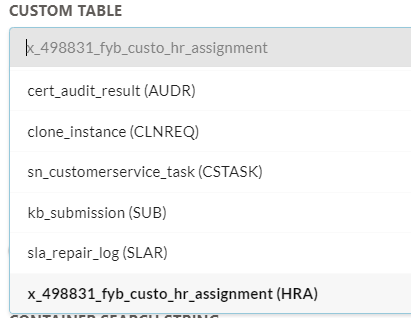
CUSTOM TABLE
The custom table is the table from is the custom type's table that Service2CM will connect to retrieve the required requested to store into Content Manager.
RECORD CRITERIA QUERY
The Record Criteria Query is the search criteria of the Service Now API call sent to Service Now to obtain the Custom Type data.
api/now/table/[table name]?sysparam_query= must be added to the start of the query. This will search for records on the incident table. The search query is to be added after the =.
To create a search query please complete the following steps:
-
Navigate to the Service Now Instance > [Custom Request Type Table Name]

-
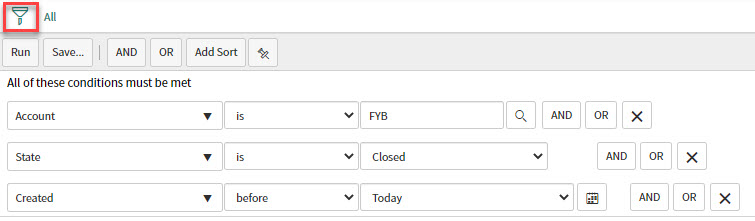
Click on the Filter button and a set of dropdowns will appear below. Use the dropdowns to create a search to obtain the records you wish to find.
-
Click on the Run button on the desired search when complete

-
Right-click on the end of the query created and click on the Copy query option

-
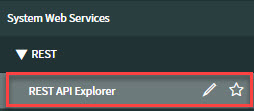
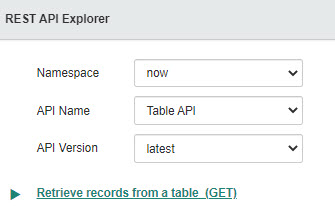
Navigate in Service Now to REST API Explorer (This is where the API call is configured)
-
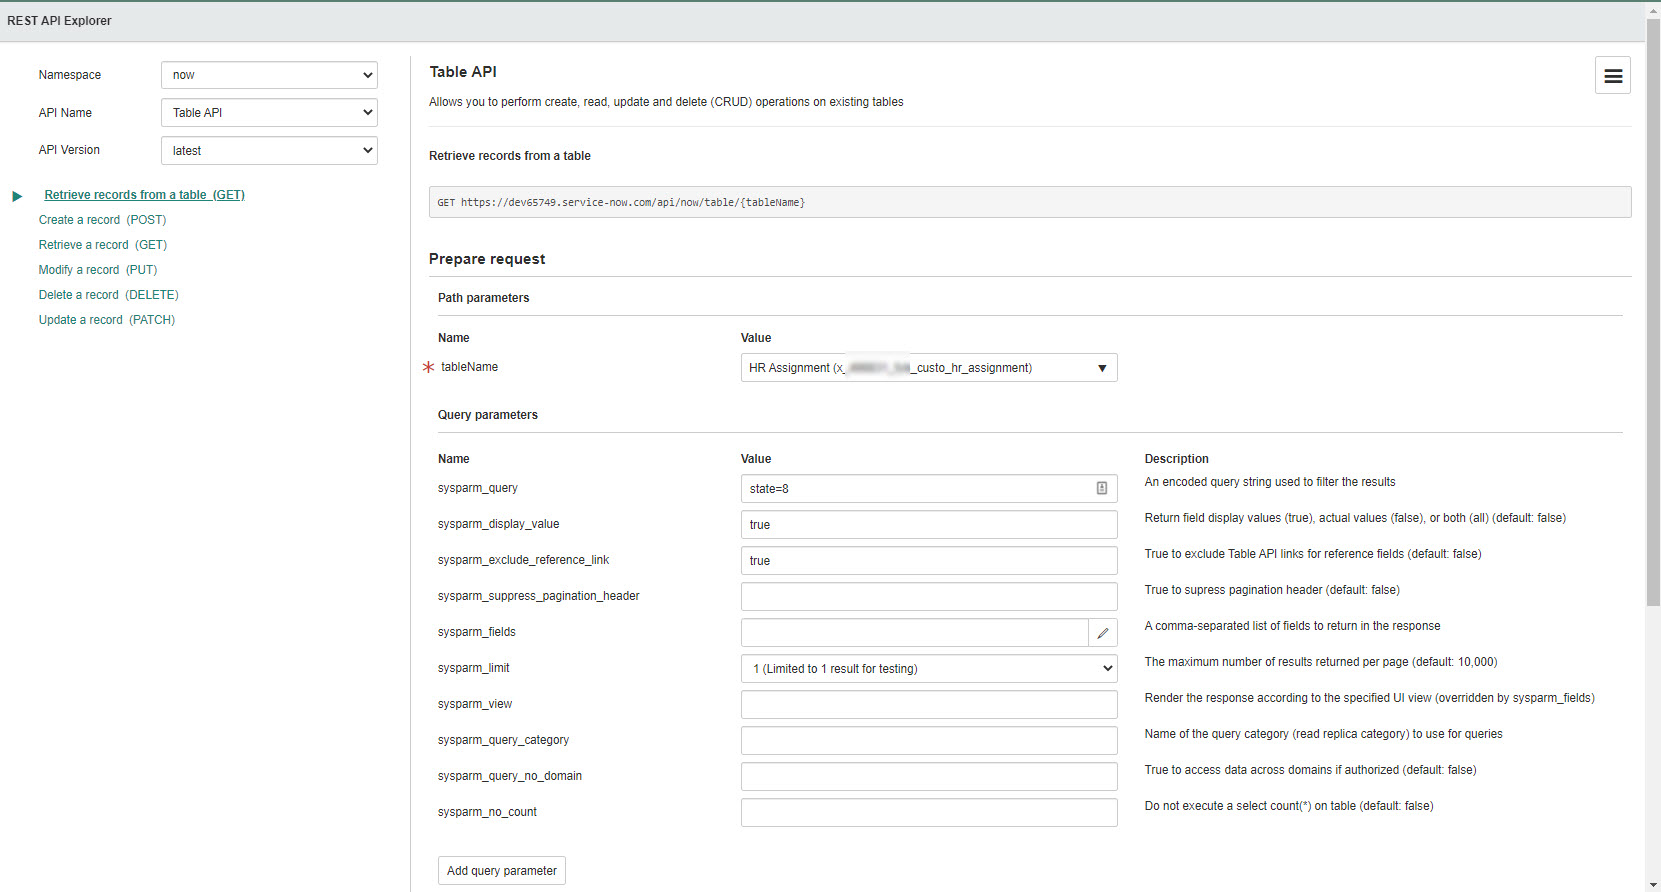
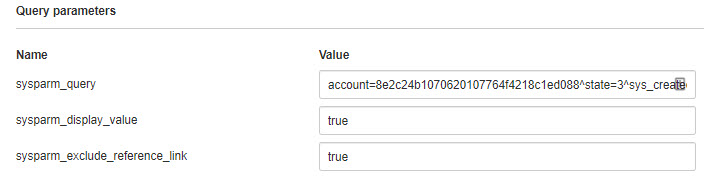
The REST API Explorer settings are to be set to Retrieve Records from a table (GET).

- Paste the query into sysparm_query
- Type true into sysparam_display_value
- Type true into exclude_reference_link
-
Click on the Send button

-
Scroll down to Request > HTTP Method / URI
-
Copy the highlighted section of the URL

Do not include &sysparm_limit=1 in the query as this will allow for only one record to be returned.
Scrolling down to the Response Body section will give an indication to which records will be returned from the search provided.
- Paste the highlighted query into the Record Criteria Query in Service2CM

CONTENT MANAGER RECORD TITLE
The Content Manager Record title is the titling convention that all Custom Types stored in Content Manager of the selected Custom Type Category.
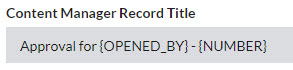
Service Now metadata can be used within the Record Title by adding placeholders into the title field. All metadata is obtained from the Custom Type form fields and form variables. Refer to CONFIGURING PLACEHOLDERS for more information on creating placeholders.
ACTIVATE CUSTOM FOR POLLING
All requests can be activated and deactivated from the polling service. If enabled, the request will be active for polling. If disabled, the request will be skipped during polling.

You can also deactivate a request configuration from the custom type homepage.

CONTAINER SEARCH STRING
The Container Search String determines which container Custom Type records are to be stored into Content Manager.
The Container Search String requires a Content Manager search in the format of a string.
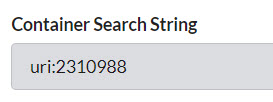
Containers that are static (All records go into the same container), the following search string can be used: uri:[container URI]
Dynamic containers can use the ServiceNow placeholders to add in Service Now field values to assist in creating a dynamic search string.
For example, using the Employee Number Service Now field, the value from this field can be used within the container and attachment search string to assist with finding the correct Employee container in Content Manager.
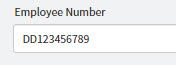
Example Container Search String: containerEx:[default:EMP/{EMPLOYEE_NUMBER} and title:Payroll] and title:Employee Payroll
GENERATE CONTAINER ON CUSTOM TYPE CREATION

When a new Custom Type is created in Content Manager a new Container can be created to house the Custom Type.

This container can be housed on its own (if the containment level is correctly specified) or can be used in conjunction with the containment search string.
If the containment search string AND generate container on Custom Type creation, this will allow for the newly generated container to be housed within the folder found from within the search string.
SET ATTACHMENT FILE NAME
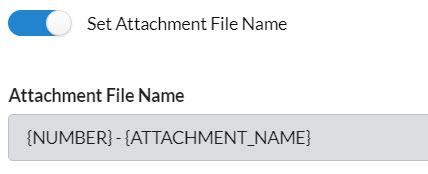
Attachments that are stored on the Custom Type have the option to provide a unique naming convention for each Custom Type. If this option is toggled off, Service2CM will use the attachment's actual file name as the attachment record's title in Content Manager.
Placeholders can be used for adding metadata from the form fields and variables of the Custom Type apart of the attachment file name. Refer to CONFIGURING PLACEHOLDERS for more information on creating placeholders.
To declare a placeholder within the template, Use the metadata's name in capital letters, replacing spaces with _ and surrounded in { } brackets,
Example:
- {ITEM}
- {SHORT_DESCRIPTION}
{SEQ_NUM} is the sequential number placeholder which will add a number sequence to each attachment created.

ALTERNATIVELY CONTAIN ATTACHMENTS
By default, all attachments found for the Custom Type will be contained on the record in Content Manager.
If it is desired that the attachments should be alternatively contained on the Custom Type in Content Manager, enable this option.
Upon enabling, please select an attachments container search string
ATTACHMENTS CONTAINER SEARCH STRING
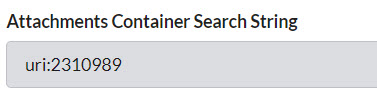
The Attachments Container Search String determines which container Custom Type attachment records are to be stored into Content Manager.
This functionality works the same way as the Container Search String, please see section for configuration.
UPDATE STATE ON TRANSFER
If during the polling, the state or a choice element should be updated to indicate a successful or non successful transfer of a request into Content Manager, the choice element state can be configured.
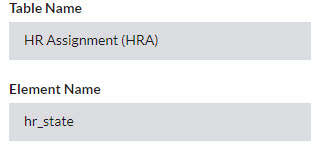
TABLE NAME
The table that the choice element is associated to. This is typically the same table as the type being configured. Some exceptions may occur for inheritance configuration such as SC_TASK.
Please note this dropdown may take a few seconds to load in with data as it retrieved its information after the Retrieve from Table is set.
ELEMENT NAME
The name of the choice element that will be updated. All choice values are obtained from the sys_choice table for the associated table name provided. The choices for the element must be within sys_choice.
Please note this dropdown may take a few seconds to load in with data as it retrieved its information after the Table Name is set.
SET ELEMENT ON SUCCESS
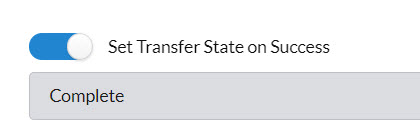
To indicate when a Custom Type has been successful in its transfer to Content Manager, the Custom Type's State/ Element can be updated to a new value to indicate a successful transfer has occurred.
SET TRANSFER STATE ON FAILURE
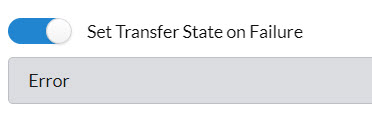
To indicate when a Custom Type has been unsuccessful in its transfer to Content Manager, the Custom Type's State/ Element can be updated to a new value to indicate an unsuccessful transfer has occurred.
SEND PDF DOCUMENT TO SERVICE NOW / CONTENT MANAGER
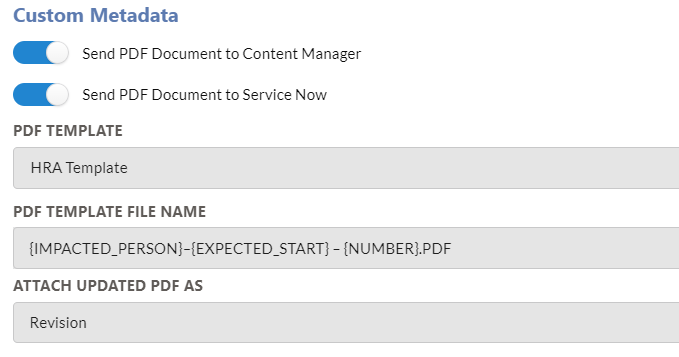
The PDF metadata document contains the choice to send the document to Content Manager and / or ServiceNow.
PDF Template is the Custom Type metadata template. The PDF template must be a Word Document that is stored within Content Manager and will be referenced in the PDF Template input using its URI.
PDF File Name is the titling convention for all PDF Metadata documents stored in Content Manager on the selected Request Item Type and will be attached to the associated Request Item in Service Now. It accepts form field and form variable placeholders like Content Manager Record Title.
Metadata can be captured in the PDF template from both form fields and form variables on the Custom Type.
The PDF template is completely customisable. Using the placeholders, Service2CM will populate the placeholders when a valid value is returned.
Placeholders can be used in tables, or even within paragraphs of text like the example below.
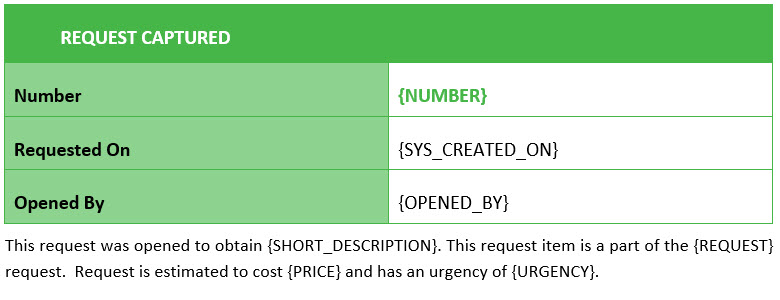
To add in information regarding approvers, include the placeholder {APPROVERS}. This will include a list of all approvers on the REQ and their current status.

For more information in configuring placeholder, please refer to CONFIGURING PLACEHOLDERS.
Attach Updated PDFs as allows for you to select how the PDFs are handled when an updated REQ is passed through to Content Manager.
The following options are available
- Set New Revision
- Set New Version
SET NEW REVISION
If this option is enabled, Service2CM will create a new revision of the PDF Metadata Document and will be stored on the latest version of the record within Content Manager

SET NEW VERSION
If this option is enabled, Service2CM will create a new version of the PDF Metadata Document and will be stored on a new version of the record within Content Manager

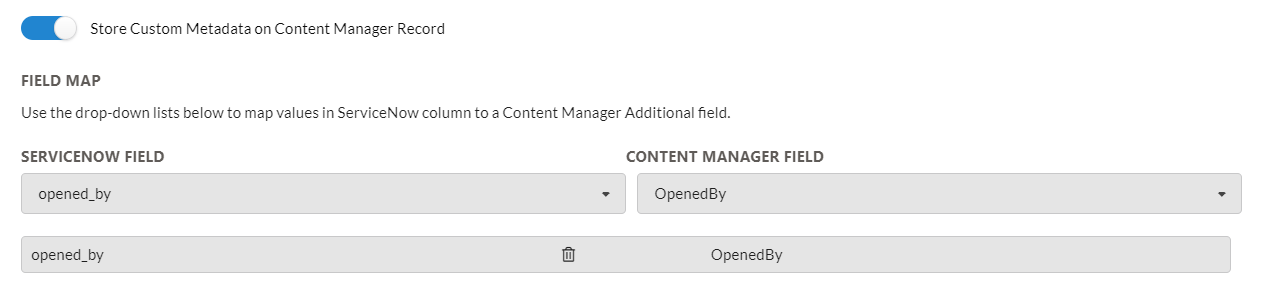
STORE CUSTOM TYPE METADATA FIELDS ON CONTENT MANAGER RECORD
If this feature is to be used, additional fields created must be created for the specified Service Now property.
If the Store Custom Type Metadata on Content Manager Record is enabled the Metadata fields table will appear.
-
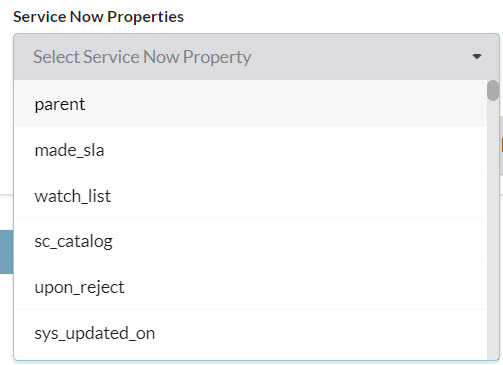
Using the Service Now Properties dropdown, select the metadata property to capture
-
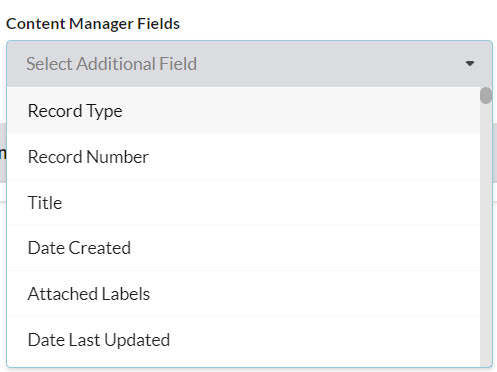
Using the Content Manager Fields dropdown, select the matching Content Manager Additional Field
-
The associated fields will be added to the table

To delete an association, click Delete (rubbish bin icon) button to remove it from the table.

- Click on the Save button

CONFIGURING PLACEHOLDERS
To declare a placeholder, use the form field name in capital letters, replacing spaces with _ and surrounded in { } brackets,
Example:
- {ITEM}
- {SHORT_DESCRIPTION}
- {SUGGESTED_APPLICATION_PROCESS}
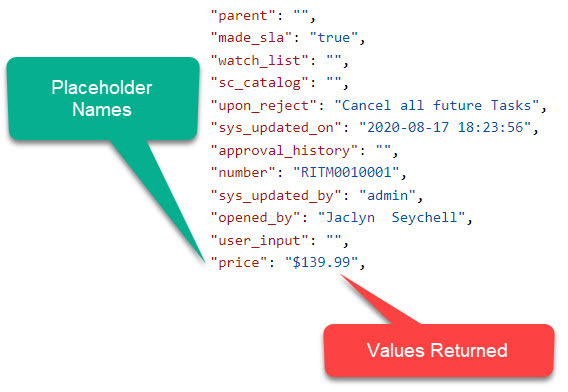
The REST API Explorer can also assist in displaying what information is returned from a Custom Type. The Response Body will display what the placeholder names used are. Service2CM uses the same placeholder names. Ensure to place all placeholders in { } and written in capital letters.
Please note that form fields and variables can sometimes have a slightly different name to their display name. Using the REST API Explorer will assist in obtaining to correct placeholder name, as Service2CM will use the API call name field name (refer to the image below).