

ACCESSING THE ADMIN CONSOLE
-
On the Home Page, click the Admin Tab

-
The Admin page will load

The Administration Console can only be accessed by Content Manager Administrators, Records Managers, or any Admin Whitelisted Users.
GENERAL
General settings for the application will be displayed here.
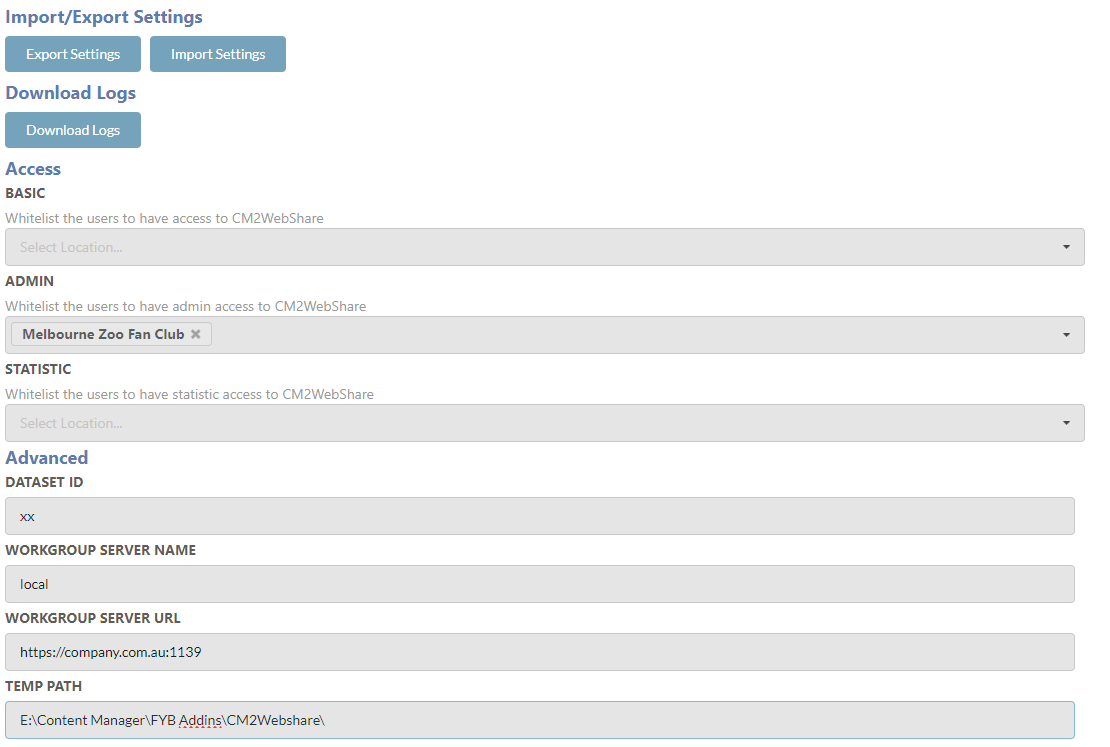
IMPORTING AND EXPORTING SETTINGS
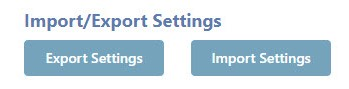
Click the Export Settings button to download a zip file of the current CM2WebShare JSON settings files.
Click the Import Settings button to import CM2WebShare JSON settings files to the application.
DOWNLOAD LOGS
Click on the Download Logs button to download a zip file containing the CM2WebShare log files.
BASIC WHITELIST
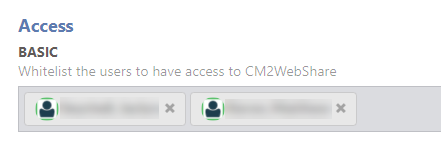
Input the name of the user to be whitelisted to allow basic rights for accessing CM2WebShare. Click on the Save button to save changes.
ADMIN WHITELIST
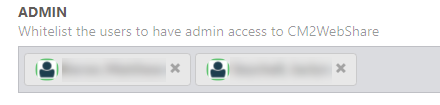
Input the name of the user to be whitelisted to allow administrator rights for accessing CM2WebShare. Click on the Save button to save changes.
Anyone that is labelled in the admin whitelist will have full administrators’ rights within CM2WebShare. This will allow the user access to creating and editing tables and themes and accessing the admin page.
STATISTIC WHITELIST

Input the name of the user to be whitelisted to allow rights for accessing the statistics page of CM2WebShare. Click on the Save button to save changes.
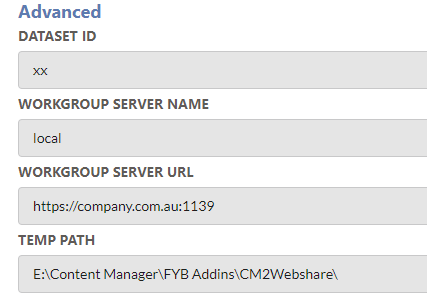
UPDATING THE CONNECTION DETAILS
| Name | Description |
|---|---|
| Dataset ID | The 2-character Content Manager dataset identifier |
| Workgroup Server Name | The name of the Content Manager Workgroup Server used for the dataset connection. Connection to the dataset can be created using either the workgroup server name or URL |
| Workgroup Server URL | The name of the Content Manager Workgroup URL used for the dataset connection. Connection to the dataset can be created using either the workgroup server name or URL |
| Temp Path | Path where temporary files and logs are stored |
APPEARANCE
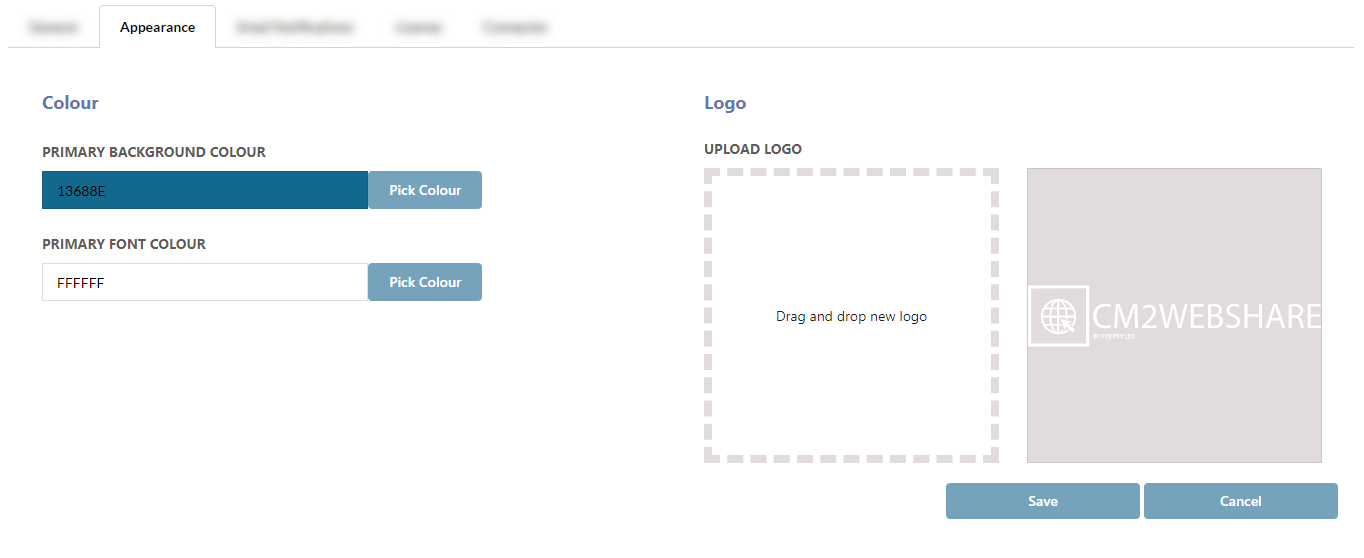
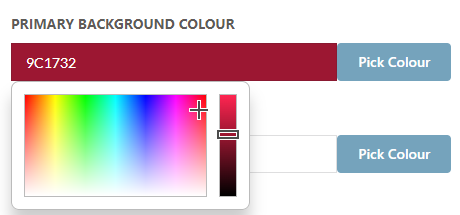
PRIMARY BACKGROUND COLOUR
Click Pick Colour to select the background colour for the header and footer.
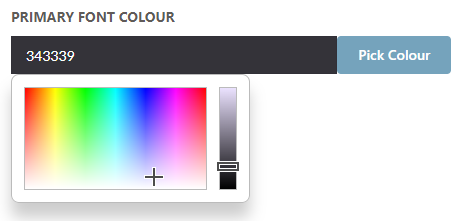
PRIMARY FONT COLOUR
Click Pick Colour to select the font colour for the header and footer.
LOGO
To change the Logo, drag and drop the image to the Upload New Logo drop zone.
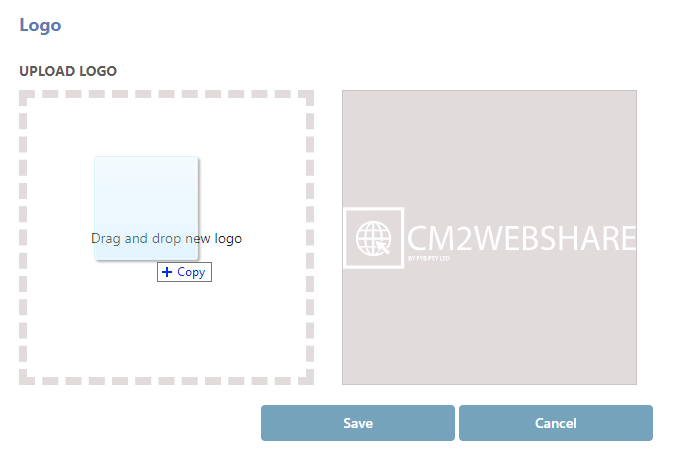
Click on the Save button to save the changes.
We recommend that the image dimensions and file size are optimised to ensure there are no long load times introduced for excessively large images. Optimal naming conventions for images excludes the use of punctuation and special characters including underscores or dashes.
EMAIL NOTIFICATIONS
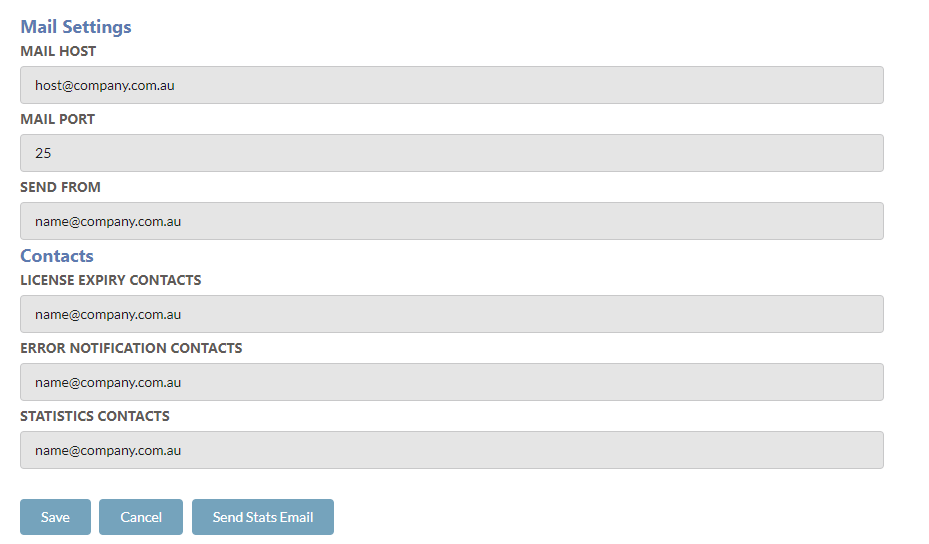
Settings are configured for the generation and sending of emails from CM2WebShare to the nominated users.
| Name | Description |
|---|---|
| Mail Host | Email server address. |
| Mail Port | The Email server port. |
| Send From | The nominated sender e-mail address |
| License Expiry | A comma separated list of email address who will receive the license expiry e-mail notification. |
| Statistics | A comma separated list of email address who will receive the monthly statistics report showing the monthly usage of CM2WebShare. |
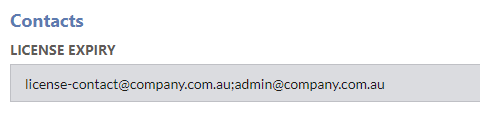
LICENSE EXPIRY EMAILS
A license expiry notification will be sent 60, 30, 10, 5, 4, 3, 2 and 1 day(s) before the license expires. The email will be sent to the provided License Expiry Contacts. Multiple contacts can be added by adding ';' after each contact.
STATISTICS EMAILS
An email will be sent monthly showing the monthly usage of CM2WebShare to the Statistics contacts provided. Multiple contacts can be added by adding ';' after each contact.

Click the Send Email button to send the statistics email.

LICENSE
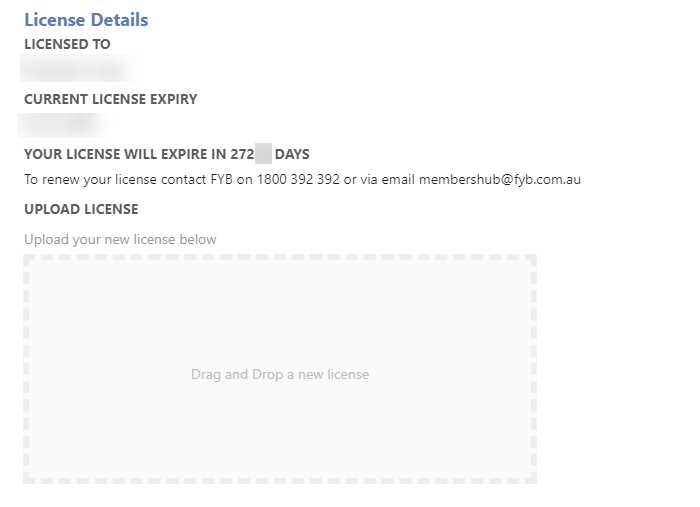
Displays information about the currently configured license and when it will expire. For detailed instructions on updating a license please see the LICENSE UPDATE GUIDE.
TABLES
The Tables settings maintain general CM2WebShare settings.

DISPLAY TABLES PER PAGE
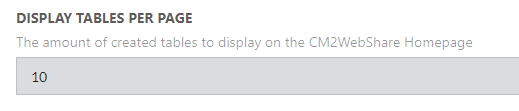
Controls the amount of CM2WebShare tables displayed per page on the home page.
RESTRICTION FIELD
Sets the restriction field used for limiting the search results on the CM2WebShare table based on a Boolean additional field. The field can be enabled for each individual table.
CACHE TABLE DATA
Enables the choice to cache individual CM2WebShare table data to allow for quicker loading of the table. Each table config will have the Cache Table Data option available.
AUTHENTICATION
The Authentication tab allows you to specify the authentication method for CM2WebShare.
WINDOWS
To enable Windows Authentication:
-
Set the Type field to None.
-
Click Save
-
Navigate to the CM2WebShare application in IIS
-
Ensure Windows Authentication is the only authentication method enabled for CM2WebShare

-
Perform an app pool restart for CM2WebShare
MICROSOFT OPEN ID AUTHENTICATION
To enable Microsoft Open ID Authentication:
-
Set the Type field to Microsoft.
-
Enter the values for all the provided fields. The values can be found in the CM2WebShare OpenID Microsoft Guide
-
Click Save
-
Navigate to the CM2WebShare application in IIS
-
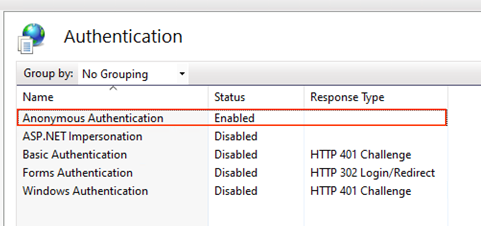
Ensure Anonymous Authentication is the only authentication method enabled for CM2WebShare

-
Perform an app pool restart for CM2WebShare
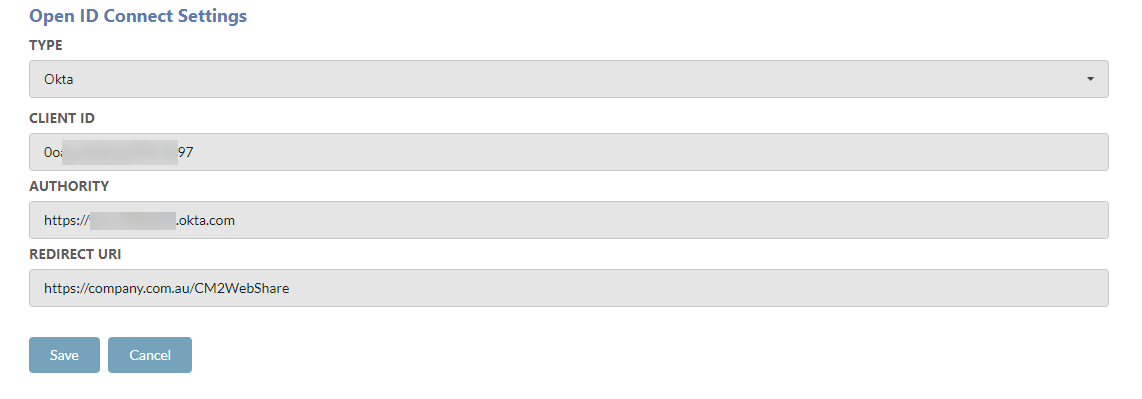
OKTA OPEN ID AUTHENTICATION
To enable Okta Open ID Authentication:
-
Set the Type field to Microsoft.
-
Enter the values for all the provided fields. The values can be found in the CM2WebShare OpenID Okta Guide
-
Click Save
-
Navigate to the CM2WebShare application in IIS
-
Ensure Anonymous Authentication is the only authentication method enabled for CM2WebShare
-
Perform an app pool restart for CM2WebShare