

SEND TO CONTENT MANAGER (CM)
The connector allows you to place a Send to CM action within your Project.
From this Send to CM Action you can complete the following sections:
CREATE ELECTRONIC DOCUMENT IN CM
Once a document is generated with SmartIQ you can have this document automatically registered into Content Manager via the Send to CM Action.
With the connector, new fields are available for mapping. These include Alternative Container, Client, and a Blank Record field.
CREATE BLANK RECORDS IN CM
Where the term Blank Record is referred to this was designed with the idea of being able to create a Folder (or Container) when registering a document. Effectively giving you the ability to make a record in Content Manager that isn't an electronic document such as a folder/container or other record type you may choose to contain your generated documents in.
A reason you may be required to use a Blank Record is when generating a document through SmartIQ, you want to save to a specific folder within Content Manager that wasn't yet created. There is no requirement to create the folder first making it a two-step process.
UPDATE EXISTING RECORD METADATA IN CM
The connector will allow you to update the metadata (properties) of any record already existing in Content Manager.
UPDATE ELECTRONIC DOCUMENTS FOR EXISTING RECORDS IN CM
The connector will provide you with the ability to update an existing document in Content Manager. The update can be done by creating a new revision or by replacing the existing document.
CONTENT MANAGER/RM/TRIM
In version 9.0 Records Manager was renamed to Content Manager. HPE has also been acquired by Micro Focus. Please take this into consideration when referenced throughout the document as some references may still refer to HPERM or CM when running different versions. All settings still apply.
SETTING UP THE SEND TO CM ACTION
The following instructions outline how to utilise the Send to Trim Action within the SmartIQ Design application.
ADDING SEND TO CM ACTION TO PROJECTS
-
Browse to the Manage page and select the Design Button in the top right corner of the window

-
Open a Project or a New Project with your SmartIQ Design Application
-
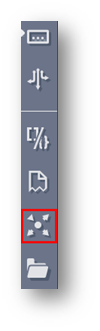
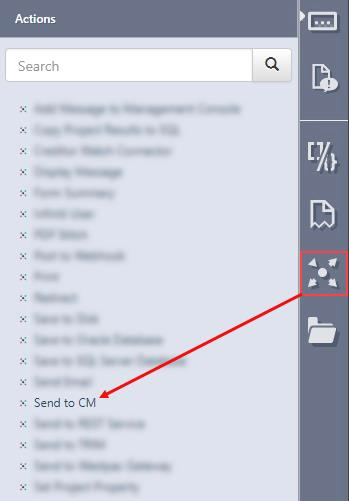
Select the Actions menu in the right pane of the Design interface to access your list of actions
-
Select and drag the Send to CM action into
-
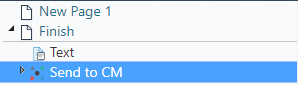
Once added, the Action will appear under the Finish section, onto a Workflow Transition, or into a Run Action Button
ADDING ACTION ATTRIBUTES
-
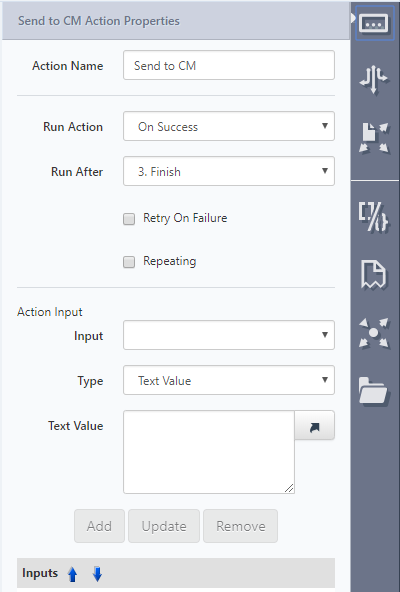
Click on the Send to CM action to view the Action Properties pane
-
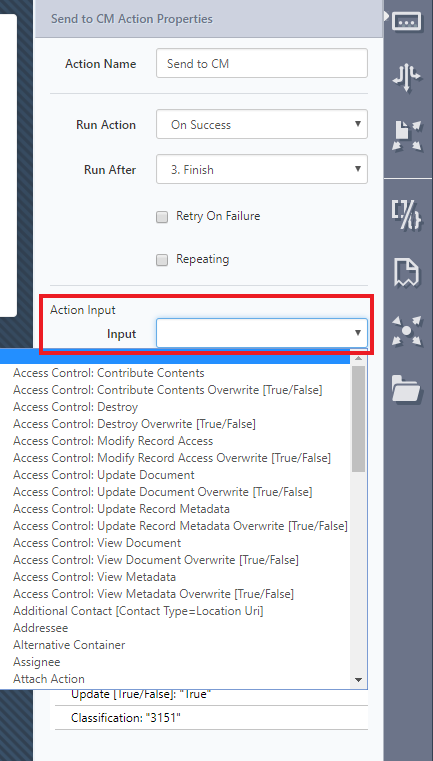
To start adding Inputs, click on the action input drop-down menu and select the required Content Manager input
-
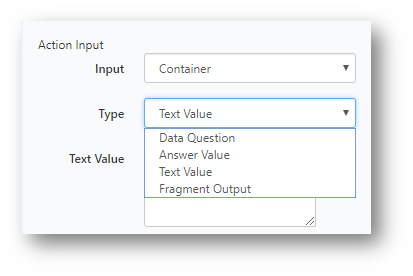
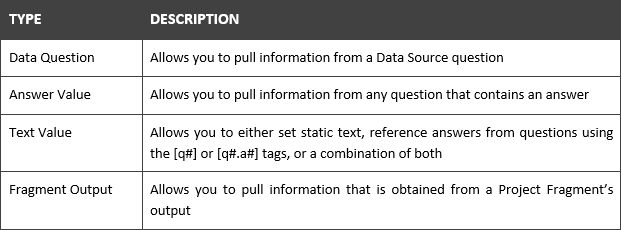
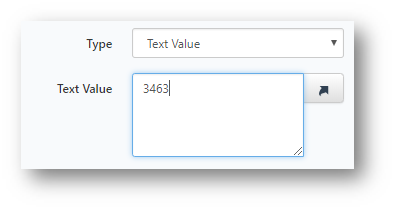
Select the Input and define what answer Type you want to it be set to, to obtain the required information from the project
-
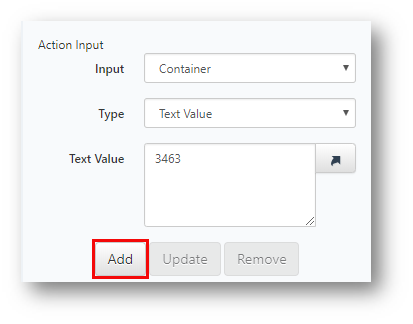
In this example, a Text Value will be used and set statically to 3463
-
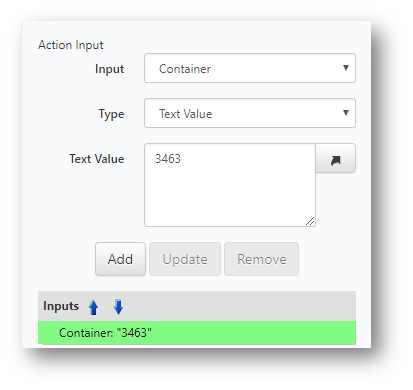
Click on the Add button to add the Attribute to the list
The result of which would look like the below
- The following table provides an explanation on each Action Attribute that can be used
| ACTION | DESCRIPTION |
|---|---|
| Access Control: Contribute Contents | Use a list of location unique identifiers separated by a comma to add these locations to the "Contribute Contents" access control of the records being created by the action. Example: 1000,1001 NOTE: Setting the value to 0 will overwrite the default record access of the record type and set the access control as open to everyone. |
| Access Control: Contribute Contents Overwrite [True/False] | Set value to "True" if you want to overwrite any default list of locations on the "Contribute Contents" access control with the list of locations provided to the "Access Control: Contribute Contents" input. |
| Access Control: Destroy | Use a list of location unique identifiers separated by a comma to add these locations to the "Destroy" access control of the records being created by the action Example: 1000,1001 NOTE: Setting the value to 0 will overwrite the default record access of the record type and set the access control as open to everyone. |
| Access Control: Destroy Overwrite [True/False] | Set value to "True" if you want to overwrite any default list of Locations on the "Destroy" access control with the list of locations provided to the "Access Control: Destroy" input. |
| Access Control: Modify Record Access | Use a list of location unique identifiers separated by a comma to add these locations to the "Modify Record Access" access control of the records being created by the action. Example: 1000,1001 NOTE: Setting the value to 0 will overwrite the default record access of the record type and set the access control as open to everyone. |
| Access Control: Modify Record Access Overwrite [True/False] | Set value to "True" if you want to overwrite any default list of locations on the "Modify Record Access" access control with the list of locations provided to the "Access Control: Modify Record Access" input. |
| Access Control: Update Document | Use a list of location unique identifiers separated by a comma to add these locations to the "Update Document" access control of the records being created by the action Example: 1000,1001 NOTE: Setting the value to 0 will overwrite the default record access of the record type and set the access control as open to everyone. |
| Access Control: Update Document Overwrite [True/False] | Set value to “True” if you want to overwrite any default list of locations on the “Update Document” access control with the list of locations provided to the “Access Control: Update Document” input. |
| Access Control: Update Record Metadata | Use a list of location unique identifiers separated by a comma to add these locations to the "Contribute Contents" access control of the records being created by the action. Example: 1000,1001 NOTE: Setting the value to 0 will overwrite the default record access of the record type and set the access control as open to everyone. |
| Access Control: Update Record Metadata Overwrite [True/False] | Set value to “True” if you want to overwrite any default list of locations on the “Update Record Metadata” access control with the list of locations provided to the “Access Control: Update Record Metadata” input. |
| Access Control: View Document | Use a list of location unique identifiers separated by a comma to add these locations to the "View Document" access control of the records being created by the action. Example: 1000,1001 Please note that setting the value to 0 will overwrite the default record access of the record type and set the access control as open to everyone. |
| Access Control: View Document Overwrite [True/False] | Set value to “True” if you want to overwrite any default list of locations on the "Contribute Contents" access control with the list of locations provided to the “Access Control: View Document” input. |
| Access Control: View Metadata | Use a list of location unique identifiers separated by a comma to add these locations to the "View Metadata" access control of the records being created by the action. Example: 1000,1001 Please note that setting the value to 0 will overwrite the default record access of the record type and set the access control as open to everyone. |
| Access Control: View Metadata Overwrite [True/False] | Set value to “True” if you want to overwrite any default list of locations on the “View Metadata” access control with the list of locations provided to the “Access Control: View Metadata” input. |
| Additional Contact [Contact Type=Location URI] | Contact type (case-sensitive): Addressee, Author, Bcc, Cc, Client, Custom 1- 10, Other, Representative ‘=’ Comma-separated Location URIs e.g. Cc=123,234,345 |
| Addressee | The comma-separated location URIs of the Addressee(s) of the record e.g. 123,234,345 |
| Alternative Container | The record number of the alternative container that the record will be alternatively contained within |
| Assignee | The URI of the location of the assignee on the record |
| Attach Action | The URI of the action. Must be used in conjunction with “Attach Action – Default Assignee”. |
| Attach Action – Default Assignee | The URI of the default assignee location for the action being attached to the record. Must be used in conjunction with “Attach Action”. |
| Attach Workflow | The URI of the workflow template to instantiate |
| Author | The comma-separated location URIs of the author(s) on the record e.g. 123,234,345 |
| Blank Record [True/False] | Set to True to create a blank Record without any electronic document attachments. No documents will be generated in this case. |
| Classification | The URI of the classification of the record e.g. 7666 |
| Client | The comma-separated location URIs of the client(s) on the record 123,234,345 |
| Container | The record number of the container that the record will reside within |
| Creator | The URI of the creator location |
| ConvertToPDF | Set to “True” if the attached document is to be converted to a PDF document. |
| Database ID | The 2 alphanumeric characters of the dataset to connect to. NOTE: This will override the default connector settings |
| Date Closed | The date the record was closed |
| Date Due | The date the record is due |
| External ID | Allows the insertion of data into the External ID field on records |
| Finalize Record [True/False] | Set to "True" to finalize record upon creation |
| Home | The URI of the location of the home on the record |
| Notes | The notes that will be applied to the record |
| Owner | The URI of the owner location on the record |
| Password | The password of the user account that connects to the Content Manager dataset NOTE: This will override the default connector settings. |
| Previous Part URI | The URI of the record to create a new part for. This attribute can be used in conjunction with the “Title” attribute to set the title of the newly created part. No documents will be generated in this case. |
| Record Number | Allows you to define the record number that will be used when creating the record. Used were record type numbering patterns utilise manually generated numbers. |
| Record Type | The record type of the new record. NOTE: This will override the default connector settings |
| Related To | The URI that this record will be related to |
| Retention Schedule | The URI of the retention schedule that is to be applied to the record |
| Security Caveat | The URI of the security caveat that is to be applied to the record. This input supports multiple Caveats by using a comma separator. Example: 20,45 |
| Security Caveat Overwrite [True/False] | Set value to “True” if you want to overwrite any default or existing security caveats with the list defined in the “Security Caveat” input |
| Security Level | The name of the security level of the record. NOTE: This will override the default connector settings |
| Software Stamp (Notes) | This is the text that gets appended to the user stamp that automatically gets added to the notes field of the record being generated. By default, this is set to ‘via SmartIQ’. |
| Title | The title of the record. If no value is defined, the title will be set to the document file name |
| Update Via Uri | The URI of the record to update |
| Update Via Record Number | The record number of the record to update. |
| Update [True/False] | Set to True to update an existing record. This is a prerequisite for the ‘Update As Revision’ and ‘Update Record Details’ attributes when set to "True" |
| Update As Revision [True/False] | Setting to “True” will create a new revision of the document. Setting to “False” will replace the current revision of the document. |
| Update Record Details [True/False] | Set to "True" to update metadata on an existing record |
| User Defined Field [name=value] | Set a user defined field or fields (additional field) of a record For location values add the URI of the location. E.g. Responsible Person=1234 |
| Username | The user account that will deliver the documents to Content Manager. This location will also appear as the creator for all documents generated via SmartIQ** E.g. smartiq, domain\smartiq |
| Workgroup Server Name | Name of the workgroup server to connect to. NOTE: This will override the default connector settings |
| Workgroup Server Port | The workgroup server port number. By default, this is 1137. NOTE: This will override the default connector settings |
| * Indicates a mandatory field. These can also be defined in the connector settings |
ADDING THE RECORD NUMBER TO A DOCUMENT
To insert the Record Number into the body of the Document created by SmartIQ:
- Open the Document template in Design view
- Place the following tag anywhere in the document where the Record Number is to be inserted
{{rm_record_number}} - Save and close the template document
USING THE CONVERT TO PDF ACTION INPUT
In order to insert the Record Number into PDF Documents you will need to ensure the following:
- The outputted document from SmartIQ is not in PDF format (Example: Output as a Word Document)
- The ConvertToPDF is set to true
This is because the connector needs to receive the document in an editable format before converting it to PDF
If you supply the outputting document as a PDF, it will only create the metadata and you will receive a failed notification in Management.
ADDING THE RECORD NUMBER OR URI TO AN ACTION
The Record Number or URI of a Document can be returned within another Action in the same Project.
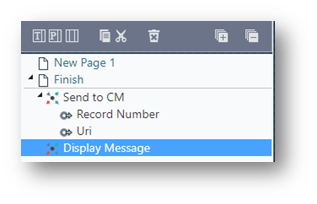
For example, to display the Record Number on the last page of the generation process, follow the steps below:
-
Add the Display Message action
-
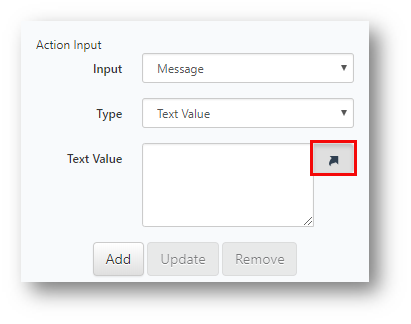
In the Properties Pane of the Display Message Action, under Attribute select Message, then click on the arrow on the right of the Fixed Value box
-
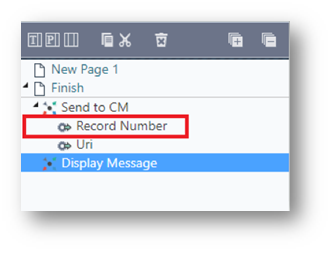
In the Question Set, expand the Send to CM to show the Action outputs, then click on Record Number
-
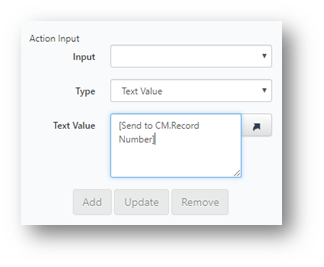
You should see the [Action Name.Record Number] inserted into the Text Value field.
-
Click on Add, then save the Project
The same steps can be followed to return the URI within an action.