

HOW TO USE INFOSECURITY GUARD
STARTING INFOSECURITY GUARD
-
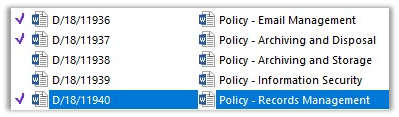
Select the record (or tag multiple records) in Content Manager that you would like to send by email
-
Click on the Email Record(s) button on the Ribbon

Or alternatively perform a Right Click > Send To > Email Record(s)
THE RECIPIENT SCREEN
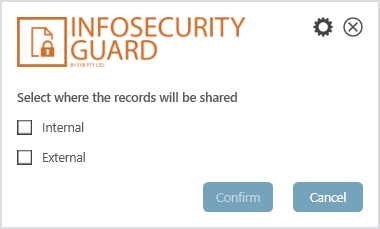
When InfoSecurity Guard launches, the recipient screen is displayed. On the recipient screen, the user can select whether their intended recipients are internal or external to their organisation, or both.
| FUNCTIONALITY | DESCRIPTION |
|---|---|
 |
The selected records will be attached as a reference file to the email. To create a single reference file, ensure the ?Create single reference file for email attachments?? checkbox from the configuration window is checked. |
 |
Selecting this option indicates that you intend to email the selected records to external recipients. This loads the Disclaimer Screen. |
 |
Depending on how the records will be shared (either internally, externally or both) and how InfoSecurity Guard is configured, clicking this button will either: load the disclaimer screen; or open a new email window. If a new email is opened, the security classification and dissemination limiting markers of the selected record(s) will be inserted into the subject line of the email and as the first line in the email, providing an email heading. If only the ?Internal? checkbox is selected, reference files for each of the selected records will be attached to the email. InfoSecurity Guard will close. |
 |
Clicking this button will close the window and cancel sending the email. |
 |
Clicking this button will close the window and cancel sending the email. |
 |
Clicking this button will close the dialogue window and open the InfoSecurity Guard configuration dialogue window which is only accessible to administrators. |
| ### THE DISCLAIMER SCREEN | |
 |
|
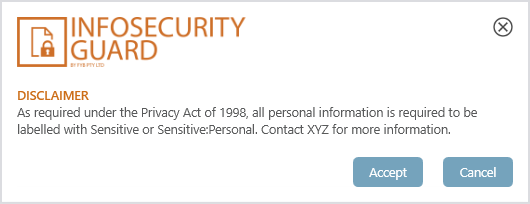
| The Disclaimer Screen displays a disclaimer that users must accept before emailing the documents externally, and depending on the configuration settings, sometimes internally. | |
| Functionality | Description |
| --- | --- |
 |
Clicking this button indicates that you understand and accept the disclaimer. This will load the Records Screen. |
|
Clicking this button will close the window and cancel sending the email. |
|
Clicking this button will close the window and cancel sending the email. |
THE RECORDS SCREEN
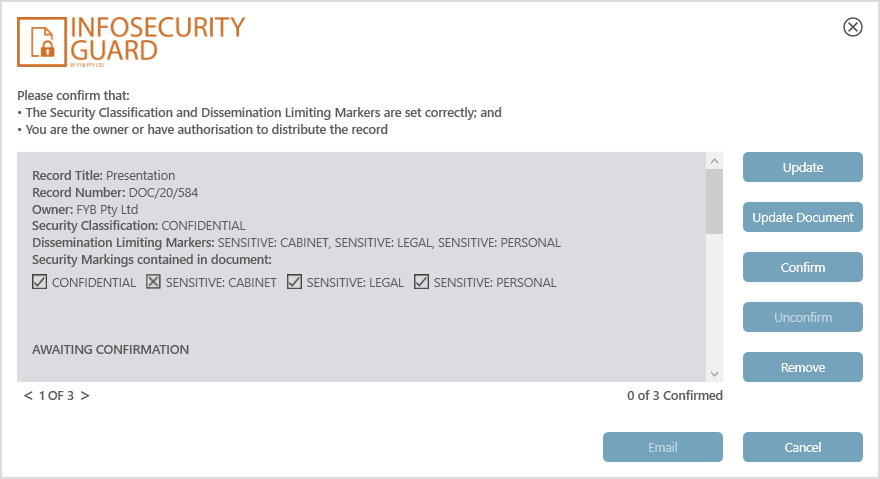
The Records Screen lists the security details of each of the selected records. The user must confirm that the security details for each of the records are correct before they can email them.
| FUNCTIONALITY | DESCRIPTION |
|---|---|
 |
Clicking this button will open the update details screen where you can update the security markings on the record. |
 |
Clicking this button will open and check out the electronic document in edit mode. This will allow you to update the protective markings in the document if required. Closing the document will check the document back in. This button is only enabled if Document Content Indexing is enabled. |
 |
Clicking this button indicates that you have verified that the selected record?s security classification and dissemination limiting markers are set correctly. This marks the selected record as ?Confirmed?. Dissemination limiting markers will only be validated if document content indexing is enabled for both InfoSecurity Guard and Content Manager. |
 |
Clicking this button will unconfirm a confirmed record. This button is only enabled for confirmed records. |
 |
Clicking this button will remove the current record from the list of tagged records and the record won?t be attached to the email. |
 |
This button is only enabled when all of the selected records have been confirmed. Clicking this button opens a new email window. The security classification and dissemination limiting markers of the selected record(s) will be inserted into the subject line of the email and as the first line in the email, providing an email heading. The documents for each of the selected records will be attached to the email (or tr5 files for internal emails). InfoSecurity Guard will close. |
 |
Click the arrow icon to navigate between different records. |
 |
Clicking this button will close the window and cancel sending the email. |
|
Clicking this button will close the window and cancel sending the email. |
| Security Markings contained in document | This feature is only available if the 'Use Document Content Indexing' feature has been enabled in the configuration window by your systems administrator. For each record being sent, InfoSecurity Guard compares the security classification and dissemination limiting markers of the record with the contents of its document. If a document does not contain a security marking that is on the record, a cross checkbox will be displayed (as illustrated below).  |
| Document Marker Action | This feature is only available if the 'Use Document Content Indexing' feature has been enabled in the configuration window by your systems administrator and document content indexing has been properly configured in Content Manager. The action taken when the document does not contain the appropriate protective markings depends on InfoSecurity Guard?s configuration settings. The three options for the Document Marker Action are Prevent; Warn and Do Nothing. |
| Prevent | If the Document Marker Action is set to 'Prevent', then when you click the Confirm button, a dialog will be displayed to indicate that the email will not be generated unless the security markers on the Record match the security markers in the document. Click OK to close the prompt and use the Update and Update Document buttons to set the appropriate security markers. |
| Warn | If the Document Marker Action is set to 'Warn', then when you click the Email button, a warning dialog will be displayed indicating that one or more documents that you are sending does not contain the appropriate security markers. When you click the OK button, the email will be generated as normal.  |
| Do Nothing | If the option is set to ?Do Nothing?, then the application will not display a warning dialog and will proceed with email generation when you click Email. |
THE UPDATE DETAILS SCREEN
The Update Details Screen allows the user to update the security classification or dissemination limiting markers for the selected record. To access this screen select the Update button from the Records screen

To update the record security classification:
- Select a security classification from the drop down
- Click the update button
To update the record dissemination limiting markers
- Click on the required dissemination limiting markers from the list view, or click the ?Select / Unselect All? check box to select all or de-select all dissemination limiting markers
- Click the update button
| FUNCTIONALITY | DESCRIPTION |
|---|---|
 |
Clicking this button closes the Update Details Screen and saves the record with the updated security classification and dissemination limiting marker settings. |
 |
Clicking this button will close the Update Details Screen without saving any changes. |
|
Clicking this button will close the Update Details Screen without saving any changes. |
EMAIL GENERATION
Once the security on the selected documents has been confirmed as appropriate, the Email button will be enabled. When the user clicks the Email button, an email is generated.
EXTERNAL RECIPIENTS
When the nominated recipient for the email is external, the email will have the relevant security markings in the subject line and in the first line of the email, as a heading. The nominated documents will be added as attachments, as show in the screen shot below.
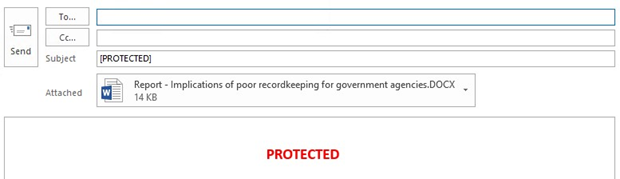
The relevant email addresses can be added to the To field and the email can be sent.
INTERNAL RECIPIENTS
When the nominated recipient for the email is internal, the email will have the relevant security markings in the subject line and in the first line of the email, as a heading. The nominated document(s) will be added as tr5 files, as show in the screen shot below.
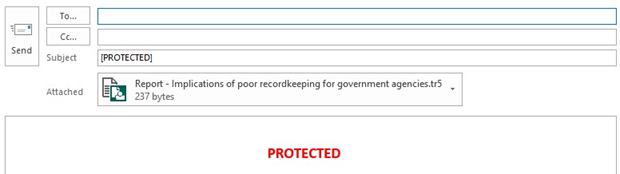
The relevant email addresses can be added to the To field and the email can be sent.
If the email addresses entered are for people external to the organisation, the following message will appear
SECURITY CLASSIFICATIONS AND DISSEMINATION LIMITING MARKERS
Security classifications can be managed in Content Manager by using either security levels or additional fields. Dissemination limiting markers can be managed in Content Manager by using either security caveats or additional fields.
When using additional fields to manage security, it is important to understand that these additional fields add just a ?stamp? or marking in the metadata of the record. No system settings are updated when these additional fields are used.
Alternatively, if security levels and security caveats are being used, any internal staff who try to access the record via a tr5, will only be able to see the record if their profile in Content Manager the appropriate security has applied.