AUTHENTICATION AND ACCESS
FYB Explore uses Azure AD openId authentication to validate the user’s credentials. To sign into the application, users will be required to enter their Microsoft 365 login details.
If the Stay Signed In option is not selected, you will be asked to authenticate twice. This is required to authenticate first with the FYB Explore API, then the Content Manager Service API.
LAUNCHING THE APP
- Open a web browser and navigate to the FYB Explore address
- If prompted, sign in using your work account.

NAVIGATION
The side menu allows you to navigate to different areas of the application. Each navigation item is explained below. Further detail can be found under the corresponding heading throughout this document.
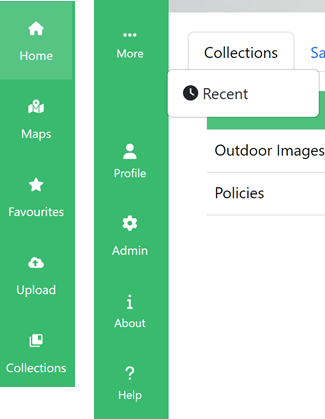
- Home - The home page
- Maps - The Google Maps search page
- Favourites - Displays documents favourited by the user
- Upload - The Upload page
- Collections - Displays the collections created by the user as well as global collections
- More - Displays the other navigation items not displayed in the Side Menu
- Recent - Displays recent uploaded documents
- Profile - use this button to sign out
- Admin - The admin page, only visible to FYB Explore admins
- About - Displays the About Modal

- Help - Displays the help section
HOME PAGE
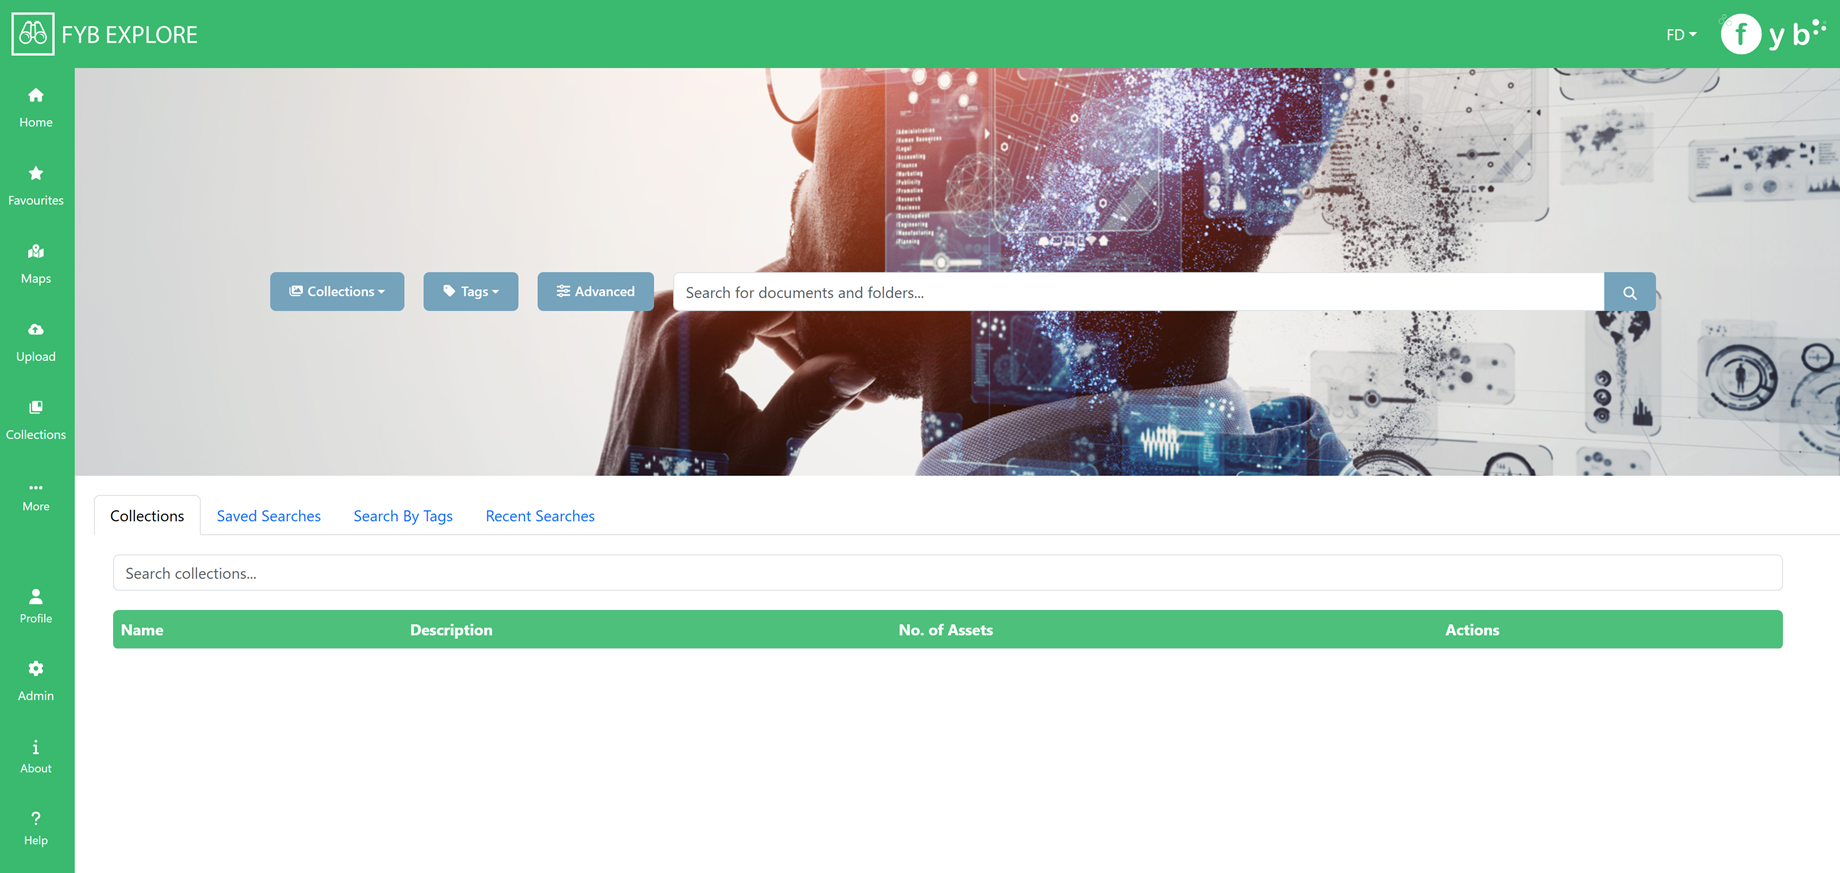
SEARCHING
Use the search bar to search for documents and folders across SharePoint and Content Manager.
Press the Enter key or click the magnifying glass to run a search.
Content Manager records (documents and containers) can be searched for using the following properties:
- Title (including Title Word)
- Record Number
- Unique Identifier
SharePoint documents and folders can be searched using the following properties:
- document/folder name
COLLECTION DROPDOWN
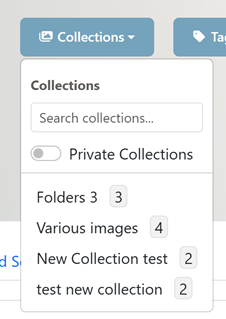
Use the collections dropdown to quickly search for assets within a collection.
Enabling the Private Collection toggle will only show collections you created.
TAGS DROPDOWN

Use the tags dropdown to search for assets using their tags
ADVANCED SEARCHING
Click the Advanced button to perform an advanced search

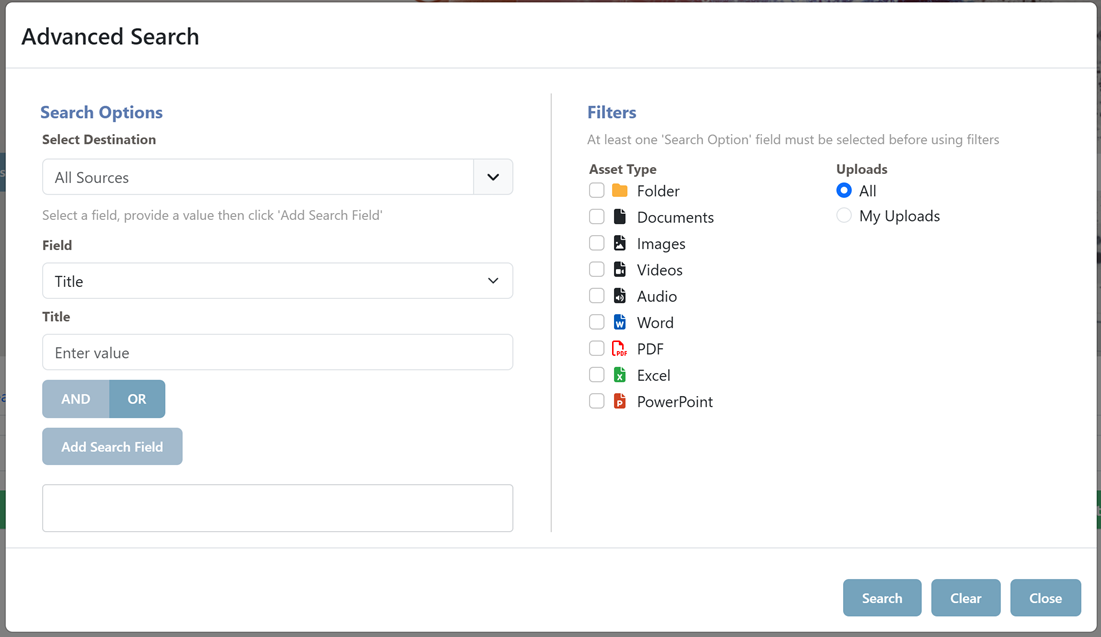
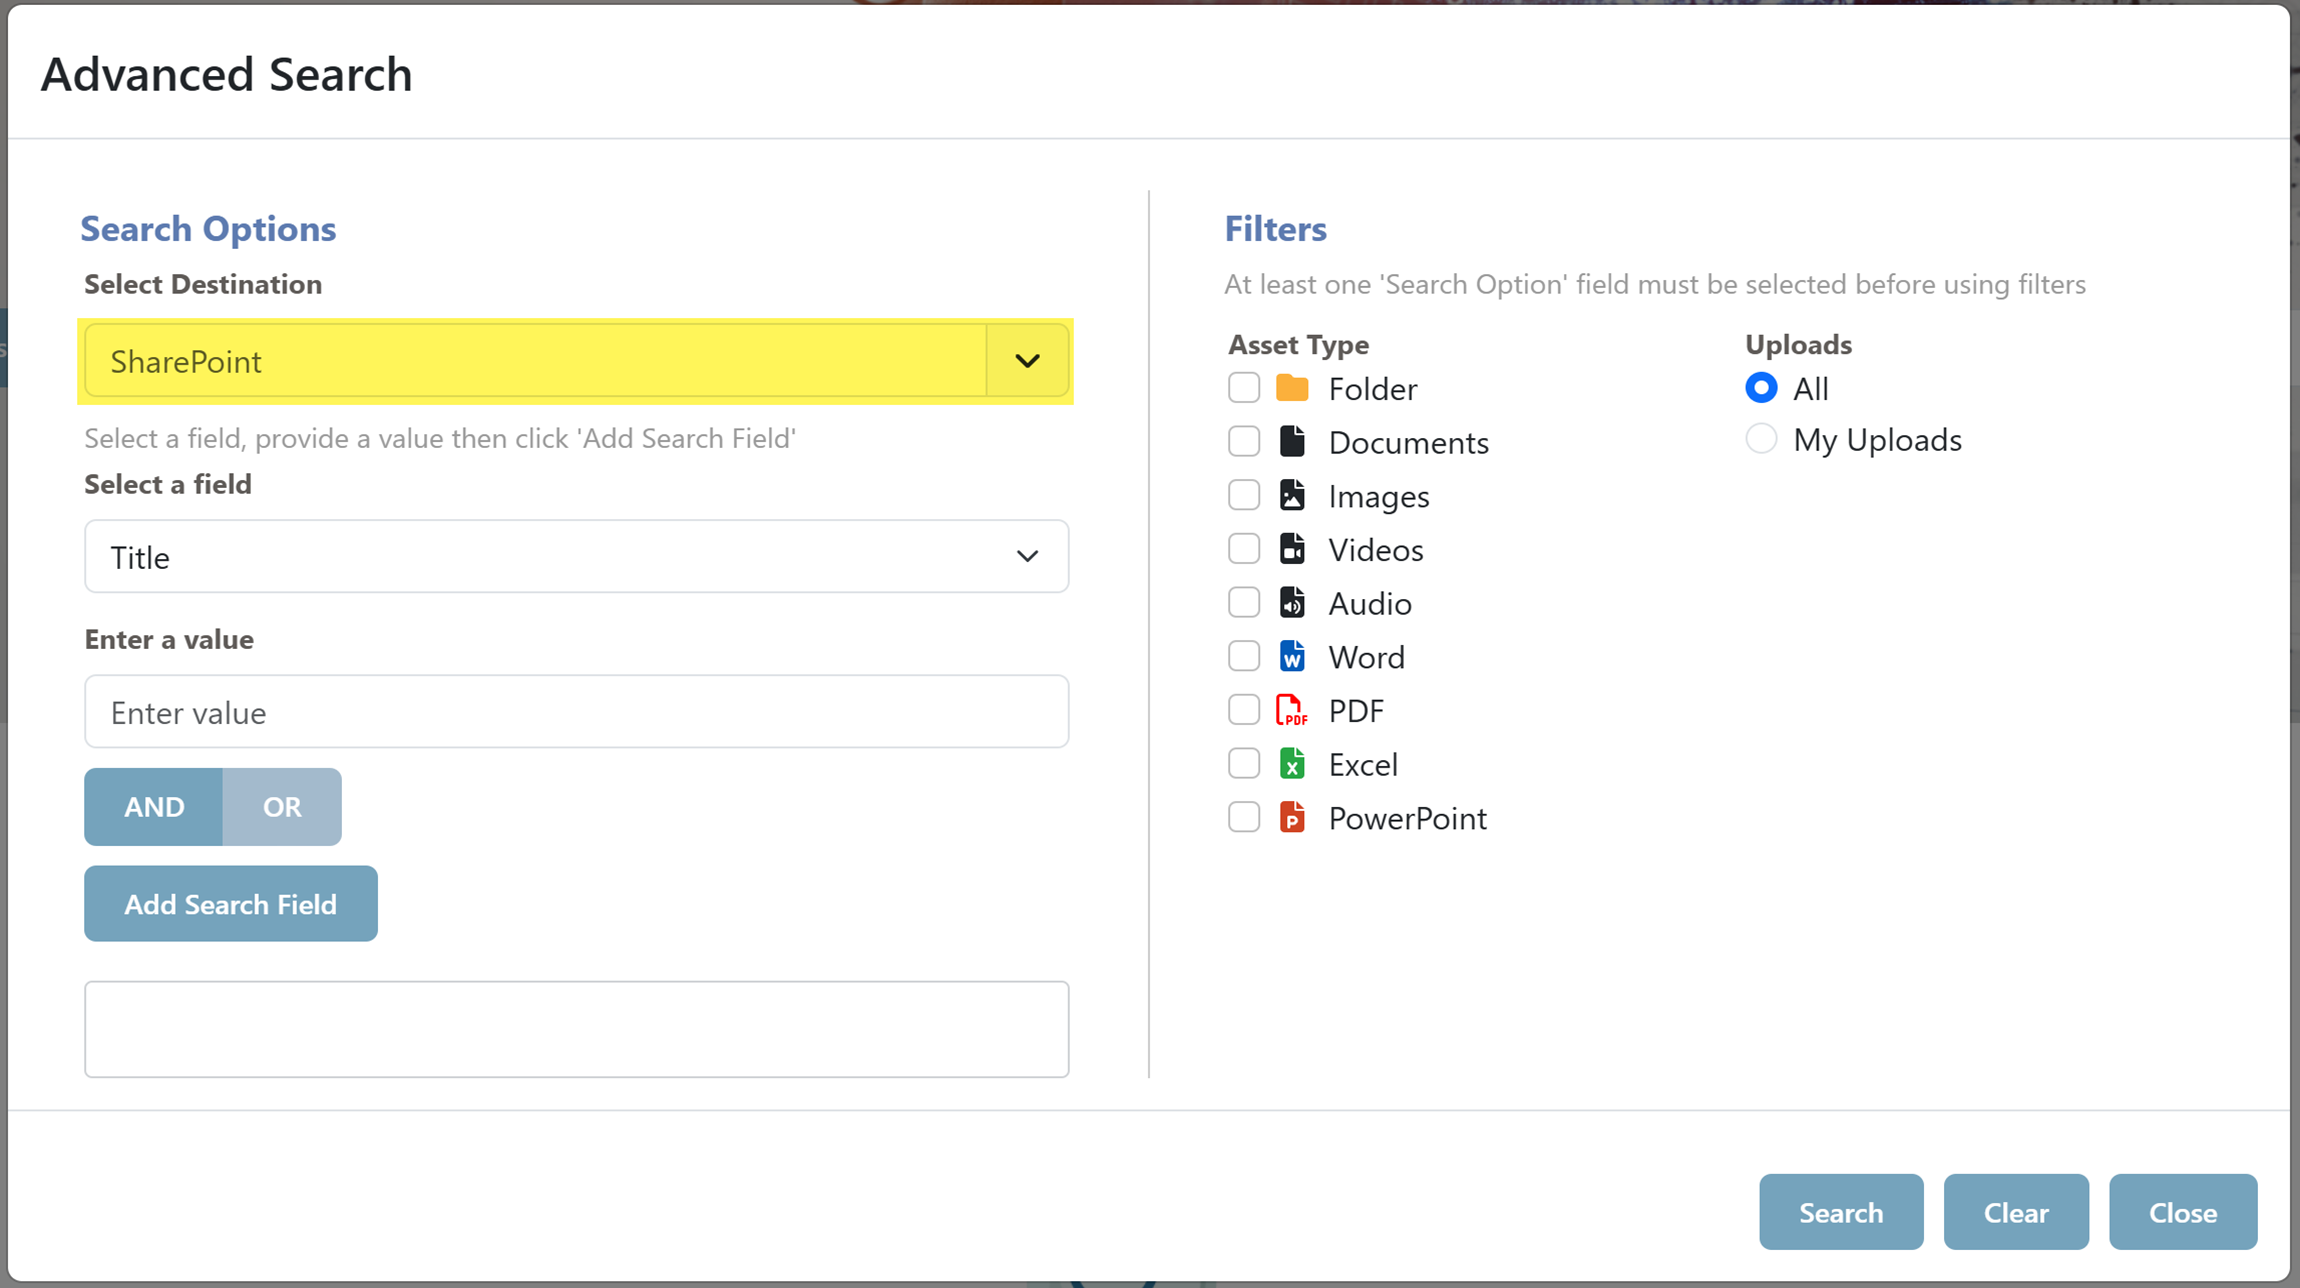
Use the advanced search modal to run new searches with more options to refine the results returned.
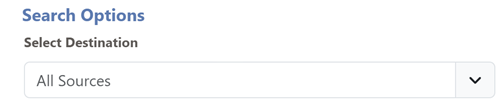
The Destination options allows you to choose which source the assets will come from.
HOW TO USE THE ADVANCED SEARCH
-
Specify a destination. This will determine which sources the search results will use for retrieving assets.
-
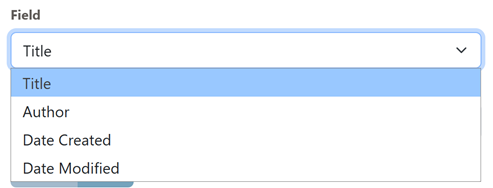
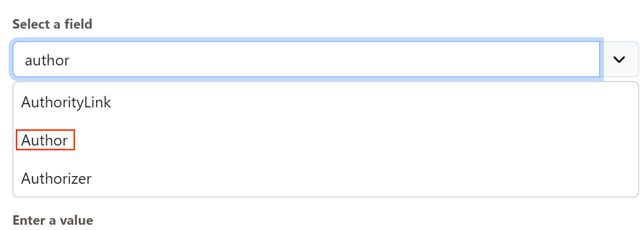
Select a field
-
Specify a value

-
Click Add Search Field
-
The field will be added as a bubble

-
For adding more fields, choose either AND or OR then click Add Search Field

-
(Optional) Add some filters
-
Click Search
ALL SOURCES
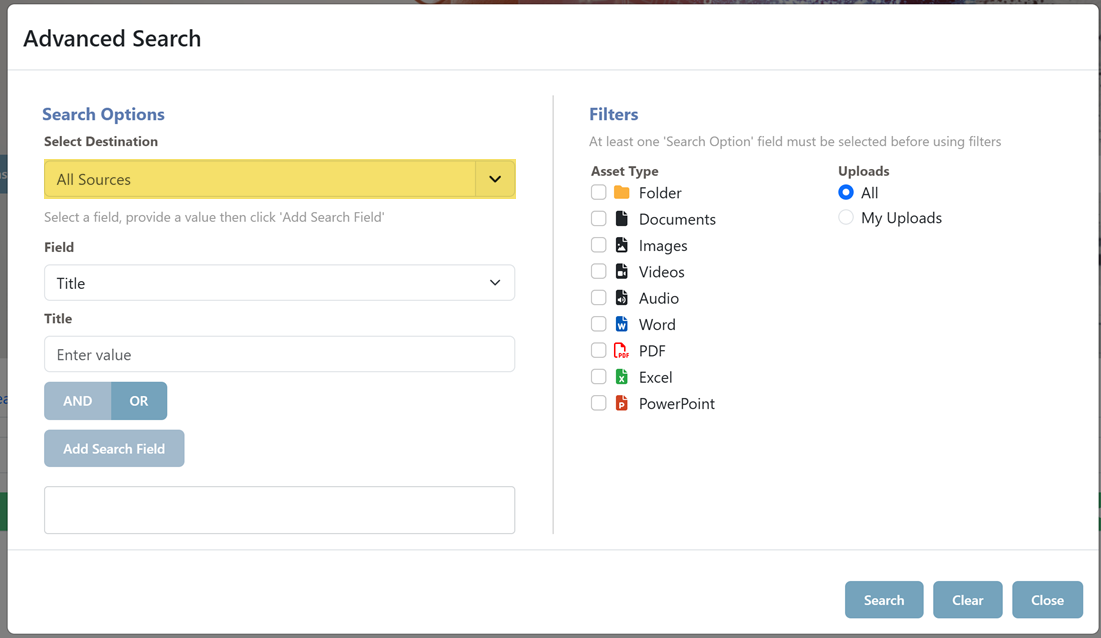
This destination option is for performing advanced searches across assets from all sources.
CONTENT MANAGER
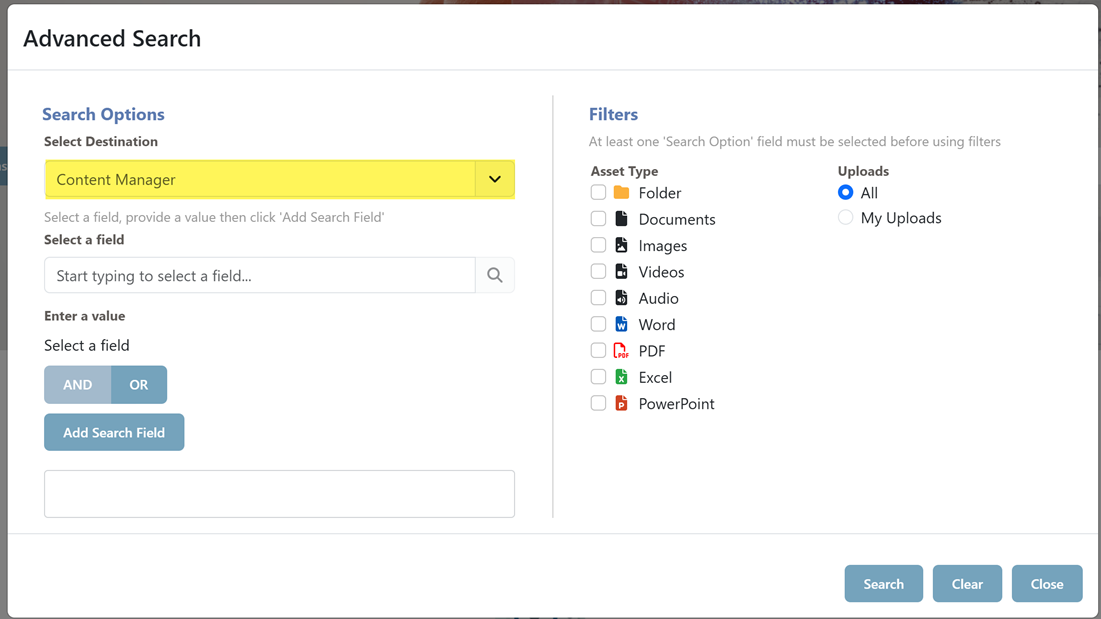
This destination option is for performing advanced searches for Content Manager Records. Documents from other sources are not included in the results when using this advanced search.
- Type to find a Content Manager field
- Select the field

- Specify a value for the field
- Click Add
- Repeat the steps above to add more fields. Specify either And or Or when joining the search terms
- Click Search
SHAREPOINT
This tab is for performing advanced searches for SharePoint documents and folders. Documents from other sources are not included in the results when using this advanced search.
COLLECTIONS

The collections table displays the collections that the user has created as well as global collections (collections created by FYB Explore admins that can be accessed by all FYB Explore users).
Click on a collection to view the assets within it.
Click on the trash icon to delete the collection.
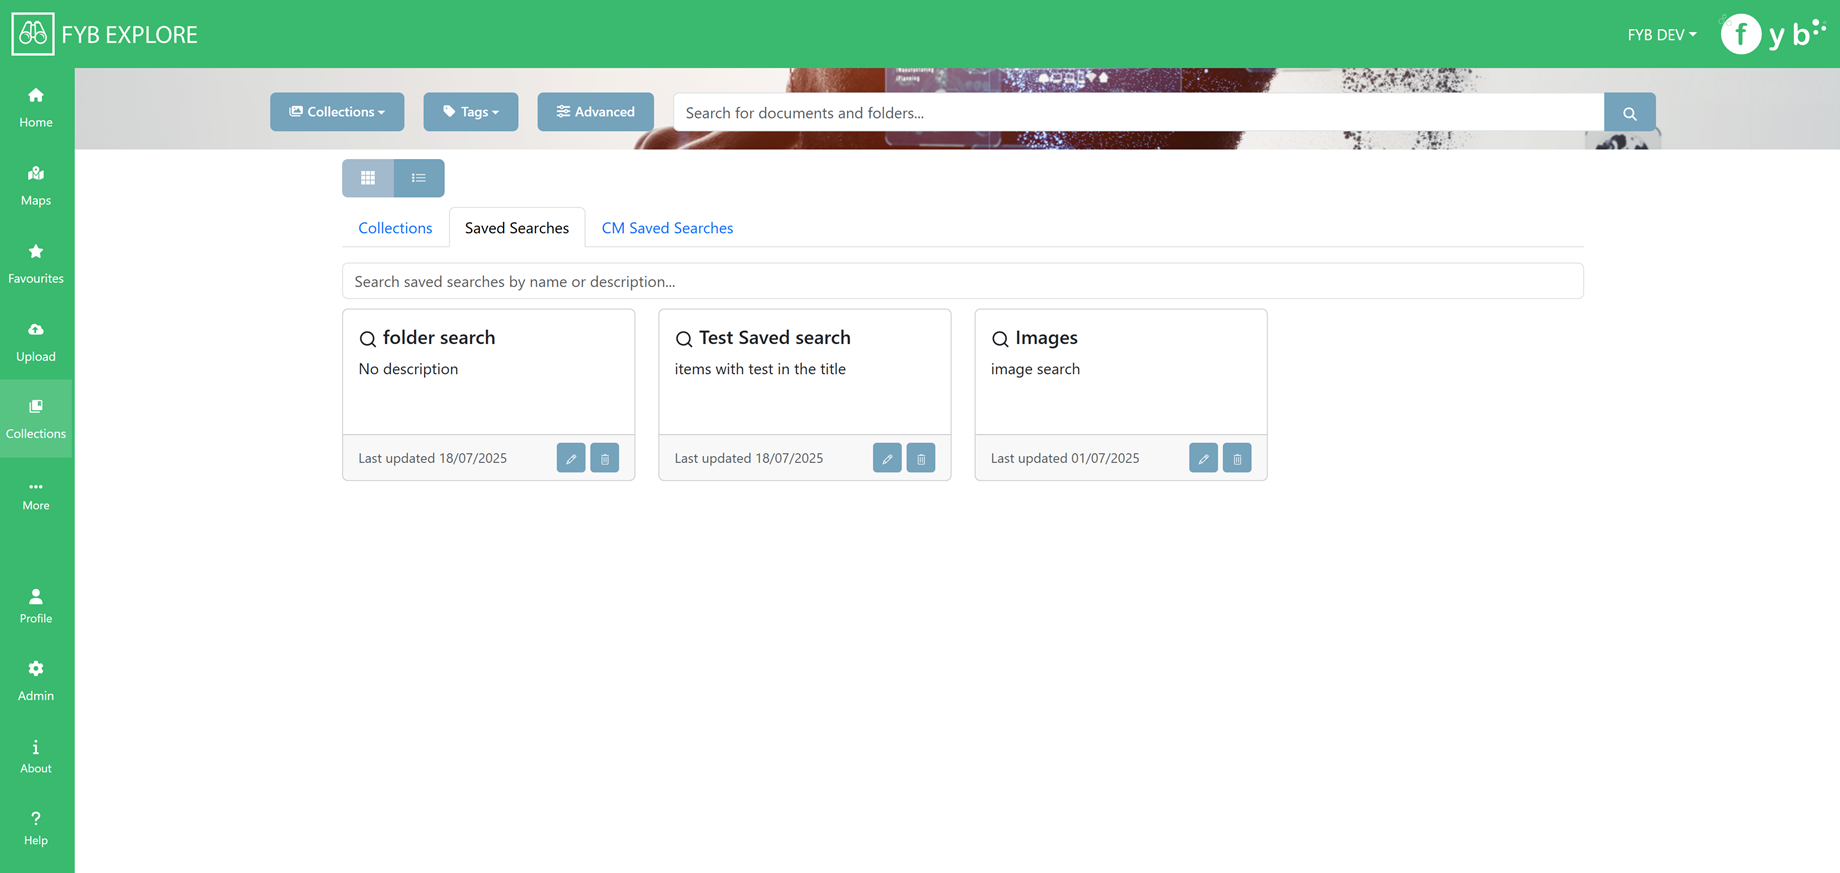
SAVED SEARCHES

The saved searches table displays the collections that the user has created as well as global saved searches (saved searches created by FYB Explore admins that can be accessed by all FYB Explore users).
Click on saved searches to run the search.
Click on the trash icon to delete the saved searches.
SEARCH BY TAGS
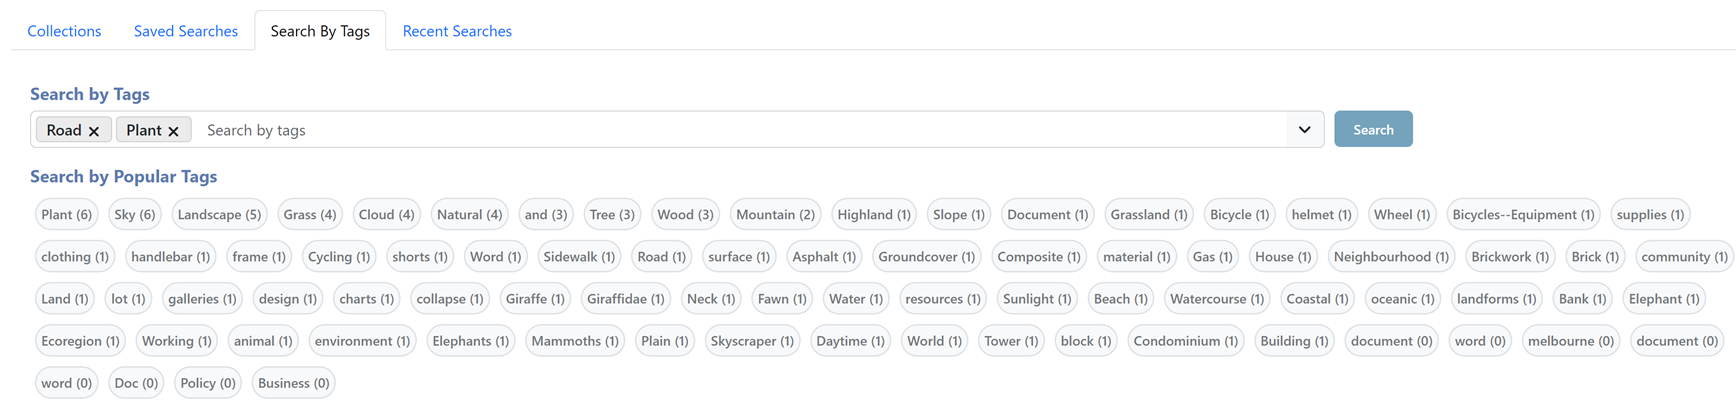
Assets can be searched for using the tags associated with them using the tags search bar.
Alternatively, click on a popular tag to view the assets associated with it.
RECENT SEARCHES
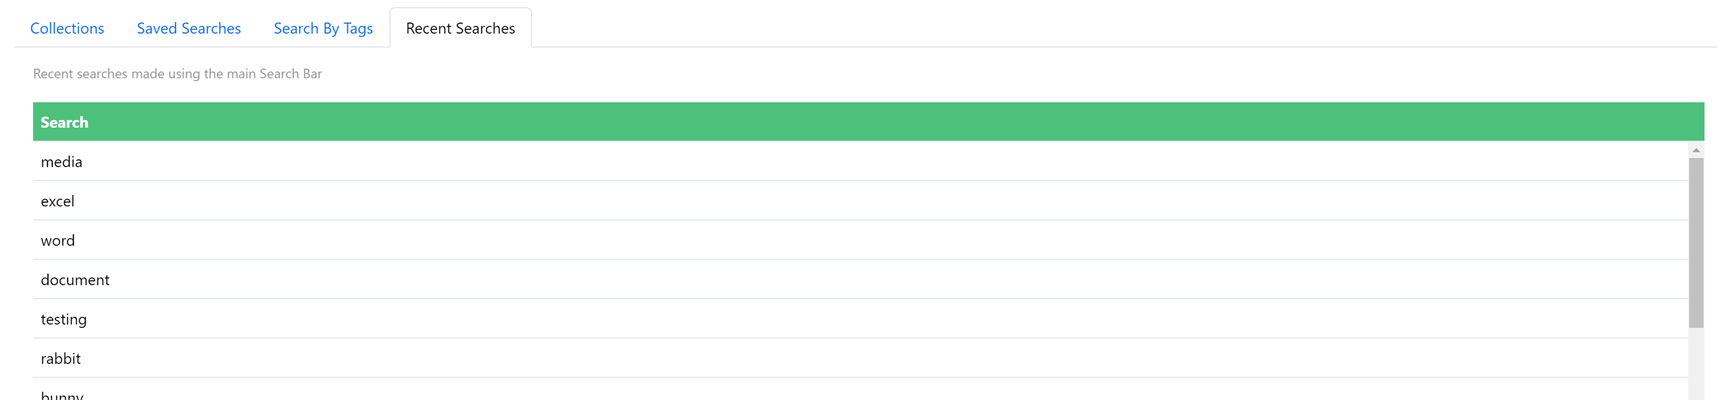
Displays the 10 most recent searches made by the user when using the main search bar. This does not include the filters made with it.
Click on a search to run it.
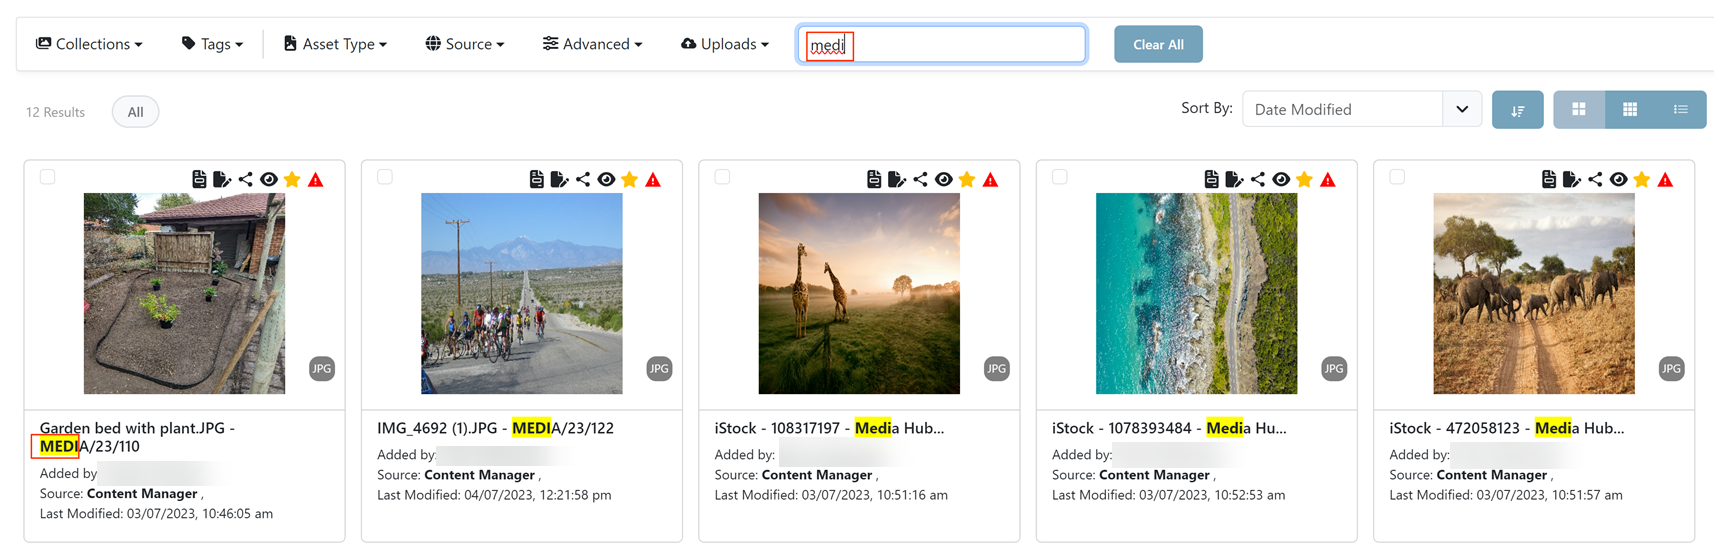
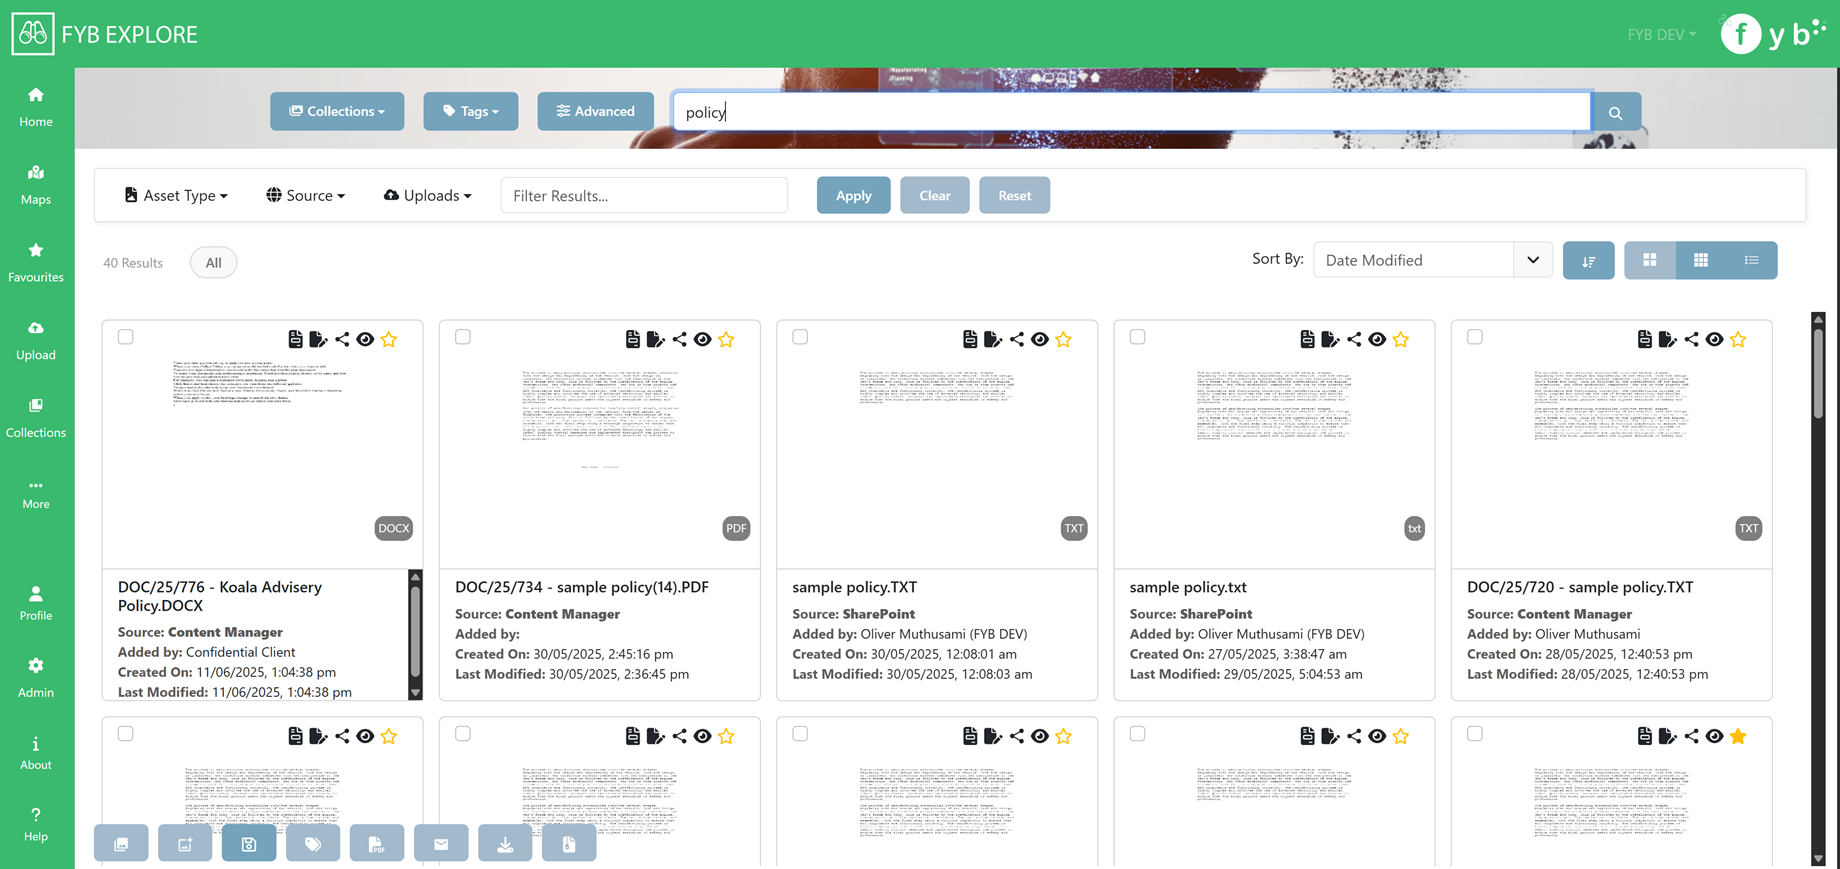
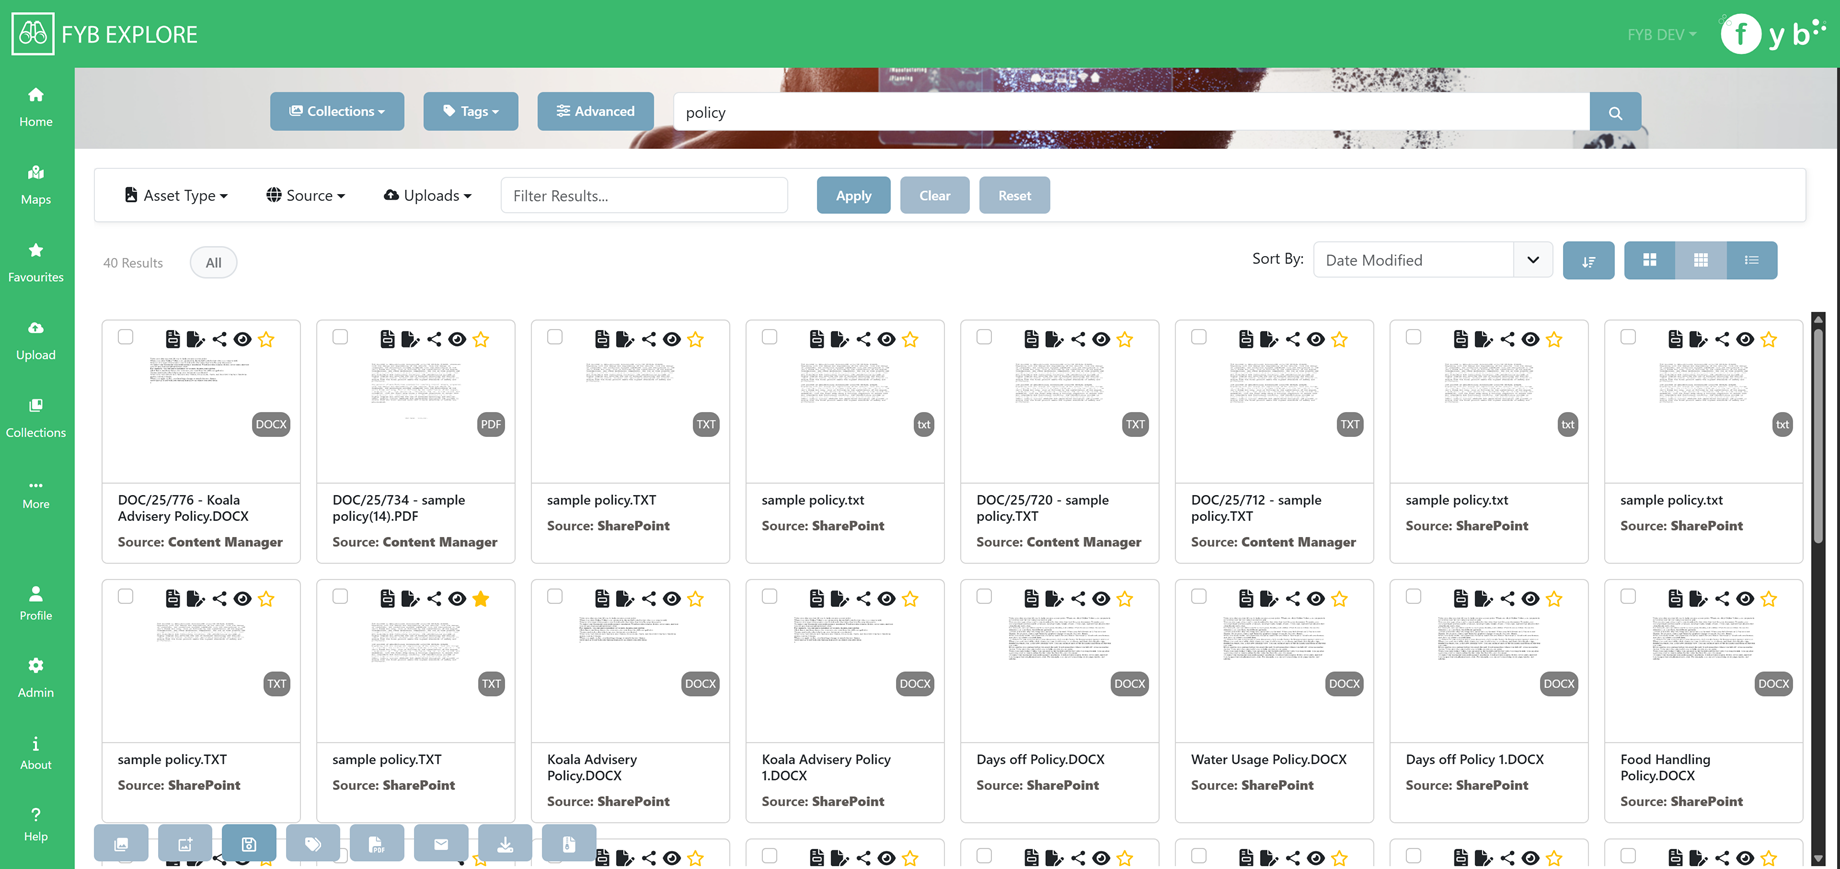
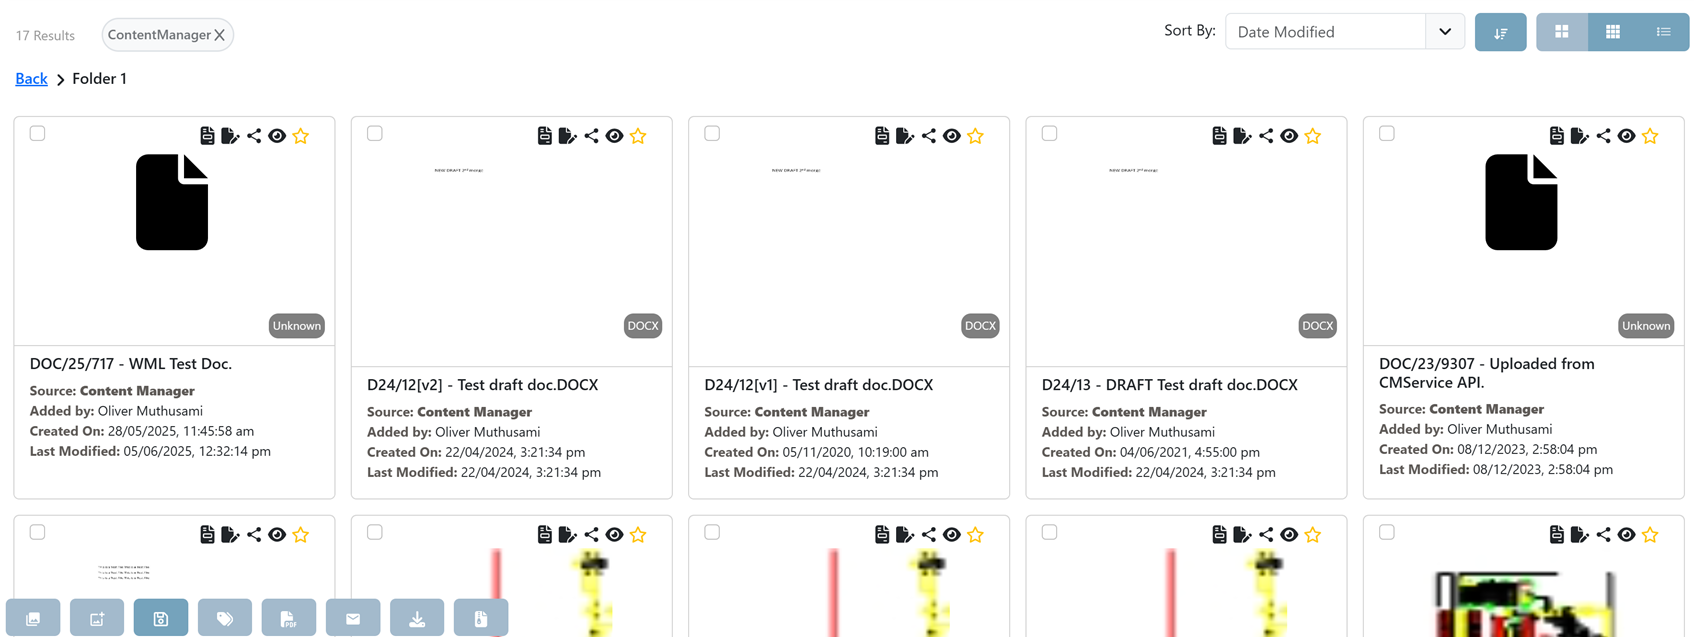
SEARCH RESULTS PAGE

The search results page will display documents and folders from both Content Manager and SharePoint for the search executed.
MAIN SEARCH BAR

Use the main search bar to run new searches
SEARCH FILTERS

The search filters are used to narrow down the current search.
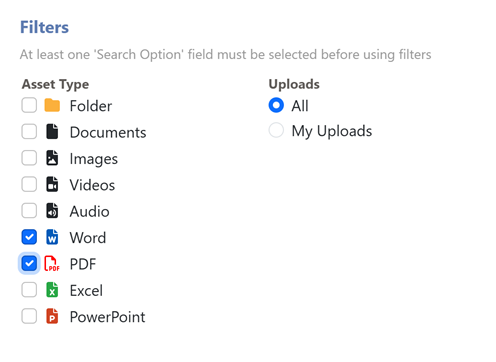
ASSET TYPE
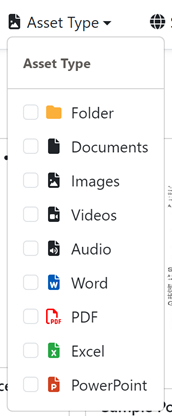
Filter Assets based on its type.
SOURCE
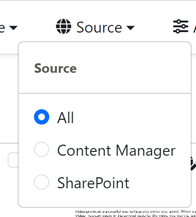
Filter assets based on its source.
UPLOADS
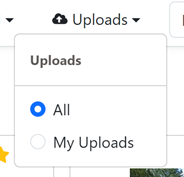
Choose to display assets uploaded by anyone and assets uploaded by the user
FILTER RESULTS
Narrow down the current results set using the filter bar. If the Asset's title, author, source or date modified value contains the filter query, then it is shown.
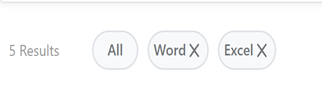
As filters are added, they will appear at the top of the results as bubbles. Clicking the X on the bubble will remove the filter.
APPLY
Runs the search with the filters applied.
CLEAR
Clears the filters without running the search.
RESET
Resets the search results to its original search and clears the filters.
SORTING

Use the Sort By Dropdown to sort the results in either ascending or descending order.
RESULT DISPLAY OPTIONS

Use the display options to customise how the search results look.
-
 Large grid tiles
-
 Small grid tiles
-
 List view

ASSET ACTIONS

 Select the Asset
 View the asset within its default program
 Edit the asset within its default program
 Copies a link to the asset to your clipboard
 View a preview of the asset
 Add/Remove asset from favourites
 Is shown when an Asset is restricted
SEARCH RESULT ACTIONS

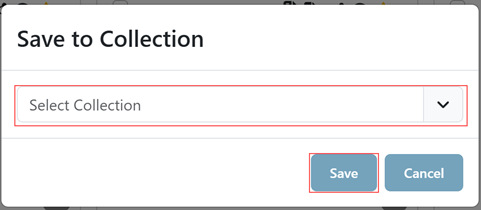
ADD TO EXISTING COLLECTION

Click the Add to existing collection Button to add the tagged assets to an existing collection.
To save the selected assets to a collection:
- Select one or more assets in the search results page
- Click the Add to collection button
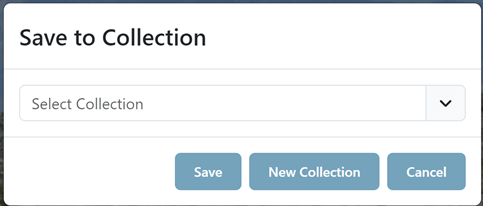
- Specify a collection using the dropdown and click Save
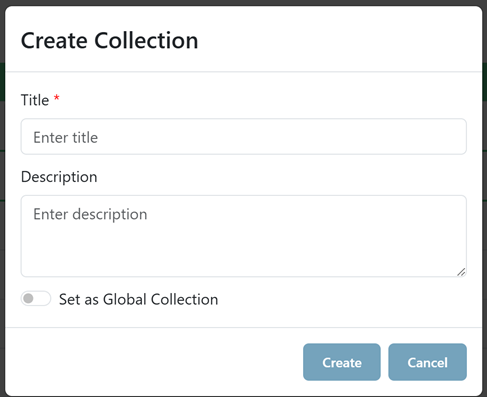
ADD TO NEW COLLECTION

Click the Add to new collection Button to add the tagged assets to a new collection.
To save the selected assets to a new collection:
- Click New Collection to save the assets to a new Collection. Supply a title and description, then click Create
If Set as Global Collection is enabled, the collection can be accessed by anyone. This option is only available to FYB Explore Administrators
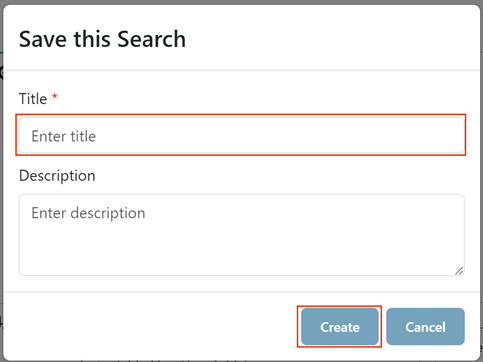
SAVE SEARCH

Click the Save Search button to save the current search (including any filters set).
- Click the Save Search button
- Supply a title and description
- Click Create
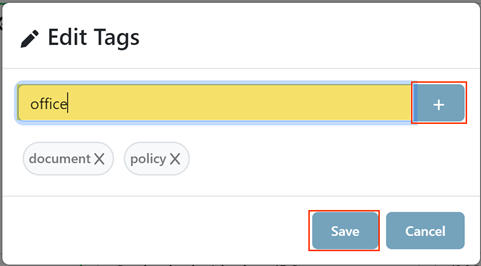
ADD TAGS

Click the Add Tags button to add tags to the selected assets.
- Select one or more assets from the search results
- Click the Add Tags button
- Type into the input field then click the + button or press the Enter key
- Repeat step 3 until all desired tags have been added
- Click Save
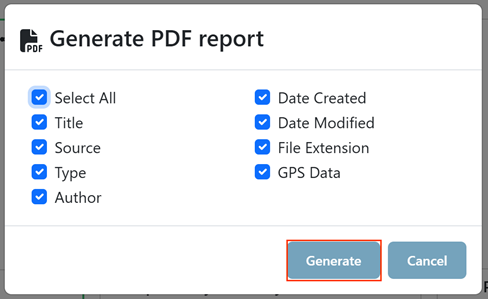
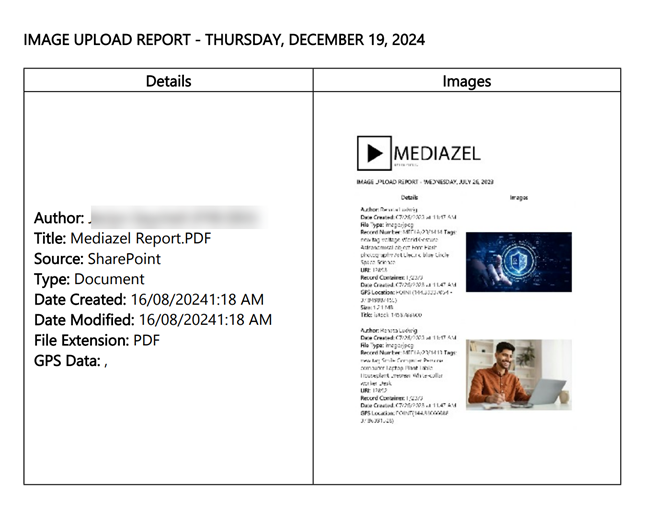
GENERATE PDF REPORT

Click the Generate PDF Report button to generate a PDF Report of the selected assets.
- Select one or more assets from the search results
- Click the Generate PDF Report button
- Specify the metadata to include in the report
- Click Generate
EMAIL LINKS
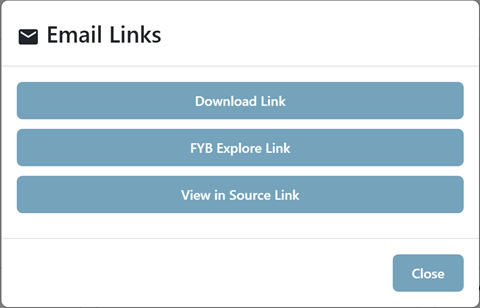
Click the Email Links button to generate an email containing links to the selected assets.
- Select one or more assets from the search results
- Click the Email Links button
- Select one of the options for generating the links
- Download Link: Will download the asset.
- FYB Explore Link: Will open the asset the the Asset View page of FYB Explore
- View in Source Link: Will open the asset within the source. For Content Manager assets, if a CM WEB CLIENT URL is provided in the Admin console, that URL will be used
DOWNLOAD ASSETS

Click the Download Assets button to download the selected assets.
DOWNLOAD ZIP

Click the Download as ZIP File button to download the selected assets as a single zip file.
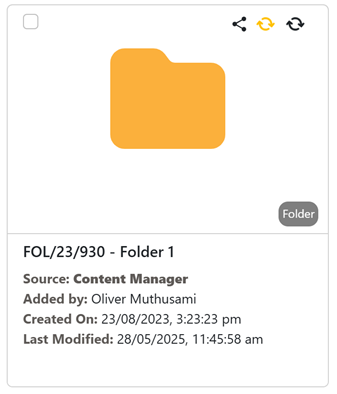
VIEW ASSETS WITHIN A FOLDER
To view assets within a folder, click on the folder.
VIEWING AN ASSET
To view an asset, click on the asset on the search results page
DOCUMENTS
Supported documents are rendered as PDFs in the browser.
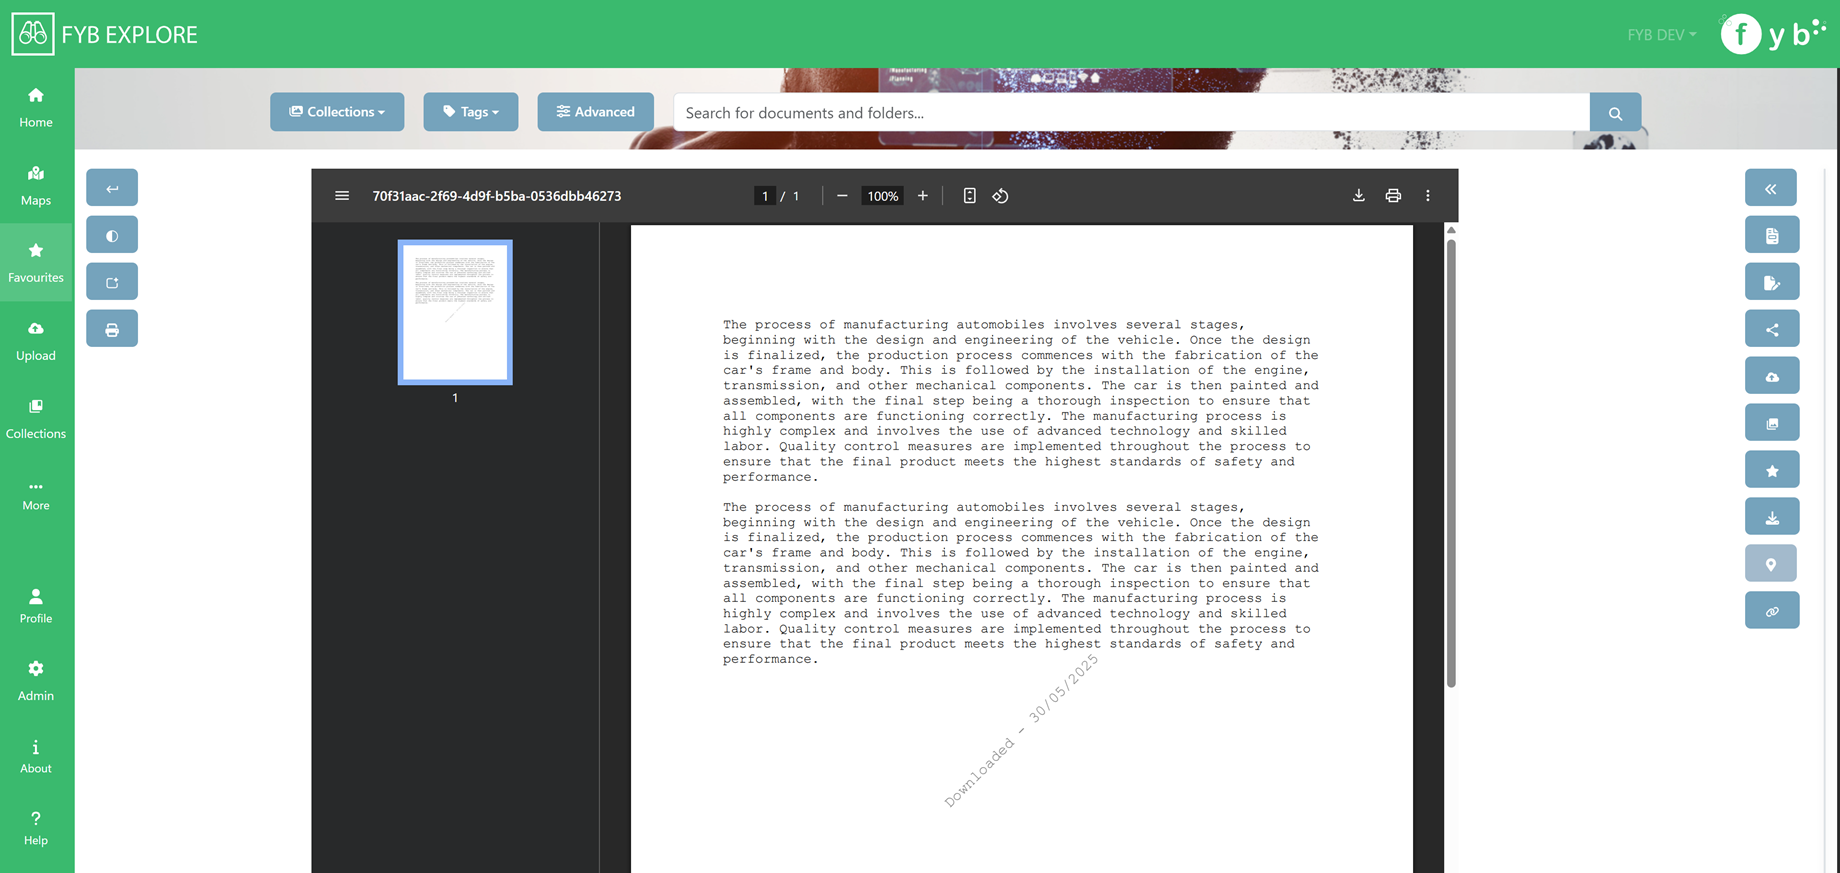
DOCUMENT SPECIFIC ACTIONS
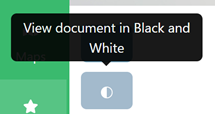
- View document in black and white: Click this button to view the document in black and white
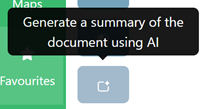
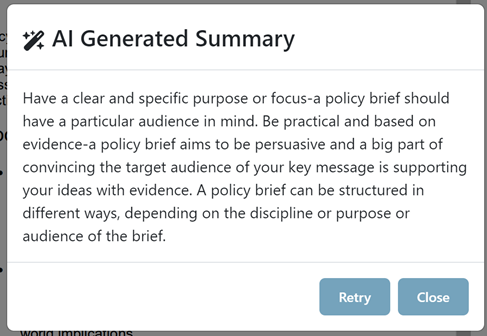
- Generate an AI summary: Click this button to generate a small summary of the document using AI
- Print: Click this button to print the document

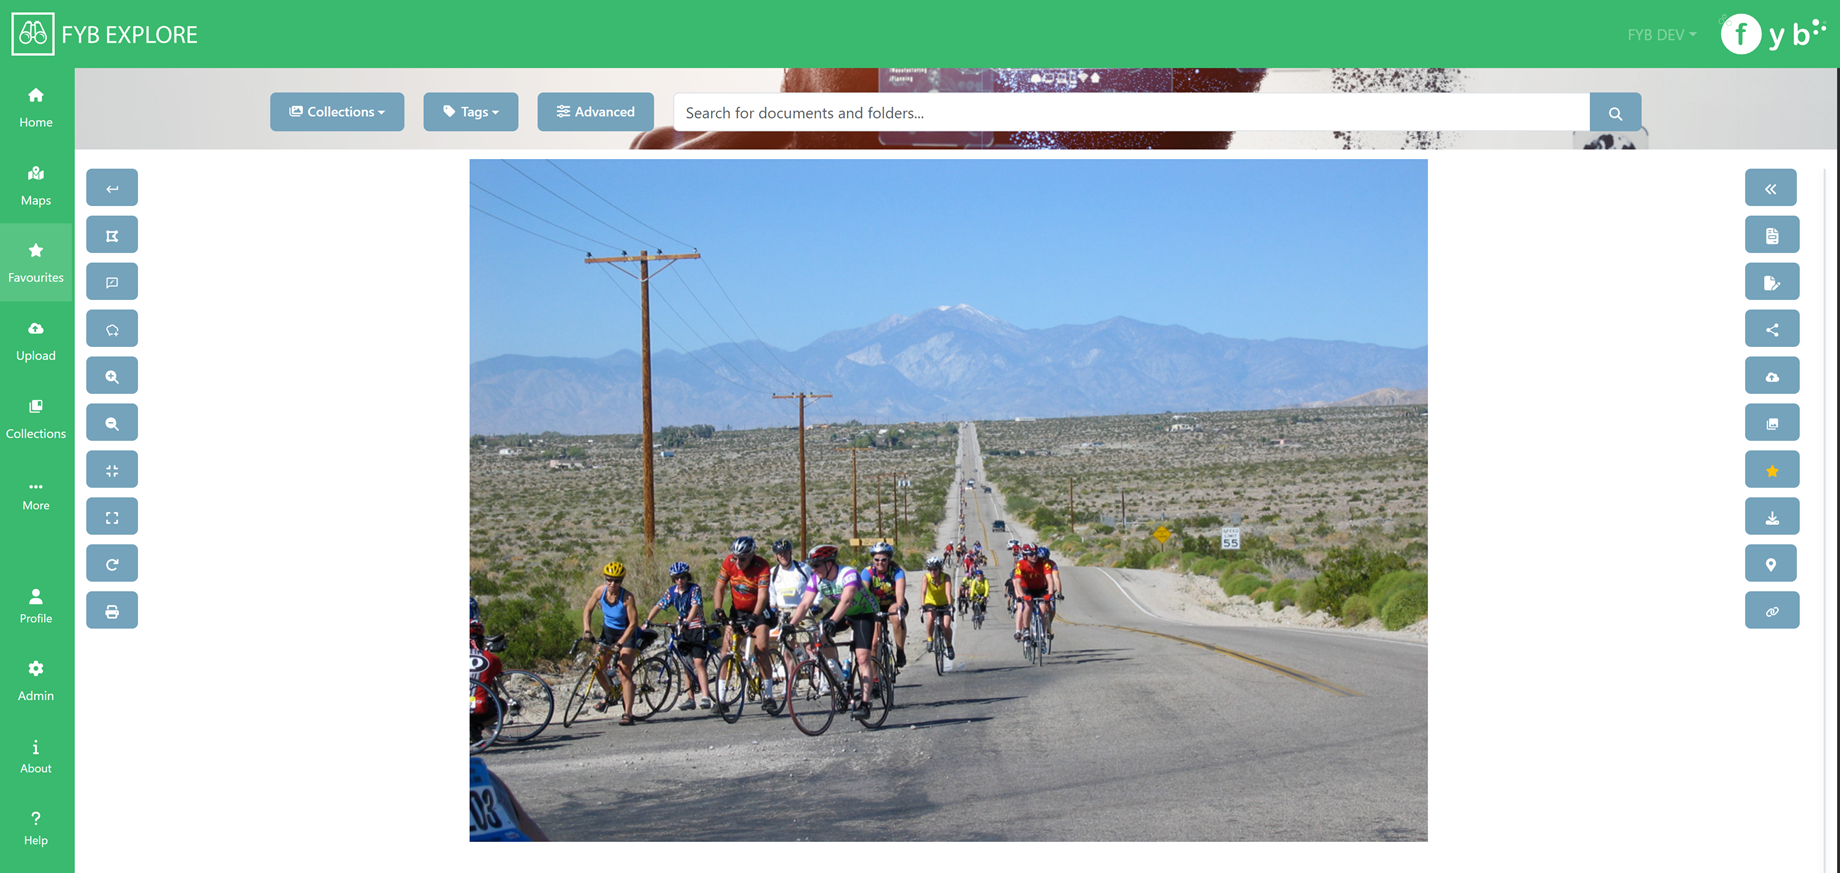
IMAGES
Supported images can be viewed in the browser.

IMAGE SPECIFIC ACTIONS
-
Enable/Disable Drawing Annotations: If enabled, annotations can be drawn on the image

-
Show/Edit Annotations: Either shows/hides the annotations the user has saved for the image

-
Download Annotations: Displays options to save/download annotations

-
Zoom-In/Zoom-out: Images can be zoomed in and out of by using the scroll wheel of your mouse or using the zoom in/out buttons

-
Reset Zoom: Resets the image to its original size after using the zoom feature

-
Full screen image: Displays the image in full screen mode

-
Rotate Image: Rotates the image

-
Print: Prints the Image

ADDING ANNOTATIONS
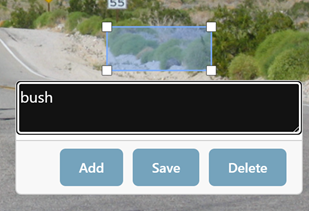
To add annotations to an image:
- Click the Enable Drawing Annotation button
- Click then hover over the image to draw annotations
- Type into the textbox that appears
- Click Add to add the annotation to the image without saving
- Click Save to save the annotation
- Click Delete to delete an annotation
DOWNLOAD ANNOTATIONS
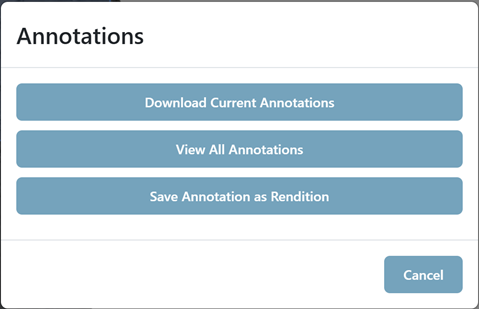
- Click the Download annotations button
- Click Download Current Annotations to download the current annotations on the image.
To download previous annotations:
- Click the View All Annotations button
- Using the arrow buttons, choose the annotated image, then click Download

Annotated images from Content Manager can be saved as renditions on the Record using the Save Annotations as Rendition button.
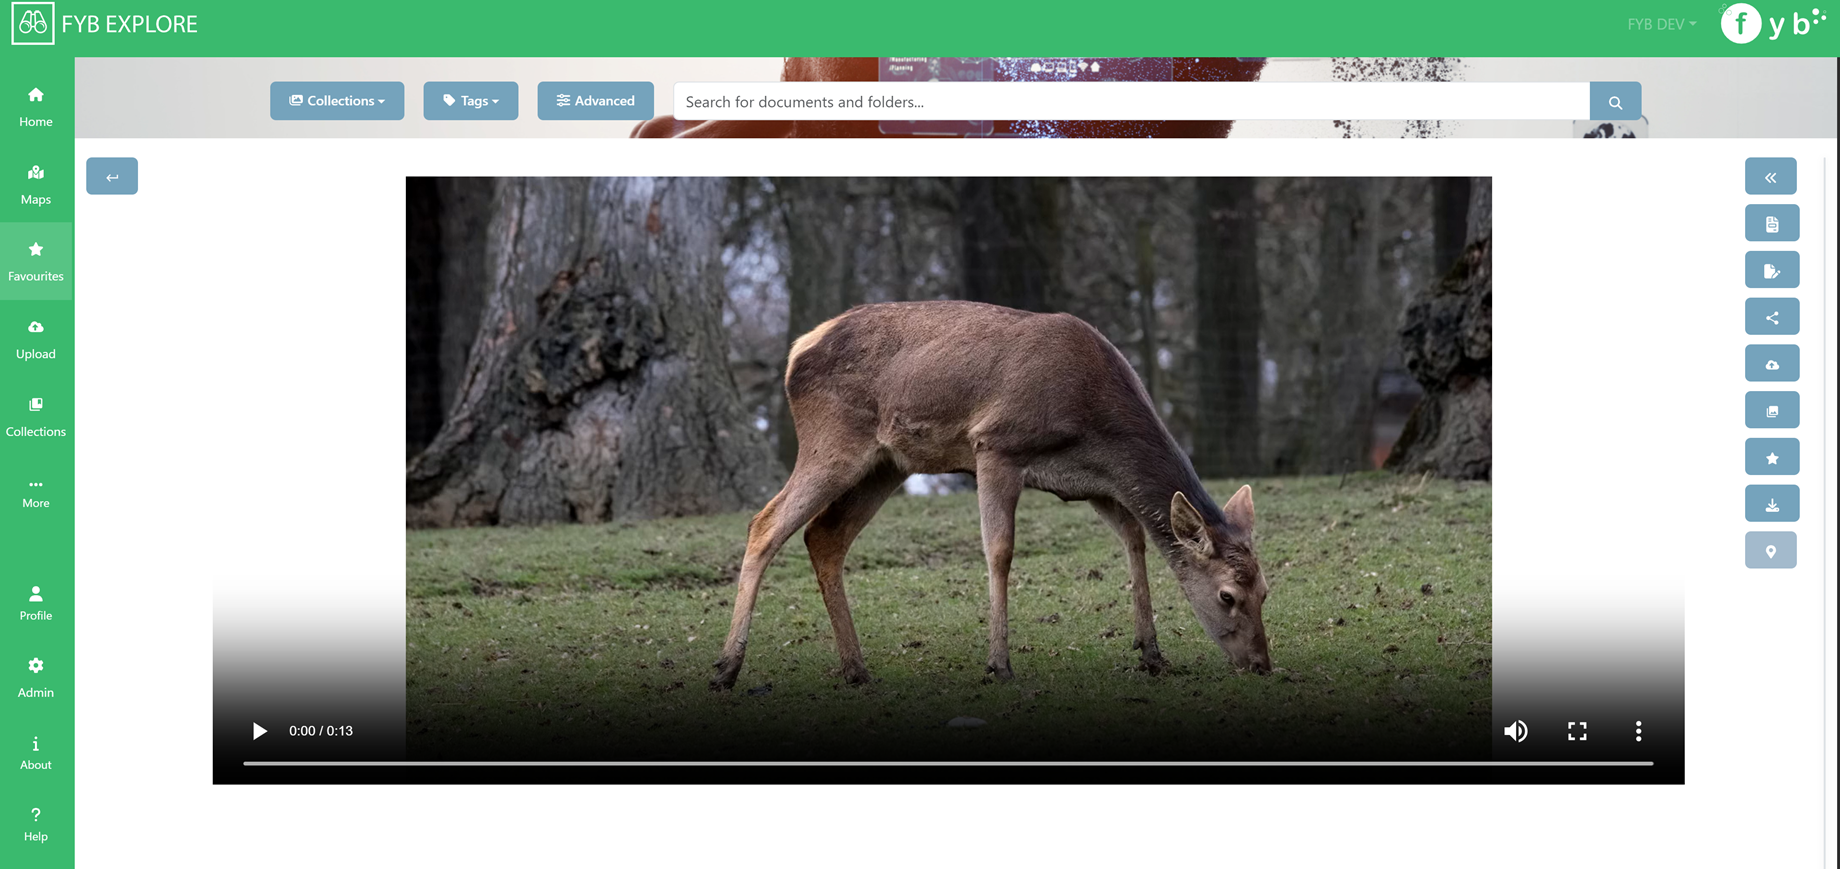
VIDEOS
Supported video assets can be viewed and played in the browser
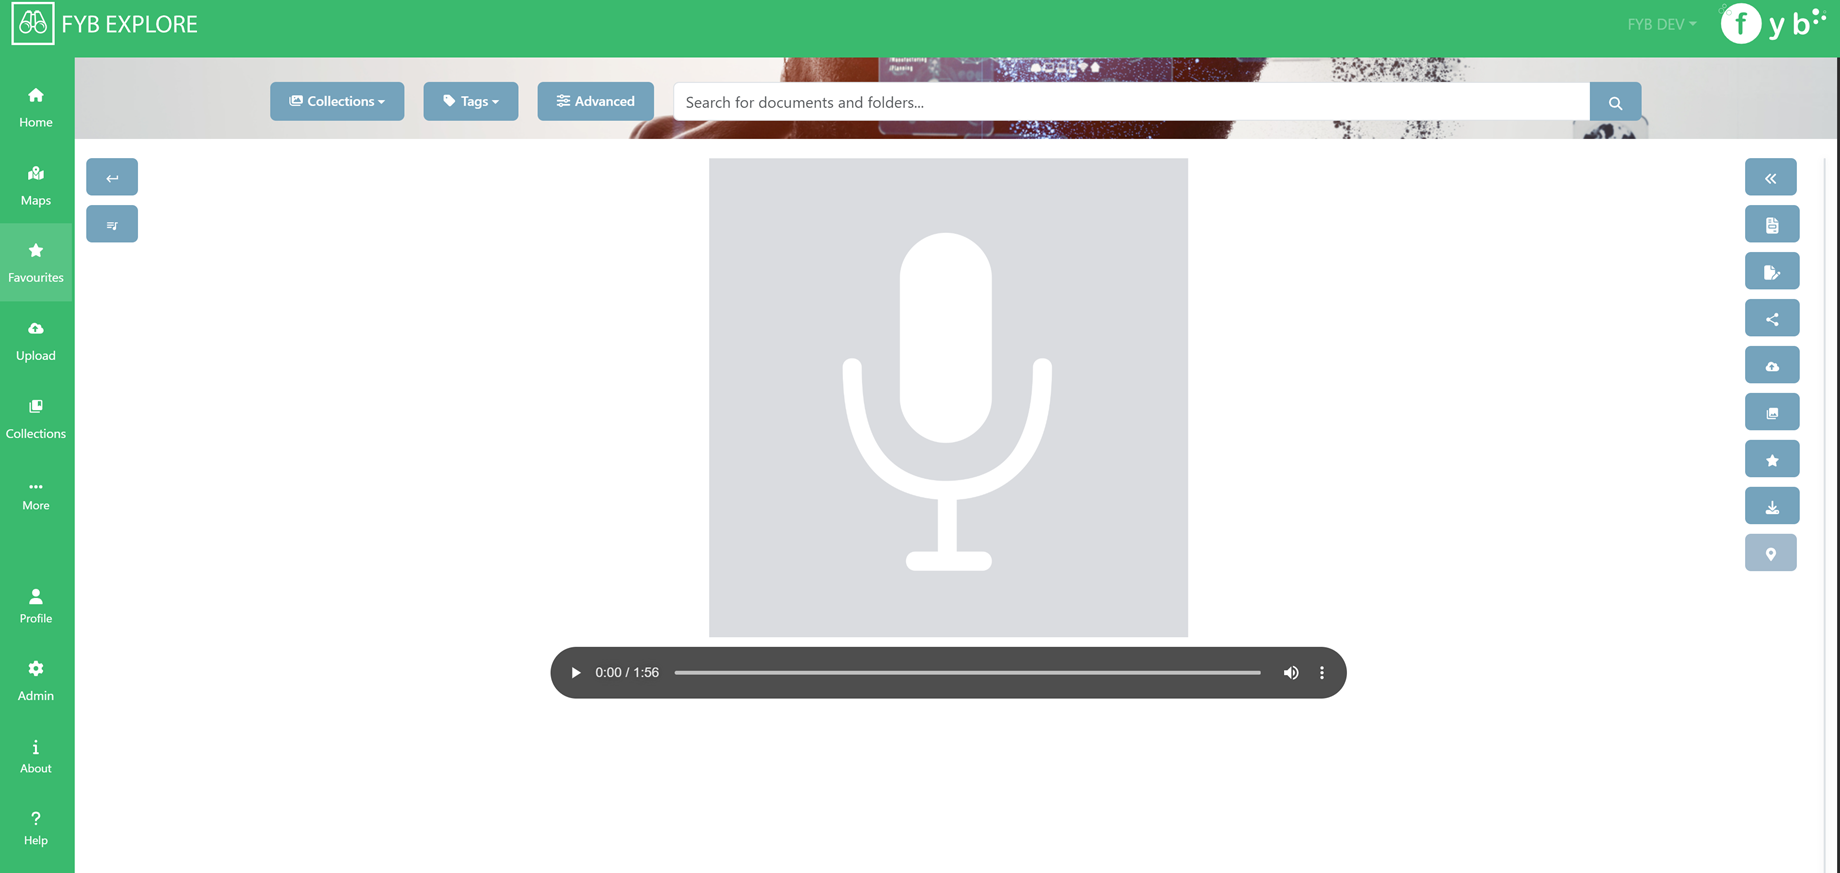
AUDIO
Supported audio assets can be viewed and played in the browser
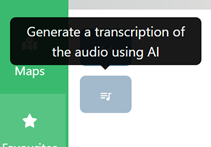
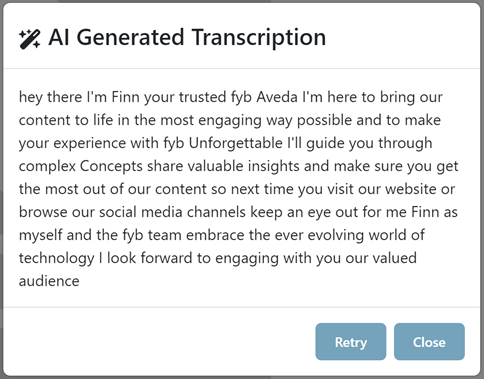
AUDIO SPECIFIC ACTIONS
- Generate transcription: Generate a transcription of the audio using AI
ASSET VIEW ACTIONS
These buttons are available for all asset types.
-
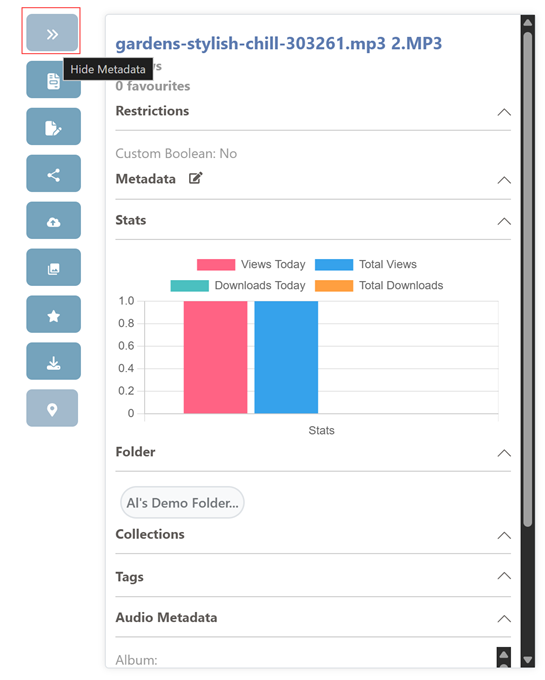
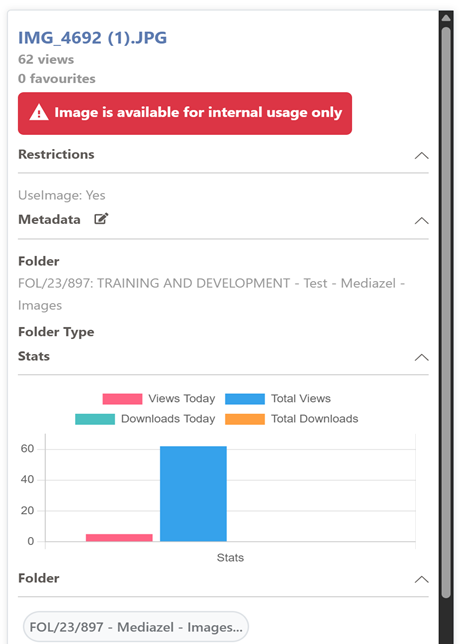
Show/Hide Metadata: Either shows/hides the metadata pane on the right side
-
View Document: Will open the document for viewing in the source's program

-
Edit Document: Will open the document for editing
-
Copy Link: Copies a link to view the asset in FYB Explore to your clipboard

-
Add to Collection: adds the asset to a collection of your choice

-
Upload new revision: Allows for uploading a new revision onto the existing document.
For Content Manager Records, a new revision is added. For SharePoint documents, a new version is added.
-
Add to/Remove From Favourites: Either adds/removes the asset to/from the user's favourites

-
Download: Downloads the asset.

-
Show In Google Maps: Shows the location of the asset in Google Maps if GPS data is available

CONTENT MANAGER SPECIFIC ACTIONS
- View Relations: Displays related records and allows for the creation of new relations
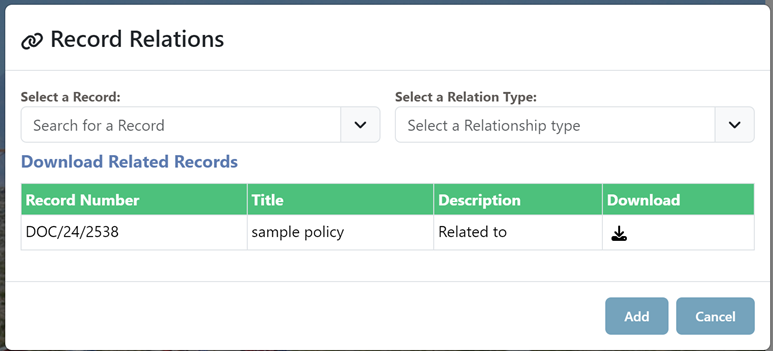
To Add a new relation:
- Search for and select a Record
- Select a Relation Type
- Click Add
ASSET METADATA
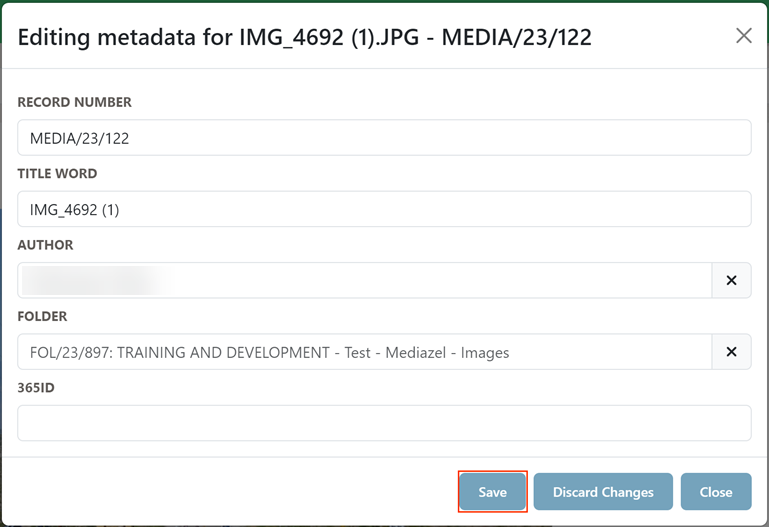
EDIT METADATA
Click the Edit Metadata button to edit the asset's metadata.

Once the desired changes have been made, click Save.
RESTRICTIONS
Restrictions are configured in the Admin Console. An asset is marked as restricted if one of the restricted fields is set to true for the asset.
METADATA FIELDS
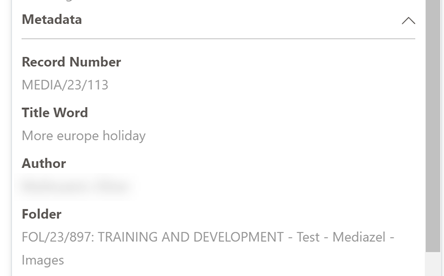
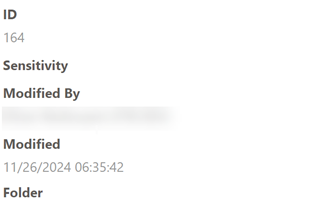
This shows the value of each configured metadata field. These fields are configured in the user's Settings page.
FOLDER
Shows the folder that the asset is in. Click on the folder bubble to view all assets within this folder.
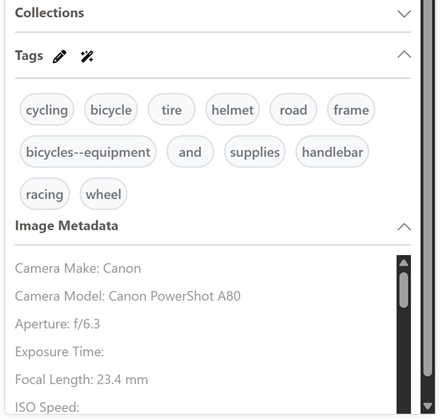
COLLECTIONS
Shows all which collection the asset belongs to. Collections shown are only those created by the user as well as global collections.
TAGS
Shows all tags associated with the asset. Click on a tag to view all assets associated with the tag.
- Generate Tags using AI: Click the AI Tags button to generate tags using AI.

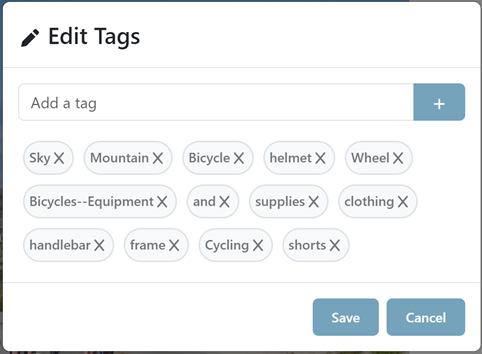
- Edit Tags: Click the Edit Tags button to edit the current tags or add new ones.

GOOGLE MAPS PAGE
The Google Maps Search page allows for searching for Content Manager assets via its GPS location.
GPS Location searching for SharePoint documents is currently not supported due to limitations in the Microsoft Graph API.
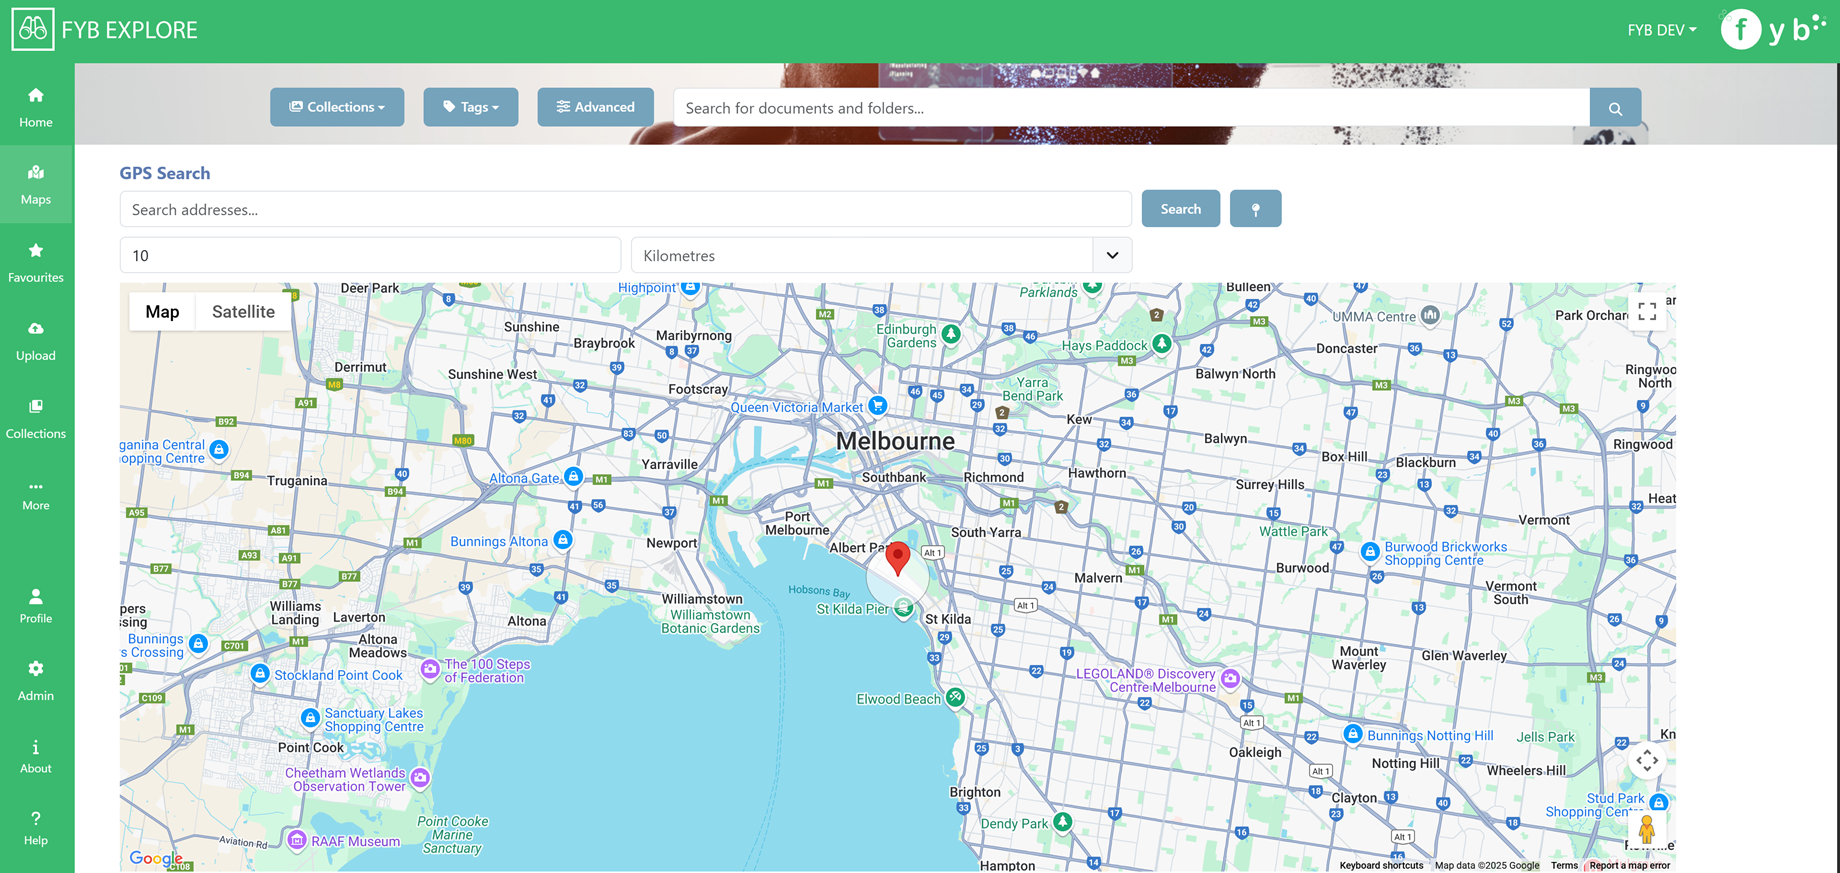
SEARCHING FOR ASSETS AT AN ADDRESS
- Specify an address

- Specify the Radius

- Click Search
- Markers will be added representing the location of an Asset
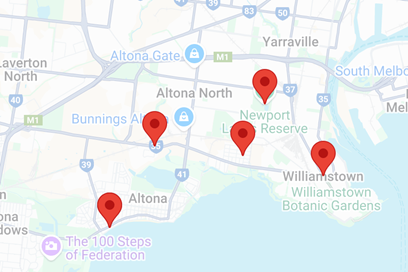
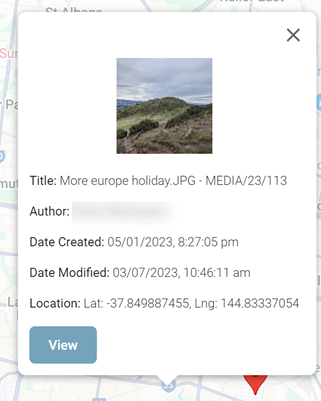
- Click on a marker to view a preview of the asset
FIND ASSETS NEAR ME
Click the Find Assets near me button to locate assets near your current location
UPLOAD DOCUMENTS
The upload documents page is used to upload documents to either Content Manager or SharePoint.
UPLOADING TO CONTENT MANAGER
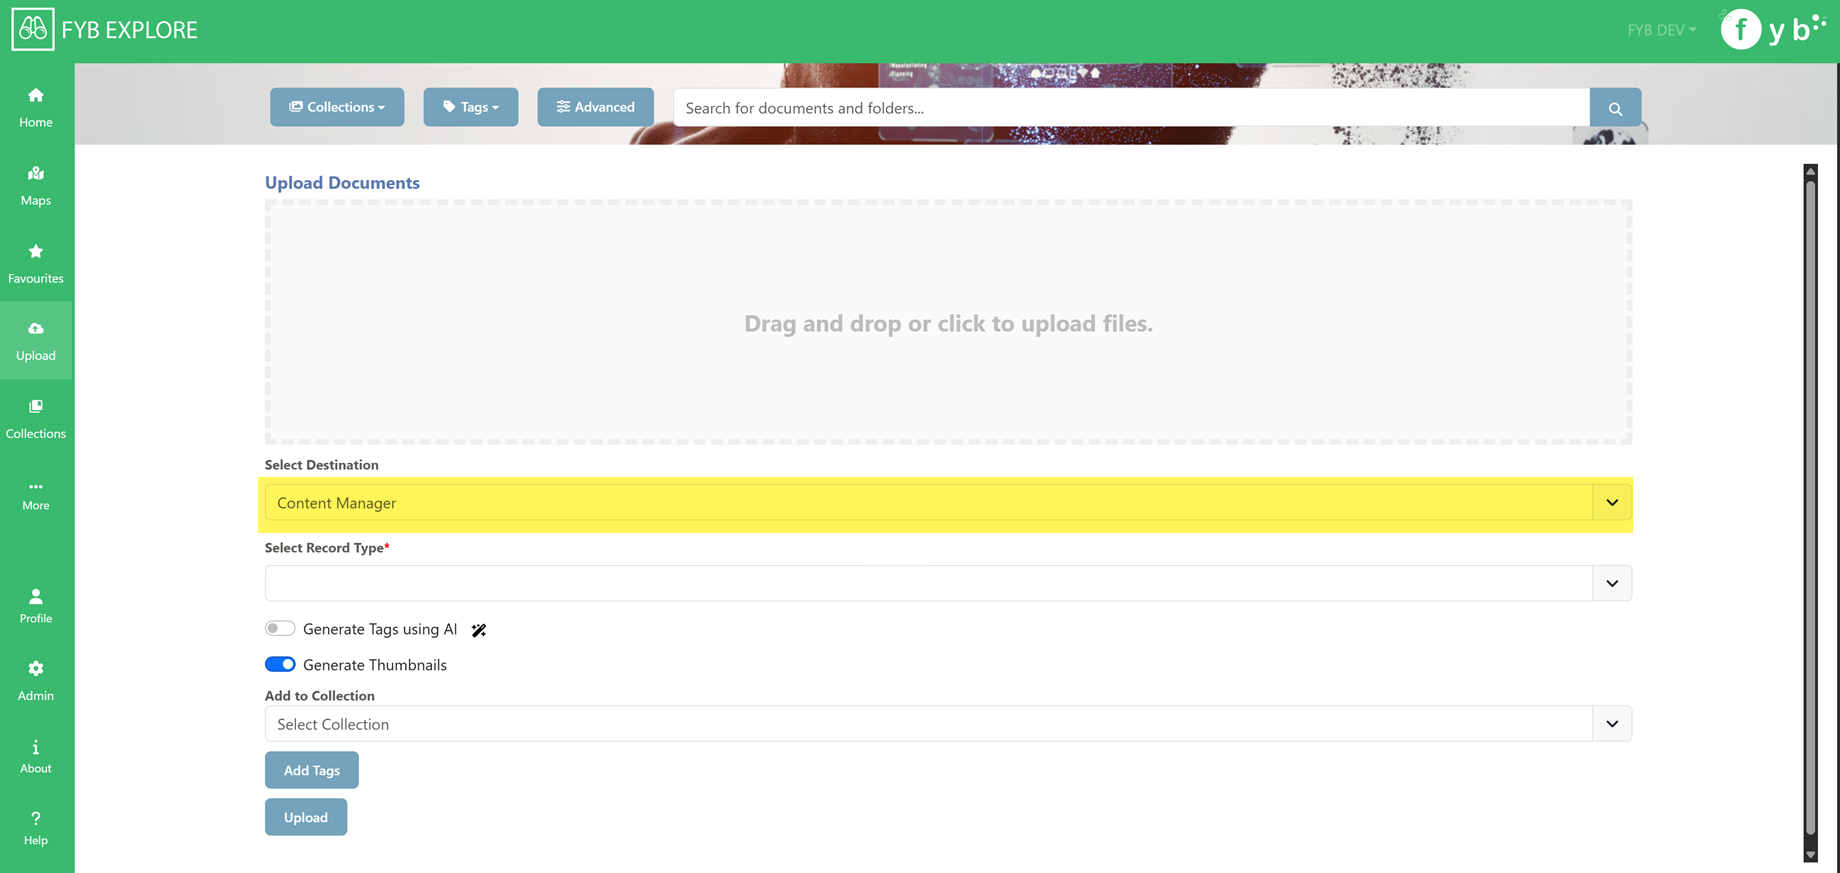
- Upload one or more files to the file box
- For the Destination, select Content Manager
- Choose a Record Type
- Fill in the Record Type fields
- Click Upload
UPLOADING TO SHAREPOINT
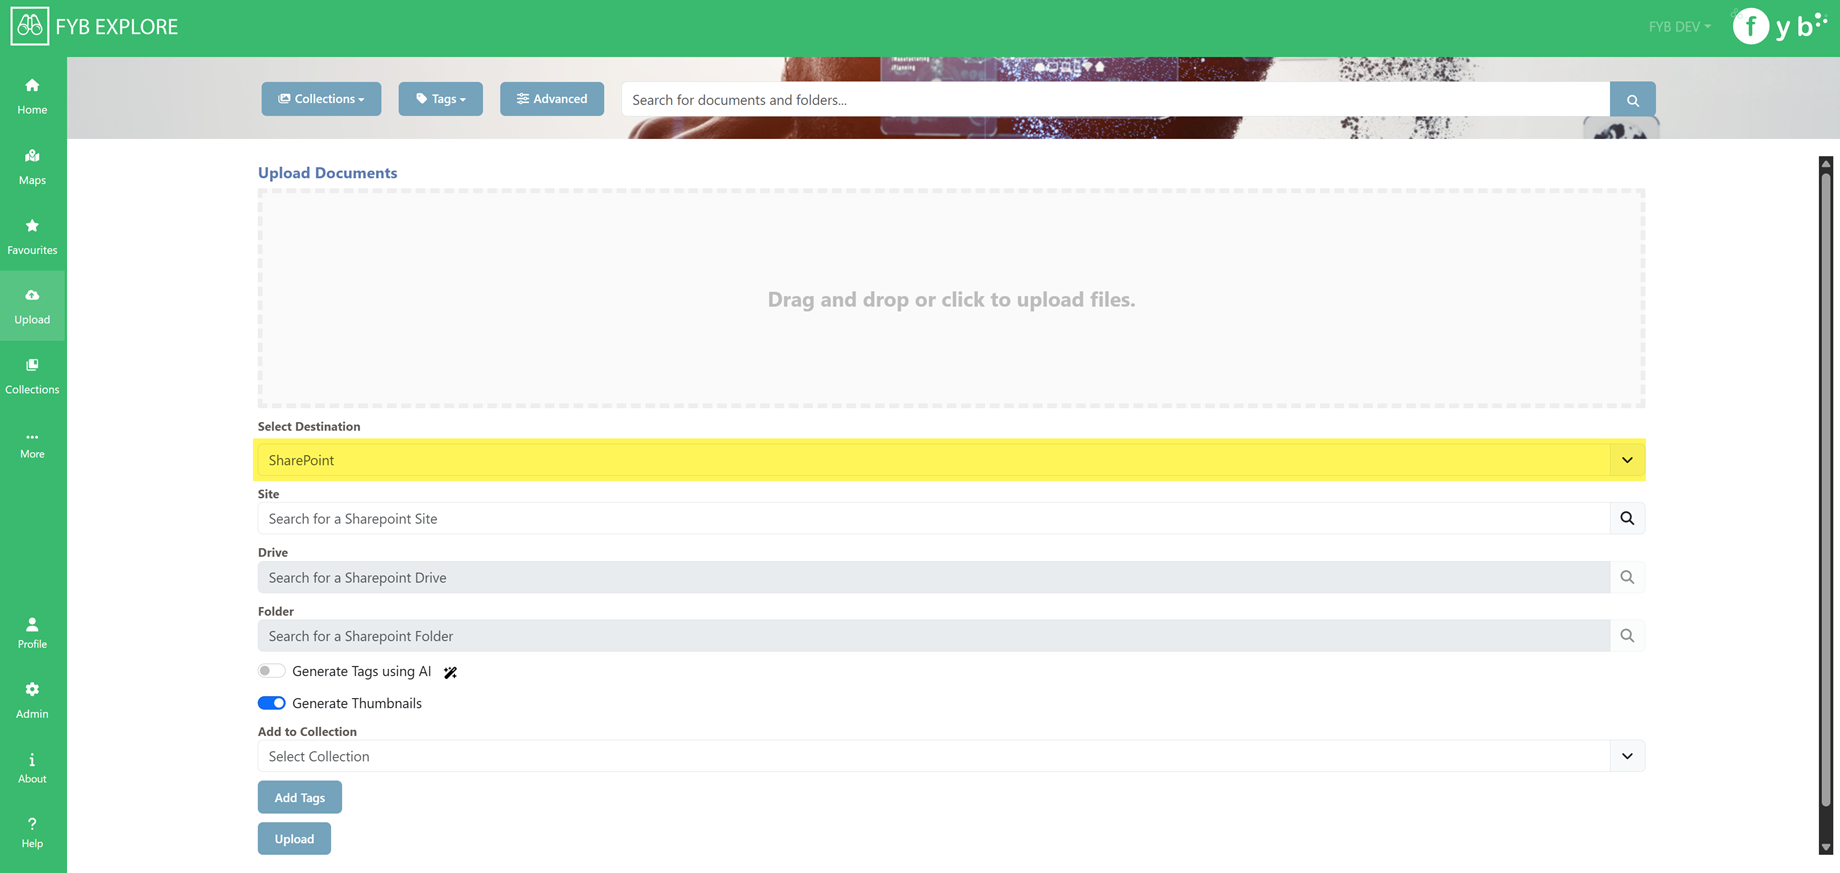
- Upload one or more files to the file box
- For the Destination, select SharePoint
- Select a Site (start typing to find a site)
- Select a Drive
- (Optional) Select a Folder
- Click Upload
OTHER UPLOAD FUNCTIONS
- Generate Tags using AI: If enabled, tags are automatically generated using AI for each uploaded document
- Generate Thumbnails: If enabled, thumbnails are automatically generated for supported image files
- Add To Collection: Adds the uploaded documents to the specified collection
COLLECTIONS PAGE
COLLECTIONS
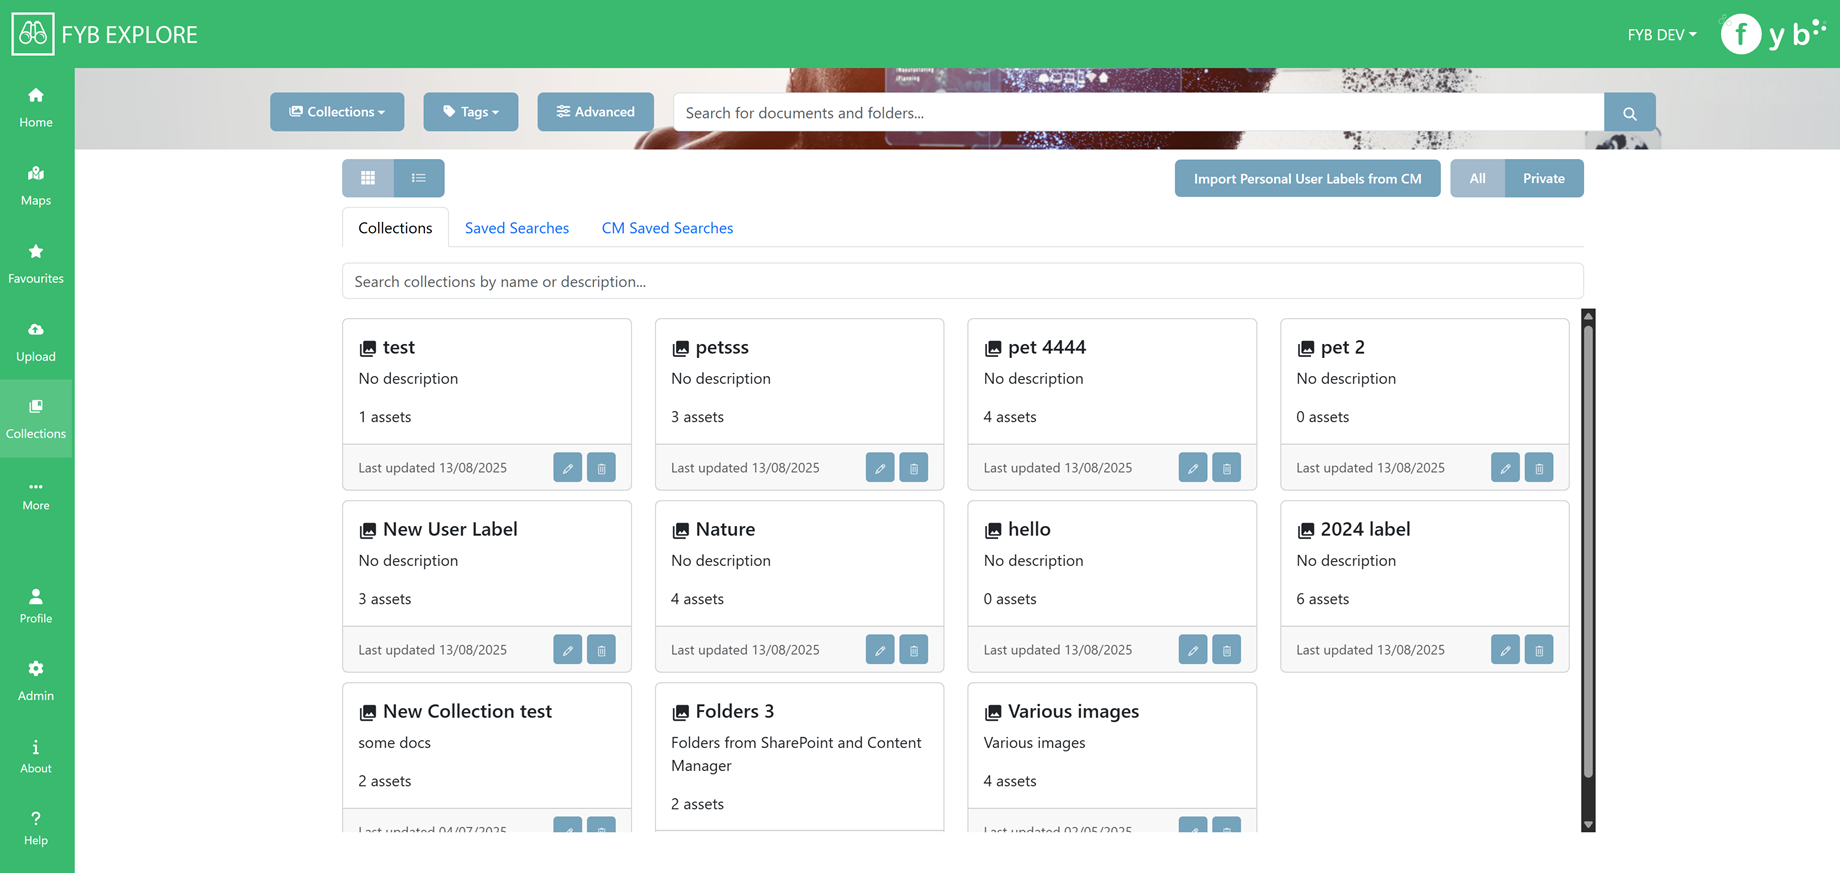
Displays Collections created by the user as well as global collections.
Click on the collection to view all assets associated with it.
Use the All/Private button to show all collections or just the collections you created.
IMPORT USER LABELS FROM CM
Clicking this button will import User Labels you created in Content Manager as new Collections. The Records associated with the user labels will be added to the respective Collection
SAVED SEARCHES
Displays Saved Searches created by the user within FYB Explore.
Click on the saved search to run the search.
CM SAVED SEARCHES
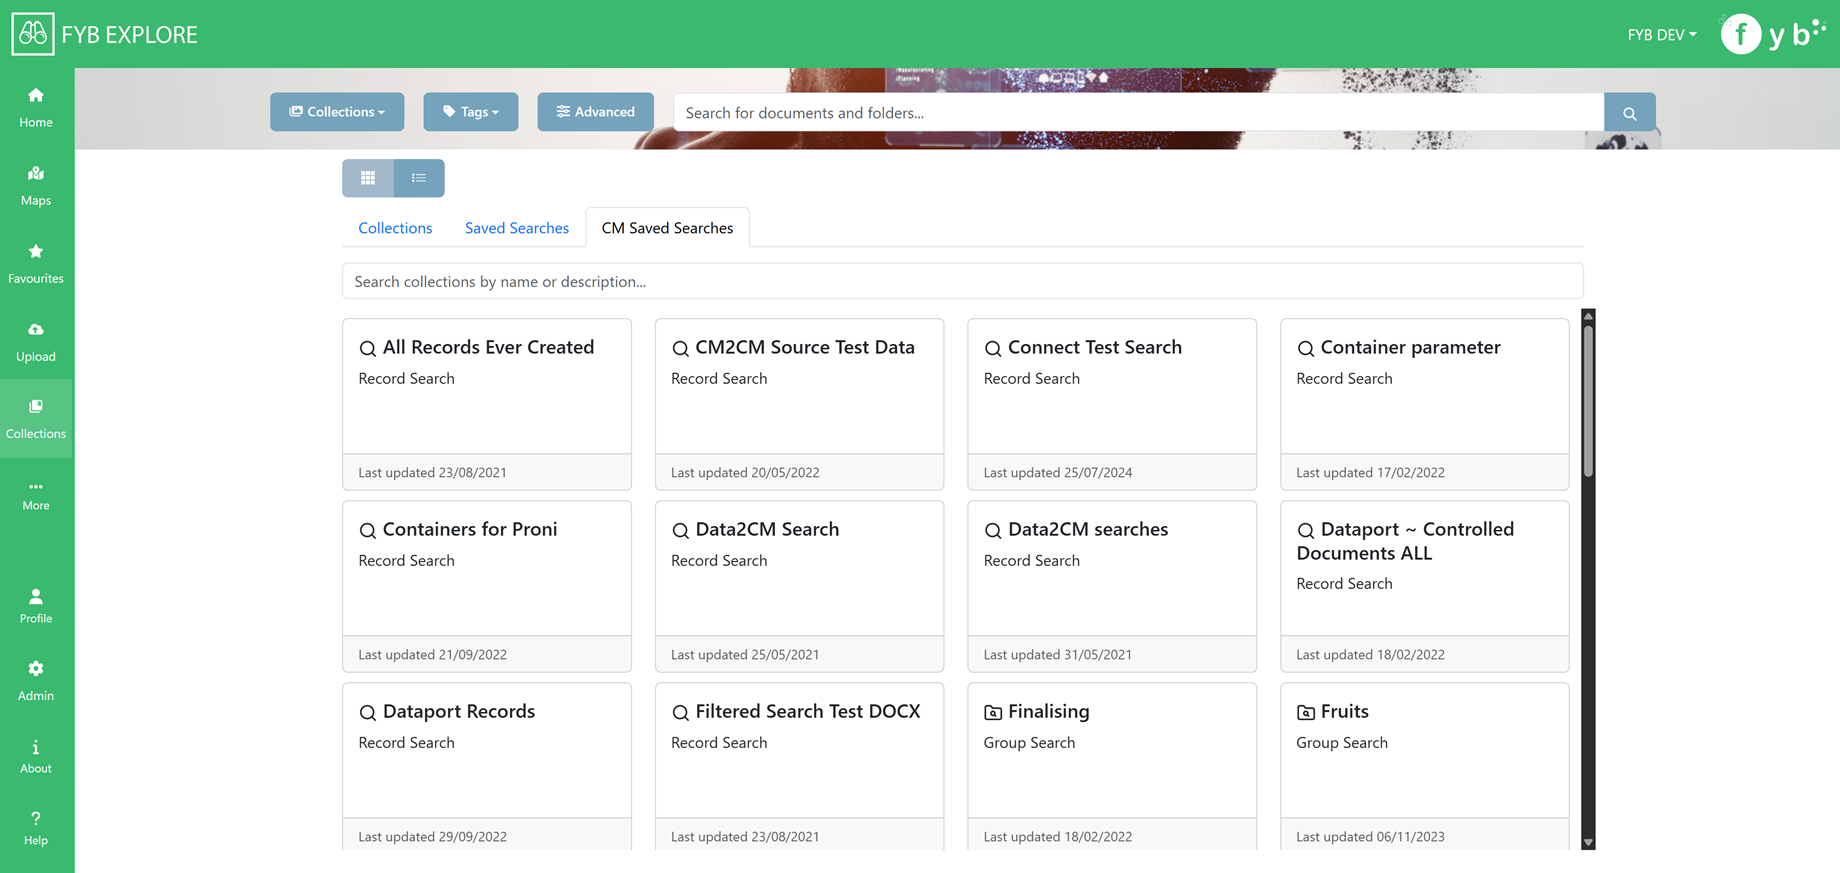
Displays the top level Content Manager saved searches.
Click on a Record Saved Search to view records within the saved search.
Click on Group Saved Searches to view the saved searches within it
USER SETTINGS
The User Settings page is a specific setting to customize the user's experience with FYB Explore.
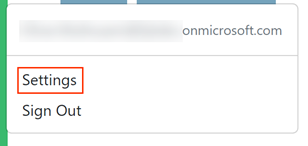
To navigate to the User Settings page:
- Click Profile

- Click Settings
CONTENT MANAGER SETTINGS
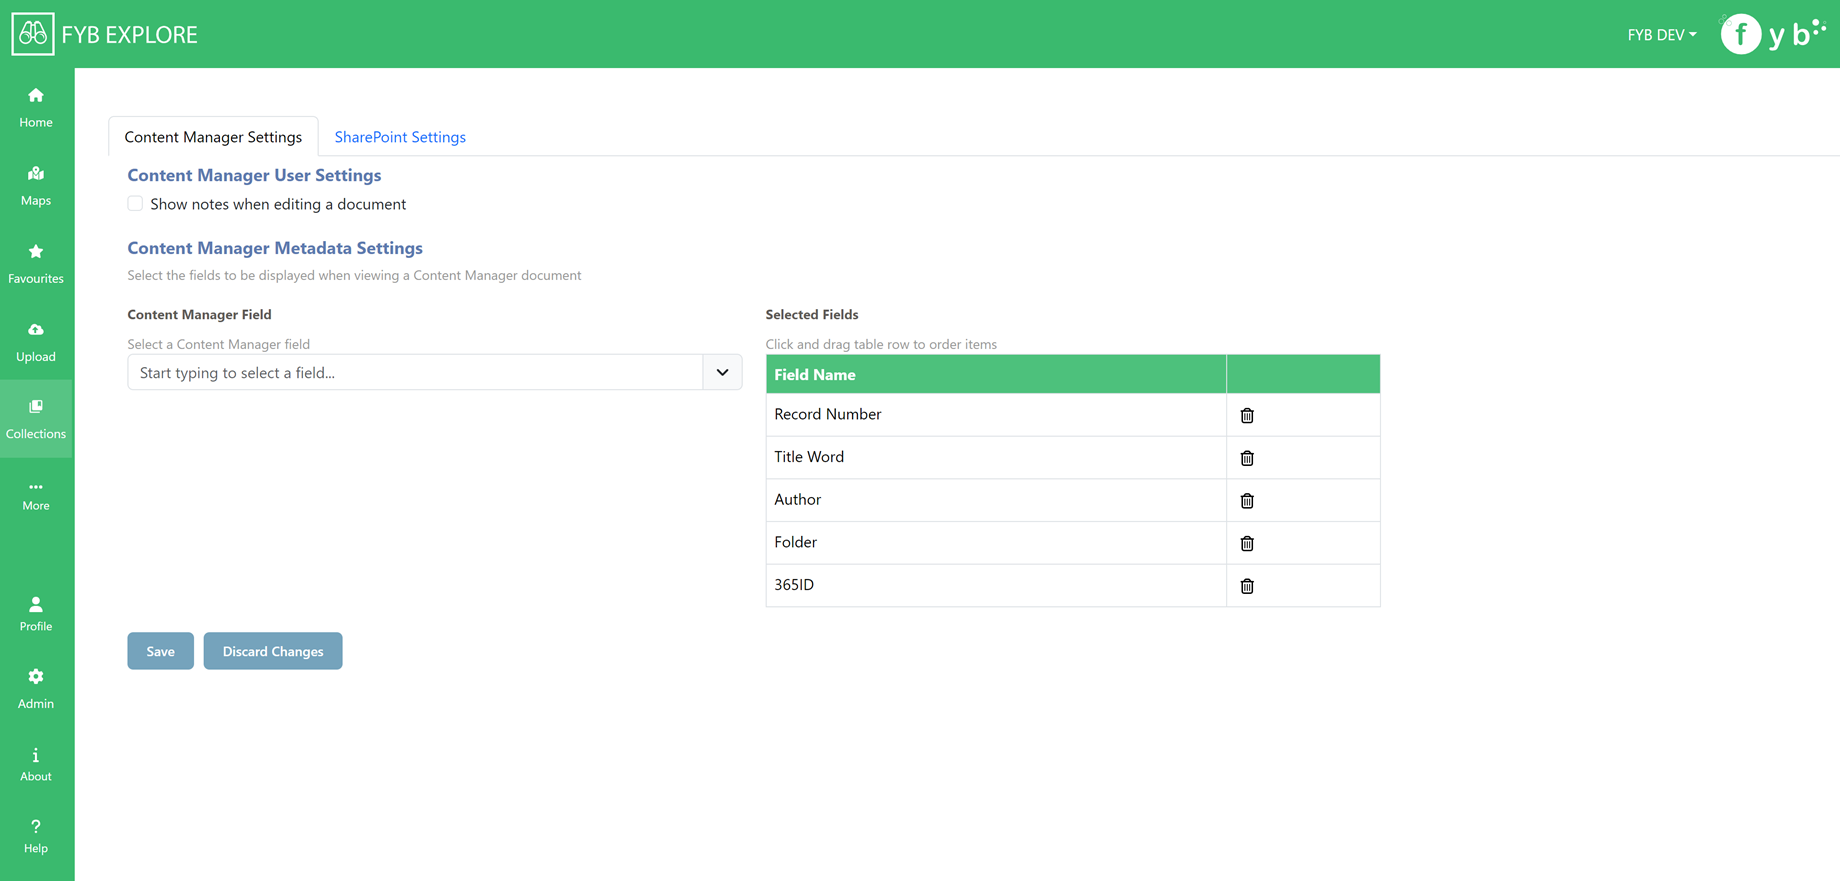
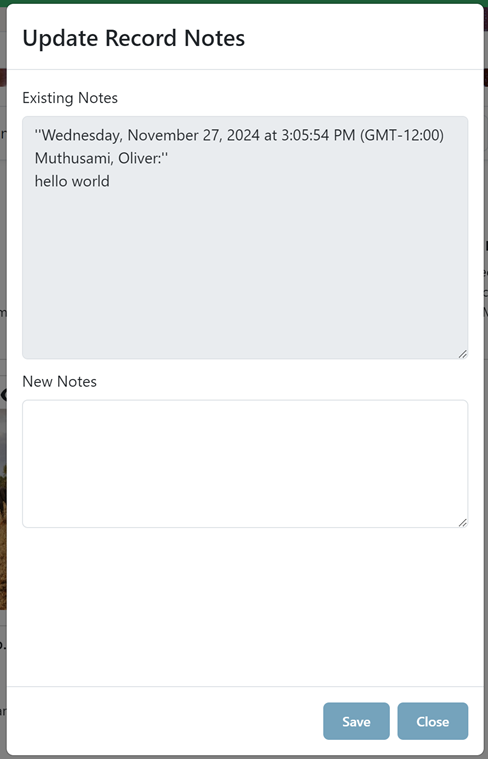
- Show notes when editing document: If enabled, when a user clicks the edit button on a Content Manager Record, they are prompted to add notes to the Record.
- Metadata settings: Specify which fields to display in the Metadata section when viewing Content Manager Records. Click and drag on the rows to rearrange the order in which they are displayed.
SHAREPOINT SETTINGS
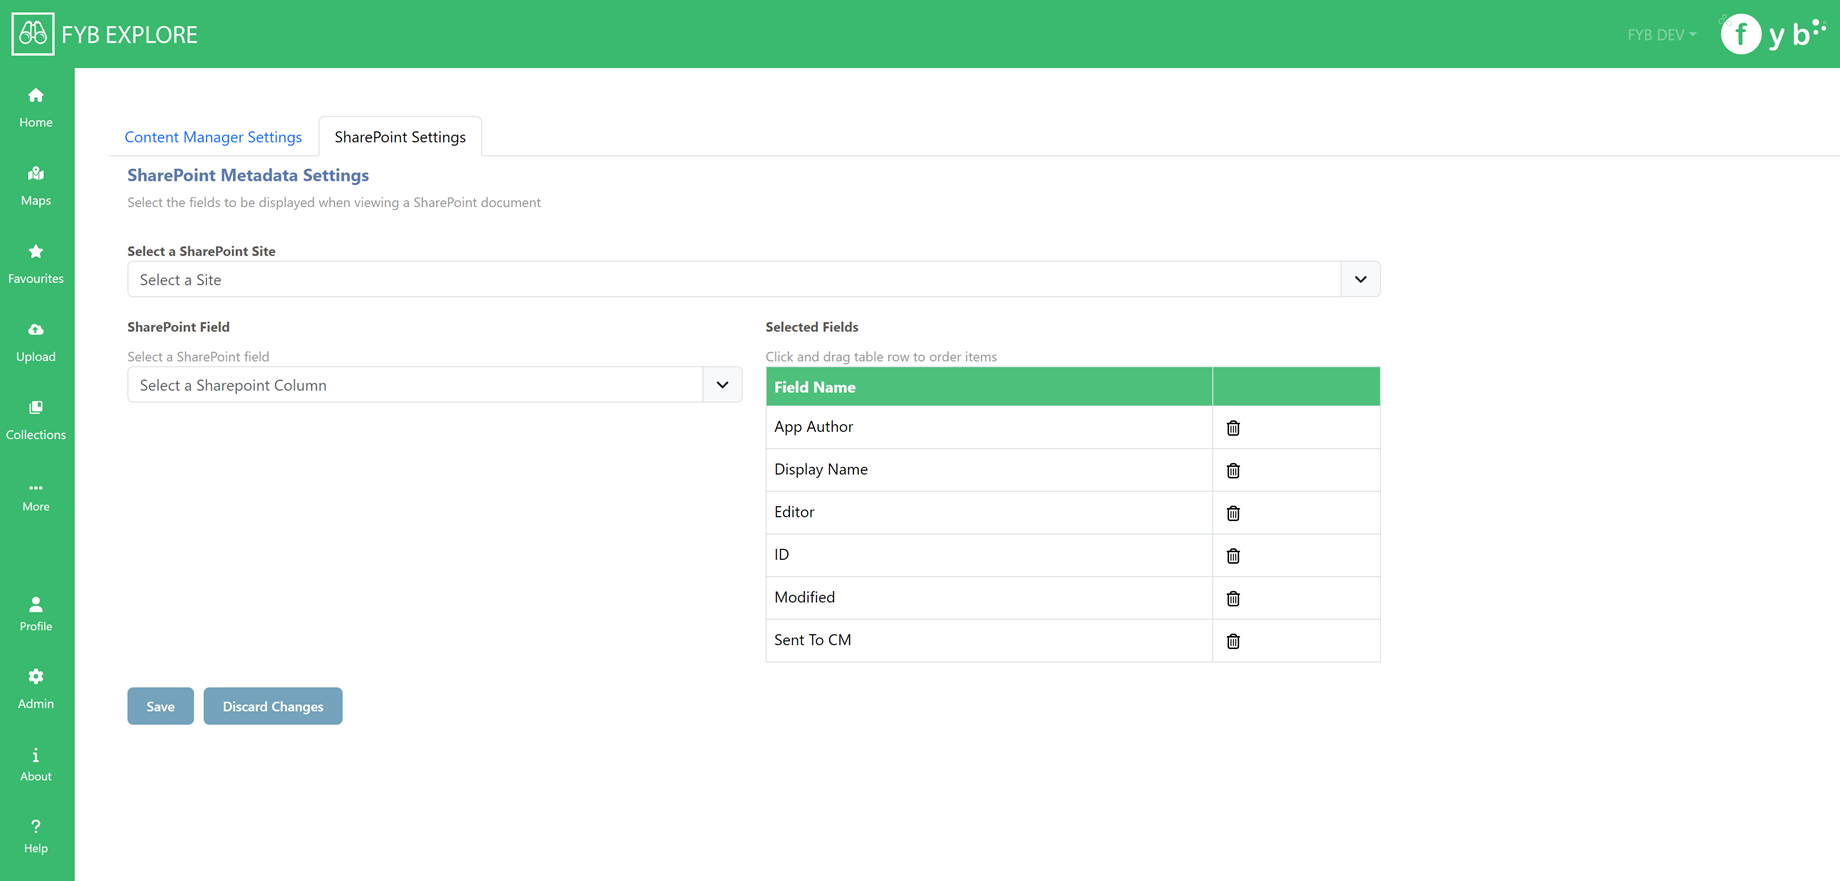
- Metadata settings: Specify which fields to display in the Metadata section when viewing SharePoint documents. A site must first be selected before selecting which SharePoint columns to display. Click and drag on the rows to rearrange the order in which they are displayed.
LIST VIEW COLUMN SETTINGS
The List View Column Settings page allows you to configure custom field mappings for list view displays in FYB Explore search results page. This feature enables you to map Content Manager and SharePoint fields to custom field names for better organization and display consistency.
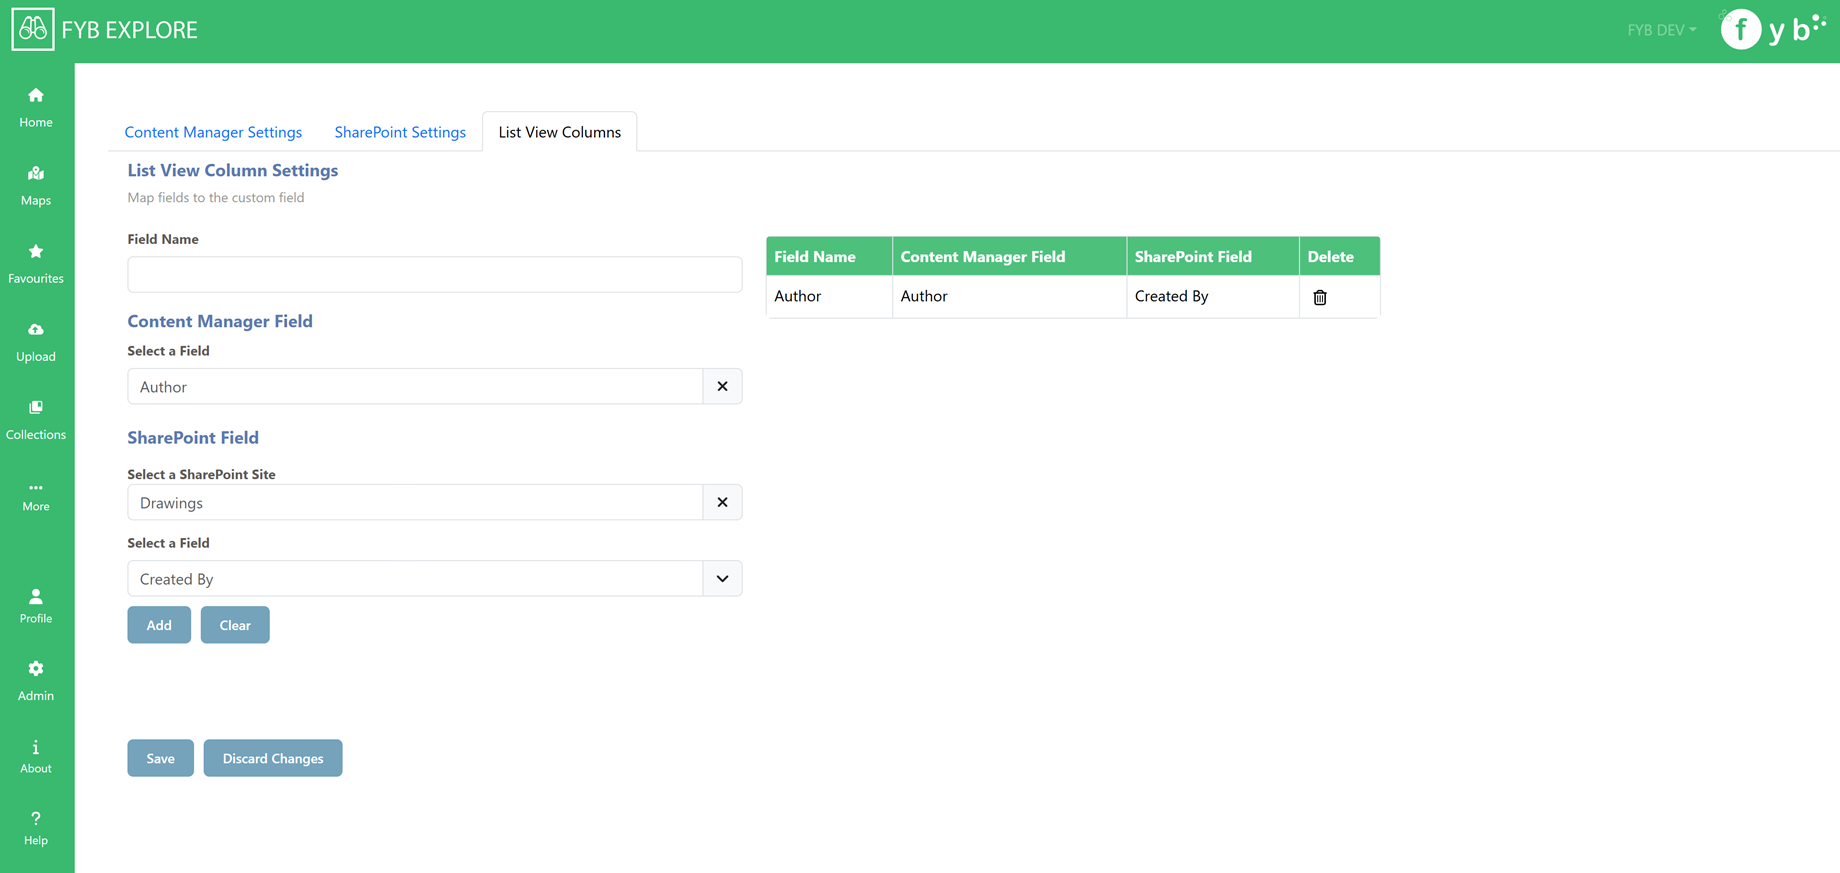
Adding a New Field Mapping
-
Enter Field Name
- In the "Field Name" input box, type your desired custom field name
- This will be the display name shown in list views
- Field names must be unique (case-insensitive)
-
Select Content Manager Field (Optional)
- Click on the Content Manager Field searcher
- Browse and select the desired field from Content Manager
- The selected field will be mapped to your custom field name
-
Select SharePoint Field (Optional)
- First, use the SharePoint Site searcher to select a SharePoint site
- Once a site is selected, use the Site Column searcher to choose a specific field
- The selected SharePoint field will be mapped to your custom field name
-
Add the Mapping
- Click the "Add" button to create the field mapping
- The new mapping will appear in the table on the right
- You must provide a field name and at least one field mapping (CM or SP)
HELP SECTION
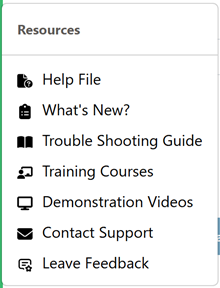
- Help File: Opens the D360 FYB Explore User manual in a new tab in your browser.
- What's New?: Opens the D360 FYB Explore Release Notes in a new tab in your browser.
- Trouble Shooting Guide: Opens the D360 FYB Explore Trouble Shooting guide in a new tab in your browser.
- Training Courses: Opens the FYB Training Courses website in a new tab in your browser
- Demonstration Videos Opens the FYB Youtube channel in a new tab in your browser
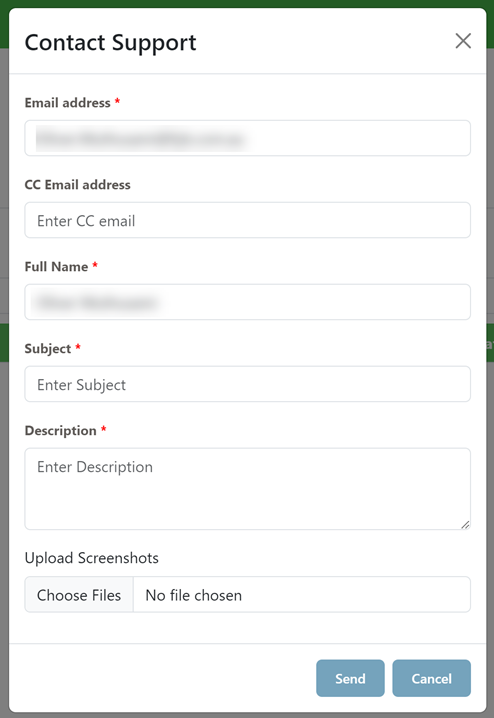
- Contact Support: Clicking this will display the Contact Support modal to log a ticket with FreshDesk
- Leave Feedback: Clicking this will display the Leave Feedback modal to log a ticket with FreshDesk regarding feedback for FYB Explore
The Contact Support feature is only available to FYB Explore Admins.