ACCESS - CFT USER GROUP
Only users that are a part of the Content Manager CFT User Group location will be able to use Court2CM. Users can be added to this group through the Content Manager client. The group that Court2CM uses is set via its Admin Console.
NAVIGATION
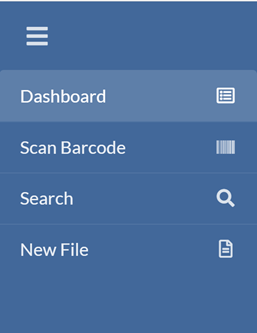
- Dashboard – Displays a list of Court Files currently assigned to the user
- Scan Barcode – Update details of a Court File via scanning a barcode
- Search - Search for Court Files
- New File - Upload a new Court File to Content Manager
DASHBOARD
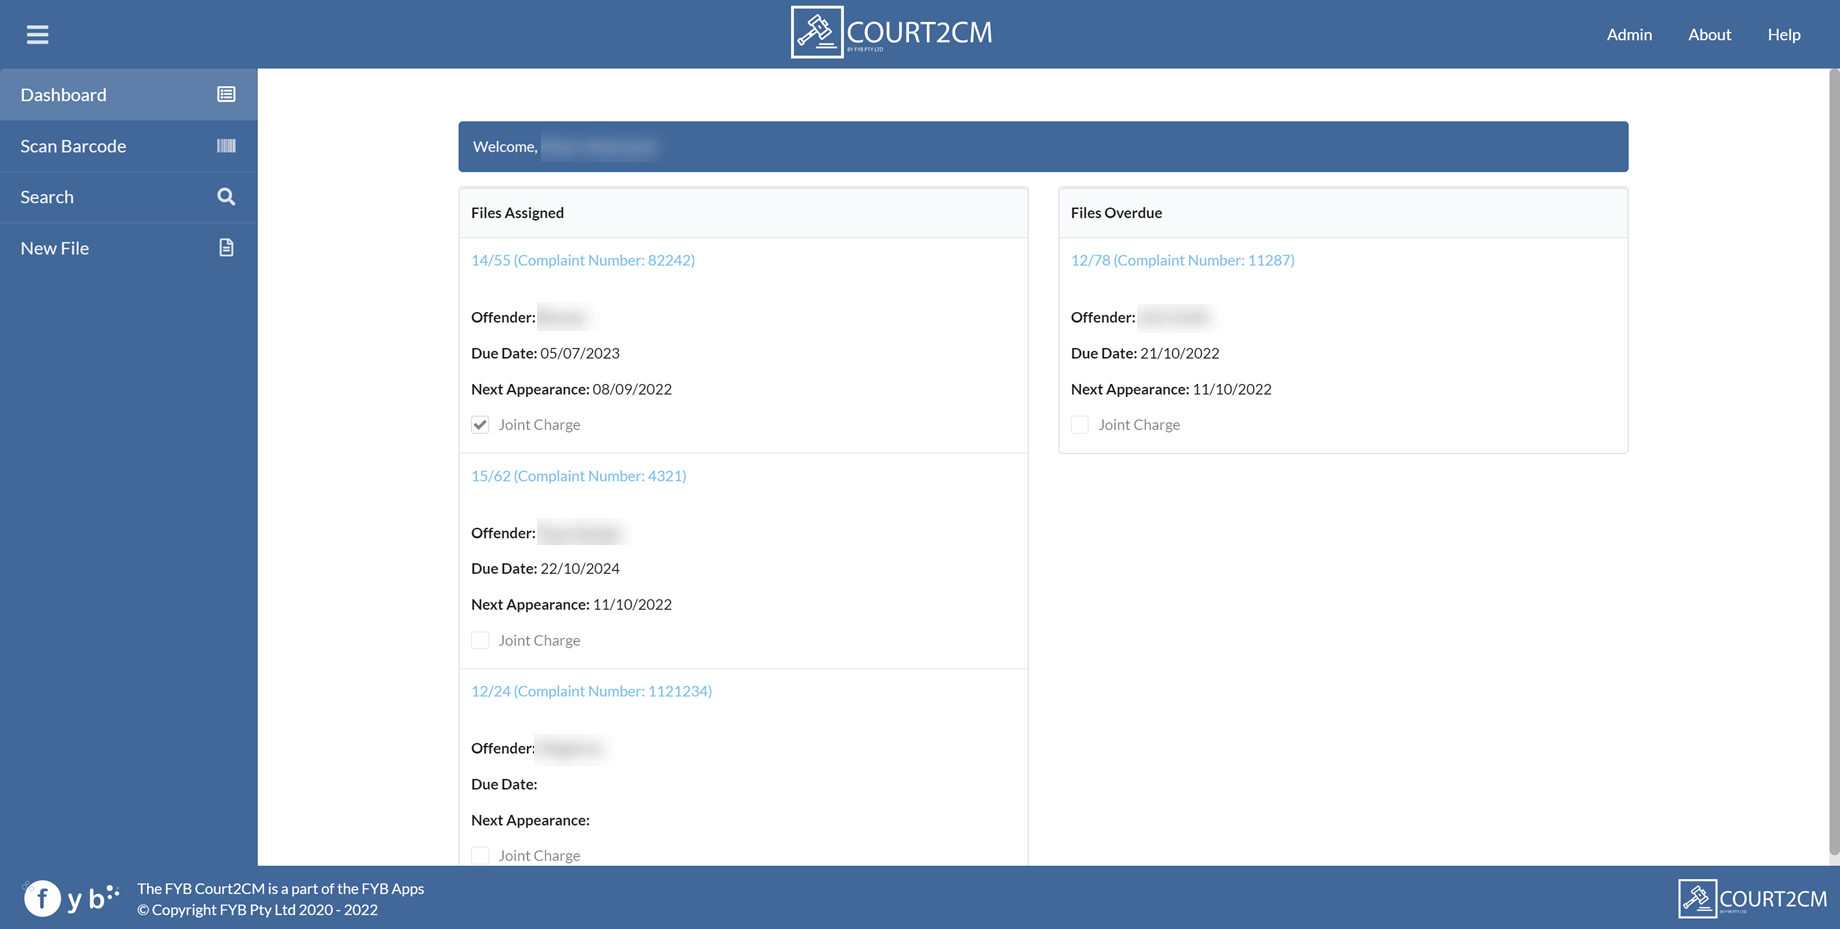
The Dashboard is the main screen and displays all Court Files currently assigned to the user. Overdue Court Files are displayed in a separate section on the right.
Clicking on a Court File will display the Court Files Details Page.
The Due Date displayed is retrieved from the Court File's Prosecution Note's Due Date value.
SCAN BARCODE PAGE
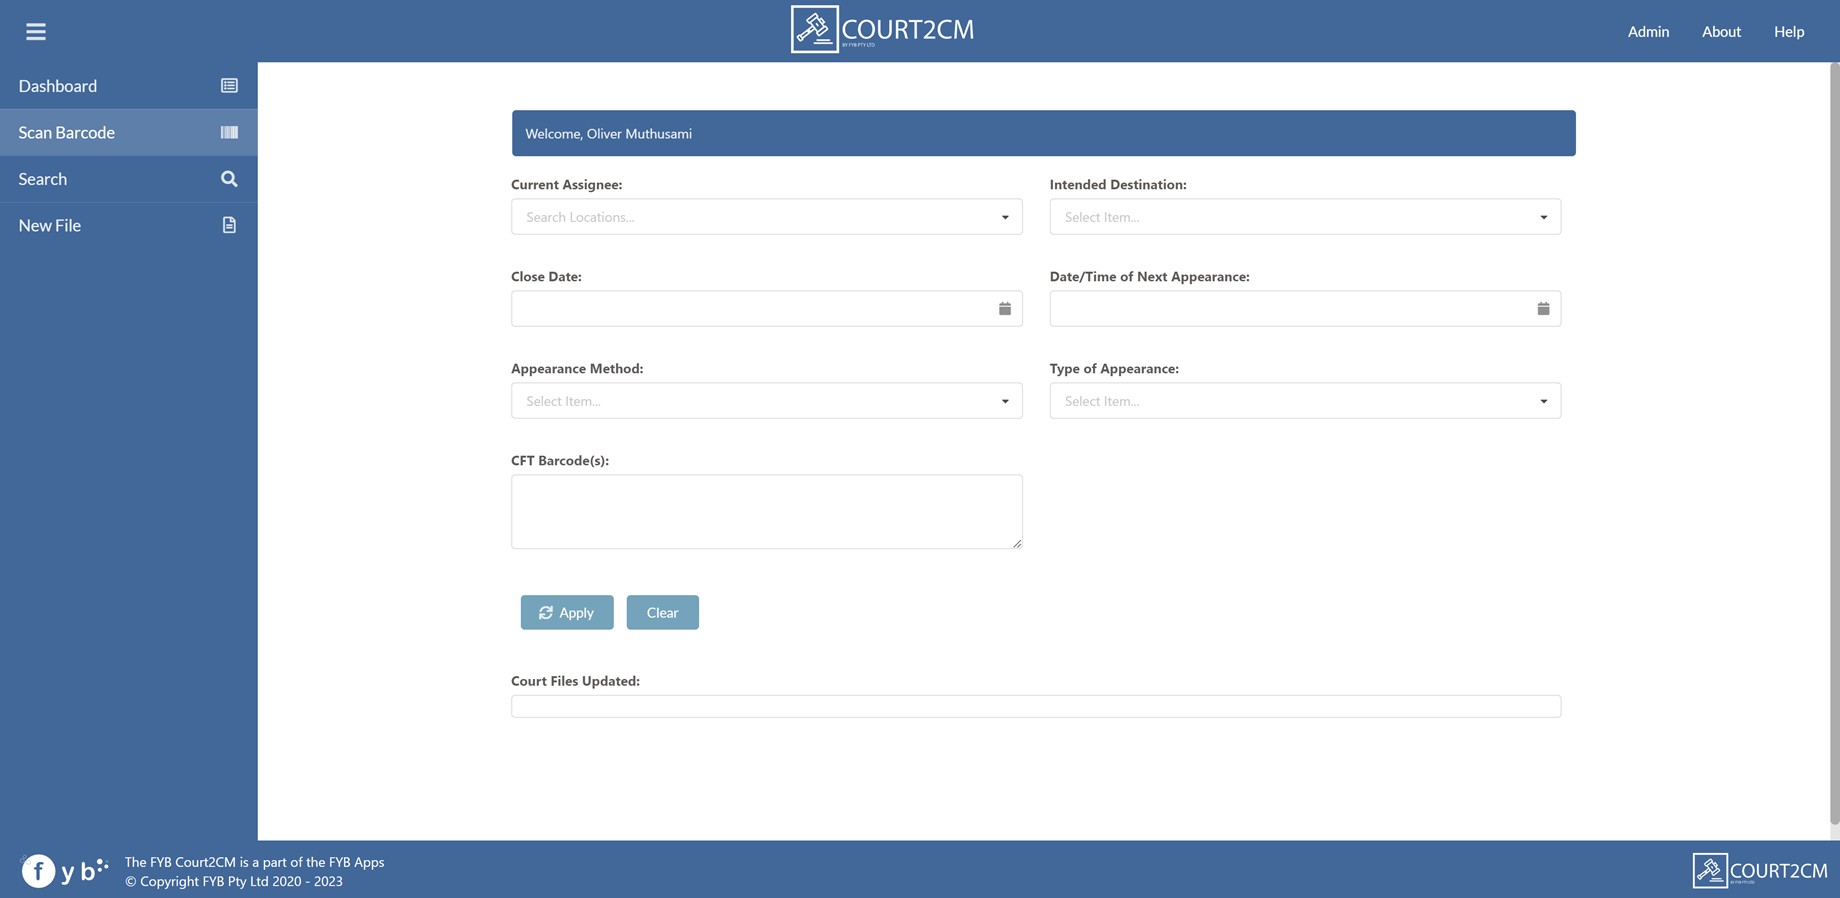
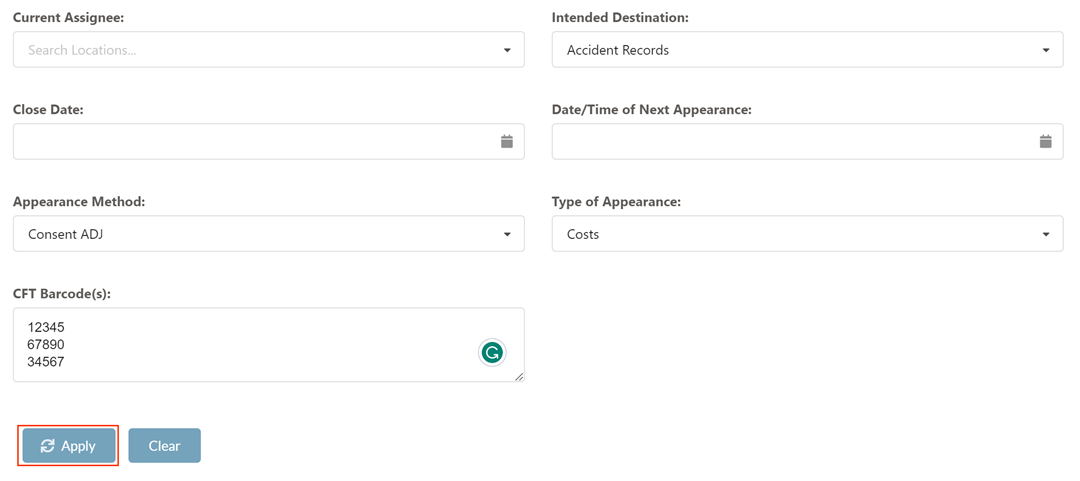
This page allows you to update the details of a Court File by scanning a barcode.
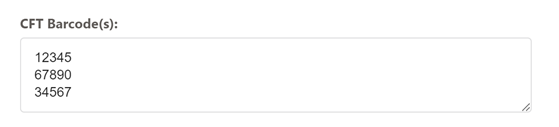
- Copy the scanned barcode's value and paste it into the CFT Barcode(s) field
When adding multiple barcodes, ensure each barcode is on a separate line, e.g:
12345
67890
34567
- Once you have finished updating the details of the Court File, click Apply. This will save the changes
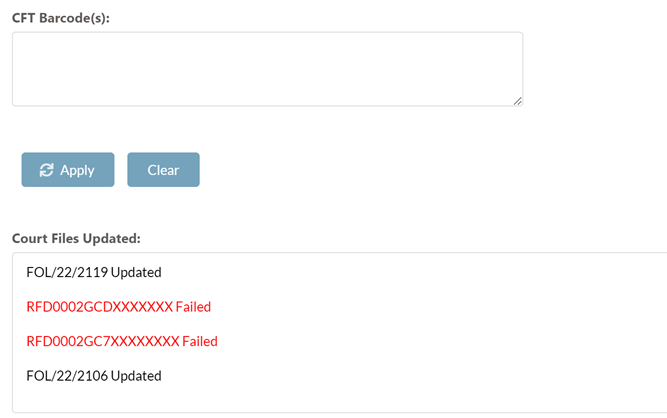
- Once the updating process is complete, you will be notified of which records were successfully updated and which records failed
- Click the Clear button to clear the fields

SEARCH PAGE

This page allows users to search for Court Files using the below criteria. Criteria can be combined to perform a more refined search if required.
- Title
- CFT Number
- Complainant Name
- Offender Details
- Date of Offence
- Complaint Number
- Current Assignee
Clicking Search will display the search results.

If there is only one search result, the Court File View page will be displayed for that result automatically.
Clicking Reset will clear the current search results and search criteria.
SHARE COURT FILES
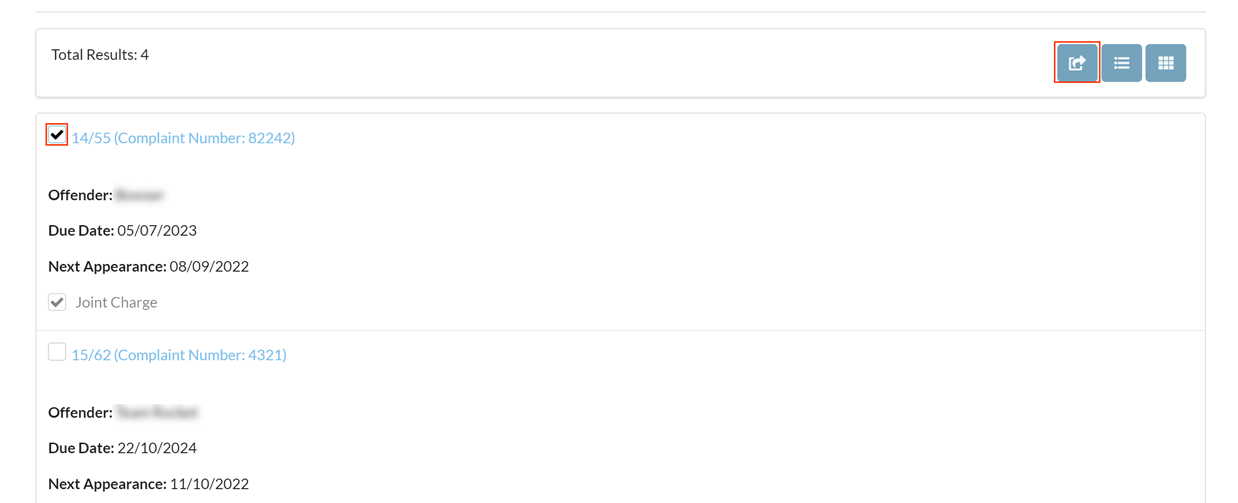
To share Court Files:
-
Tag one or more Court File(s) by clicking the checkbox adjacent to the CFT Number
-
Click the Share Button
-
The Share Documents modal will be displayed
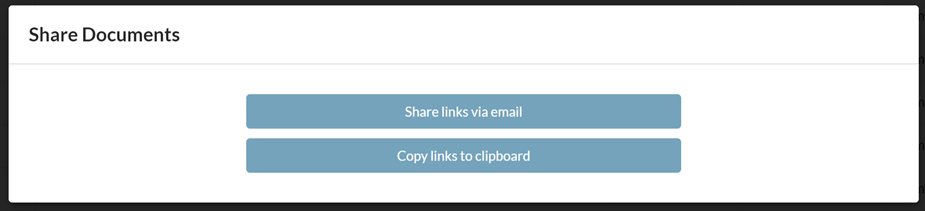
| NAME | DESCRIPTION |
|---|---|
| Share links via email | This will generate a new email with the tagged drawings generated as hyperlinks. |
| Copy to Clipboard | Copys the tagged drawings as URLs to your clipboard |
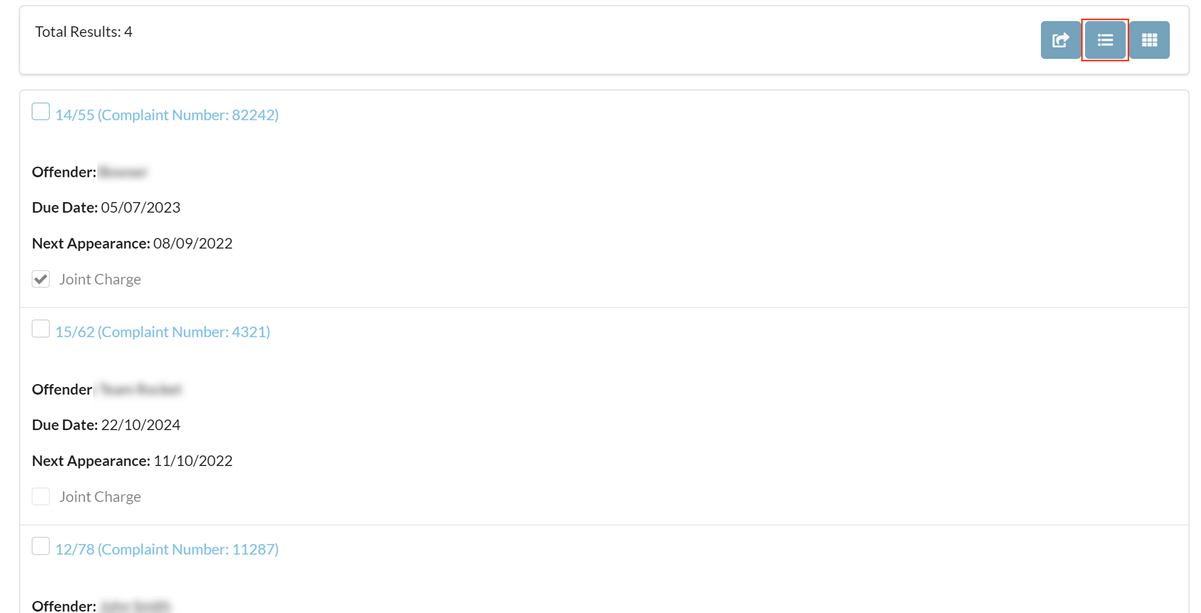
DISPLAY RESULTS IN LIST VIEW
Clicking the highlighted button will display the Search Results in List View. Clicking on a Court File will display the Court File Details Page.
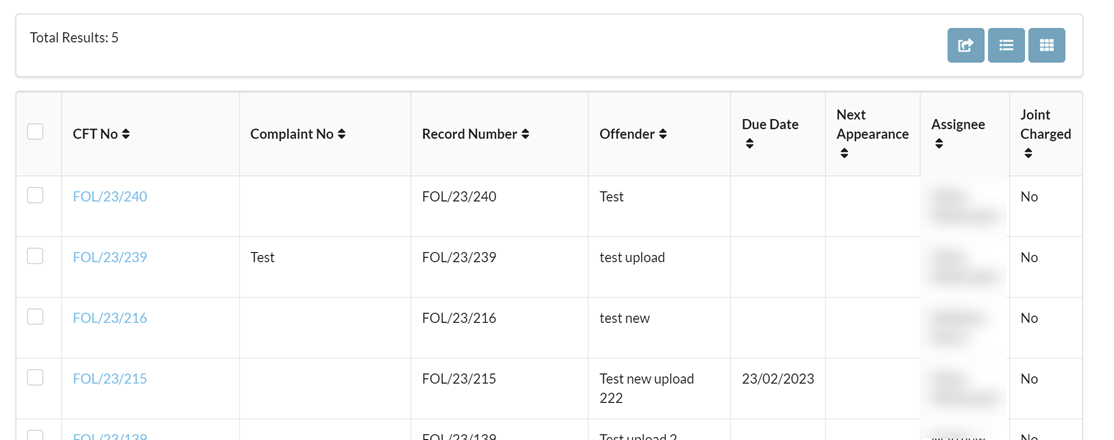
DISPLAY RESULTS IN TABLE VIEW
Clicking the highlighted button will display the Search Results in Table View. Clicking on a Court File row will display the Court File Details Page.
NEW COURT FILE PAGE
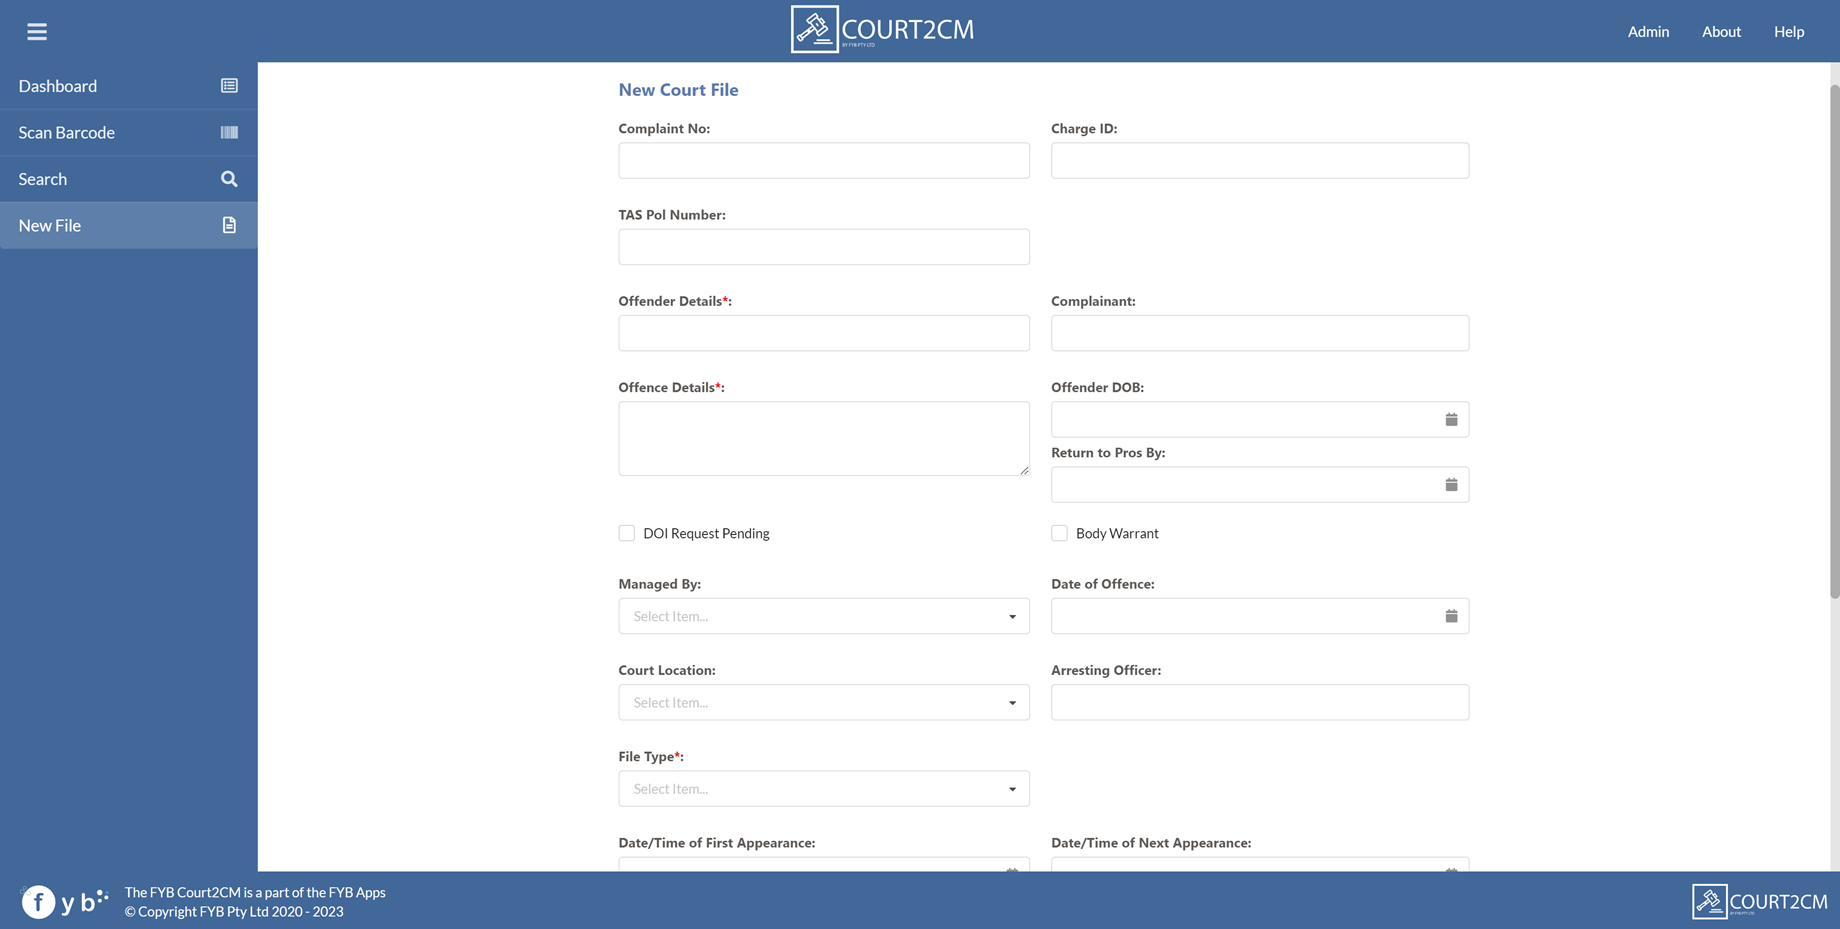
The upload page is used to upload new Court Files to Content Manager.
The fields displayed on the upload form are taken from the selected Record Type. Fields marked with an * symbol are mandatory.
To upload a Court File:
- Fill in all mandatory fields
- Click Upload
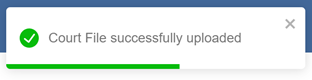
- A success alert is displayed when the Court FIle has been successfully uploaded to Content Manager.
COURT FILE DETAILS PAGE
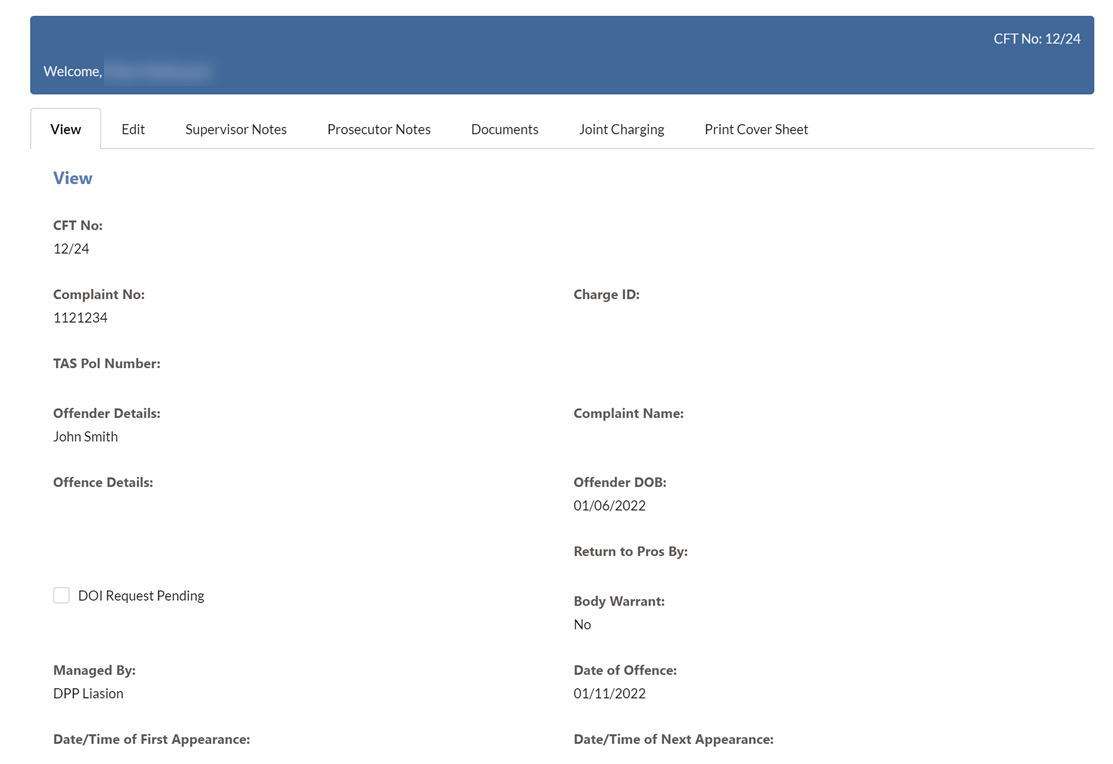
VIEW TAB
The View Tab displays Read Only metadata and the Audit Logs for the Court File.

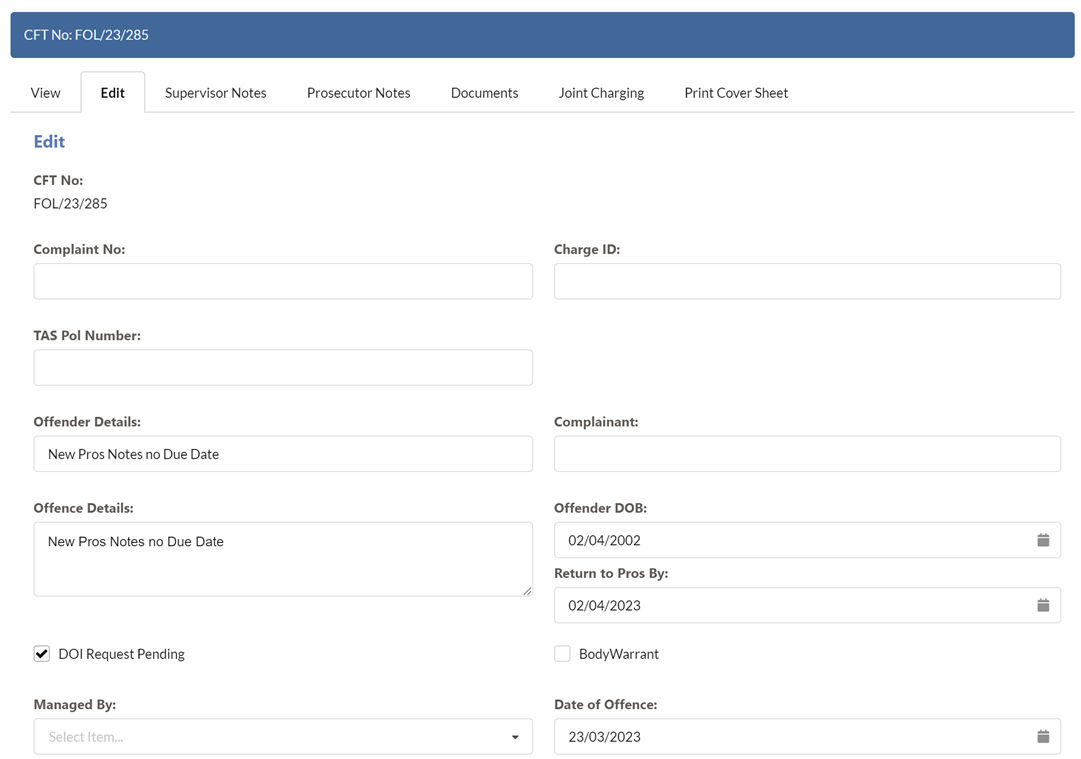
EDIT TAB
The Edit Tab allows you to modify the metadata of the Court File. Click Save to save the changes.
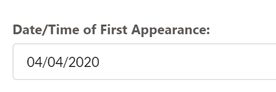
DATE FIELDS
To specify the date/time in date fields, the following options can be used:
- Using the supplied Date/Time picker

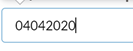
- dd/MM/yyyy or dd/MM/yy
- dd-MM-yyyy

- ddMMyyyy or ddMMyy
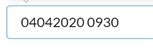
- ddMMyyyy hhmm or ddMMyy hhmm
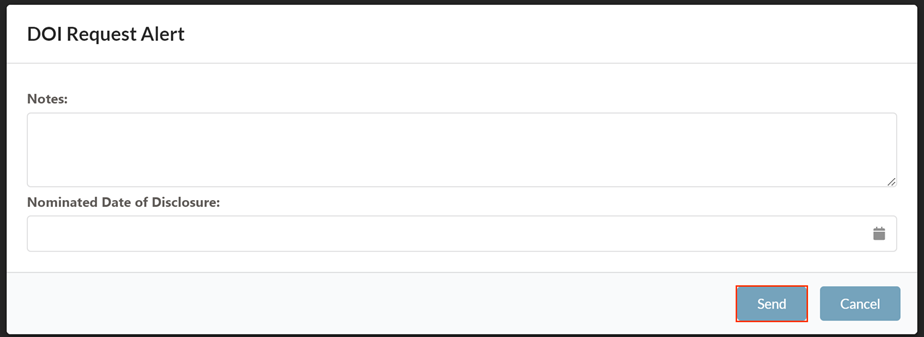
DOI REQUEST PENDING
To send a DOI Request notification to the Disclosure Officer Contacts:
-
Enable the DOI Request Pending checkbox
-
Enter any notes to send to the Disclosure Officer
-
Nominate the Date of Disclosure
-
Click Send
-
An email with the details specified above will be sent to the Disclosure Officer Contacts
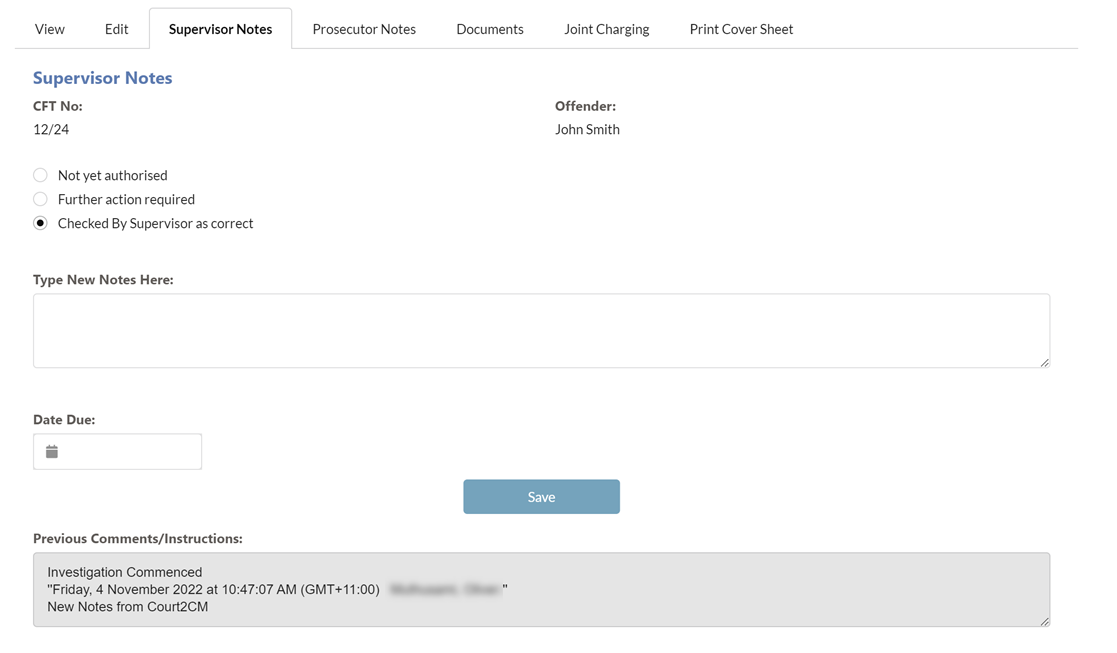
SUPERVISOR NOTES
The Supervisor Notes tab displays the current notes of the Supervisor Notes Record.
This page also allows the user to:
- Trigger a notification to the Creator Location of the Supervisor Notes
- Add new notes
- Change the Due Date
Click Save to commit any saved changes.
The Subject and Body of the notifications can be modified via the Admin Console
PROSECUTOR NOTES
The Prosecutor Notes Tab allows you to view existing Notes on the Prosecutor Notes record as well as add new notes and update its metadata.
- Date Due – This is the date the file is due for return to the supervisor or prosecution services.
- Receipt Number - Enter the receipt number for monies received in relation to the document disclosure process
- Amount / Certificate – Select from the drop down list the action taken in relation to the document disclosure process
Click Save to commit any saved changes.

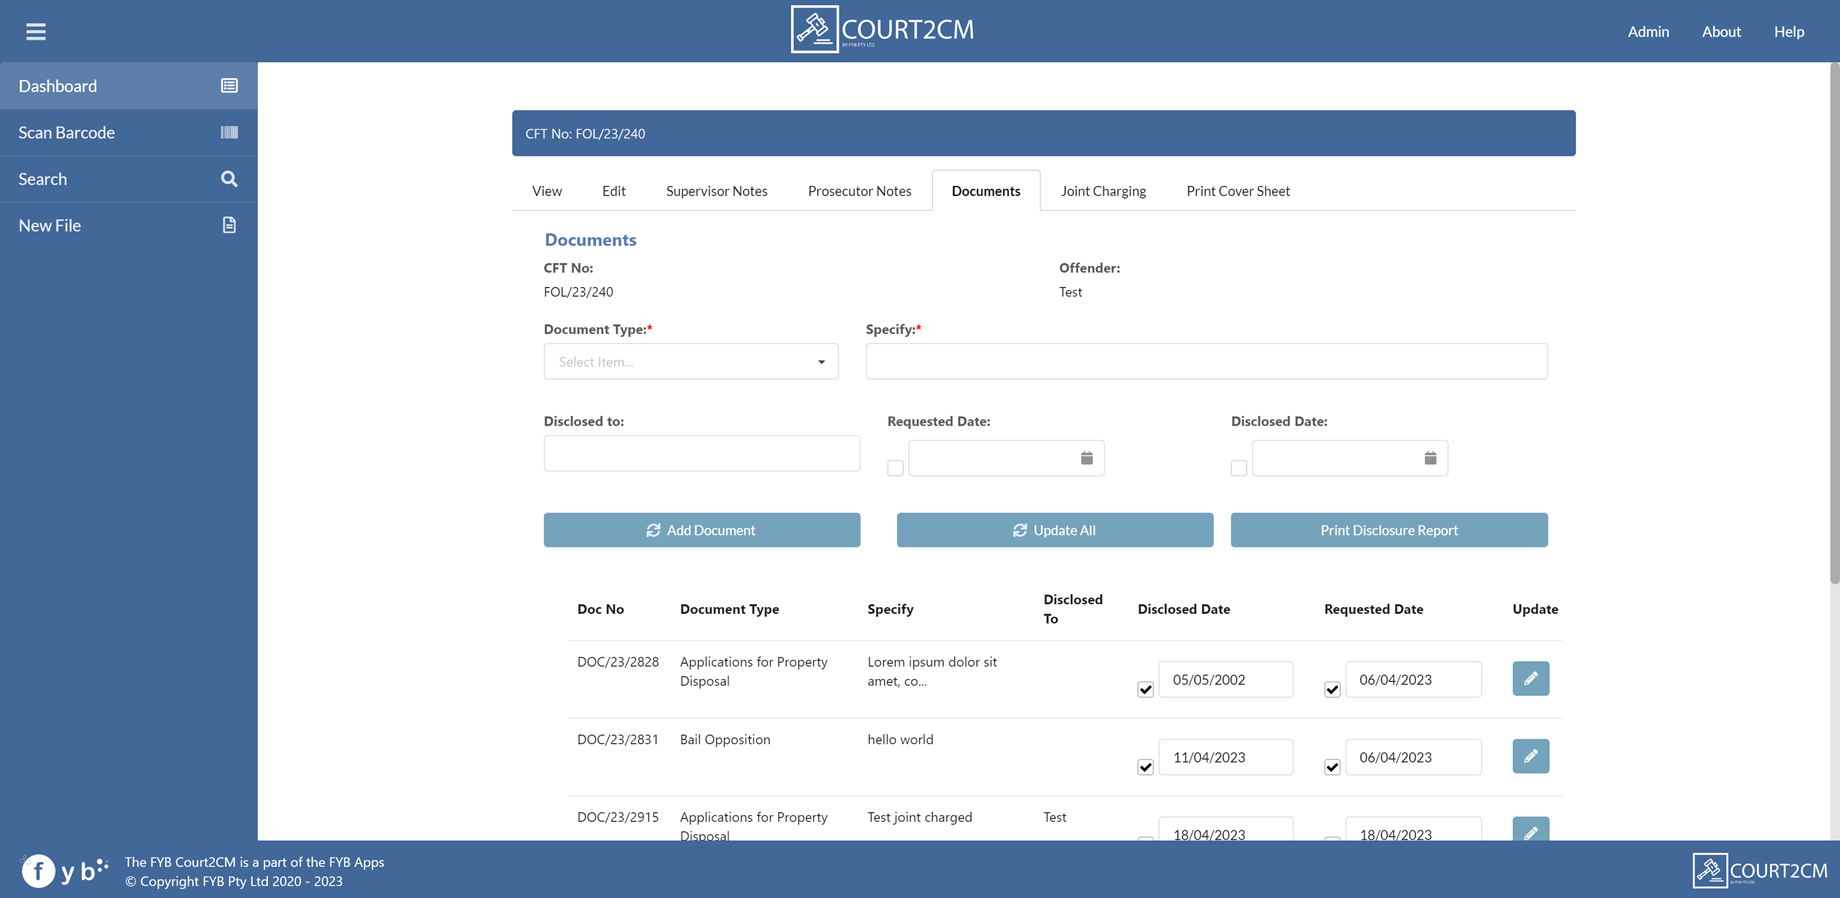
DOCUMENTS TAB
The Documents Tab allows users to view/update existing Prosecution Documents contained in the Court File as well as upload new Documents.
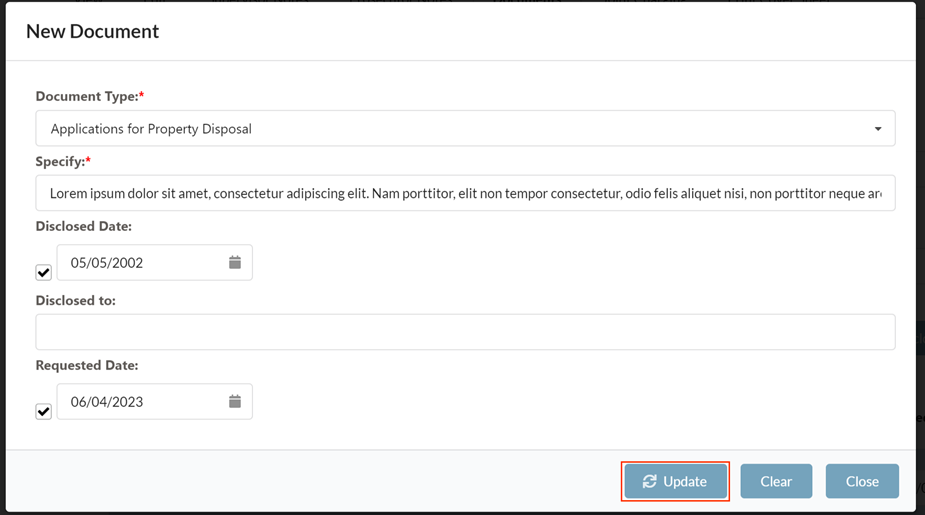
UPDATING EXISTING DOCUMENTS
-
Click on the pencil icon Document row

-
Update the metadata of the selected Document, then click Update
MODIFY DISCLOSED AND REQUESTED VALUES
The Disclosed and Requested values can be updated in the list.
- Check/Uncheck the Disclosed and Requested values.
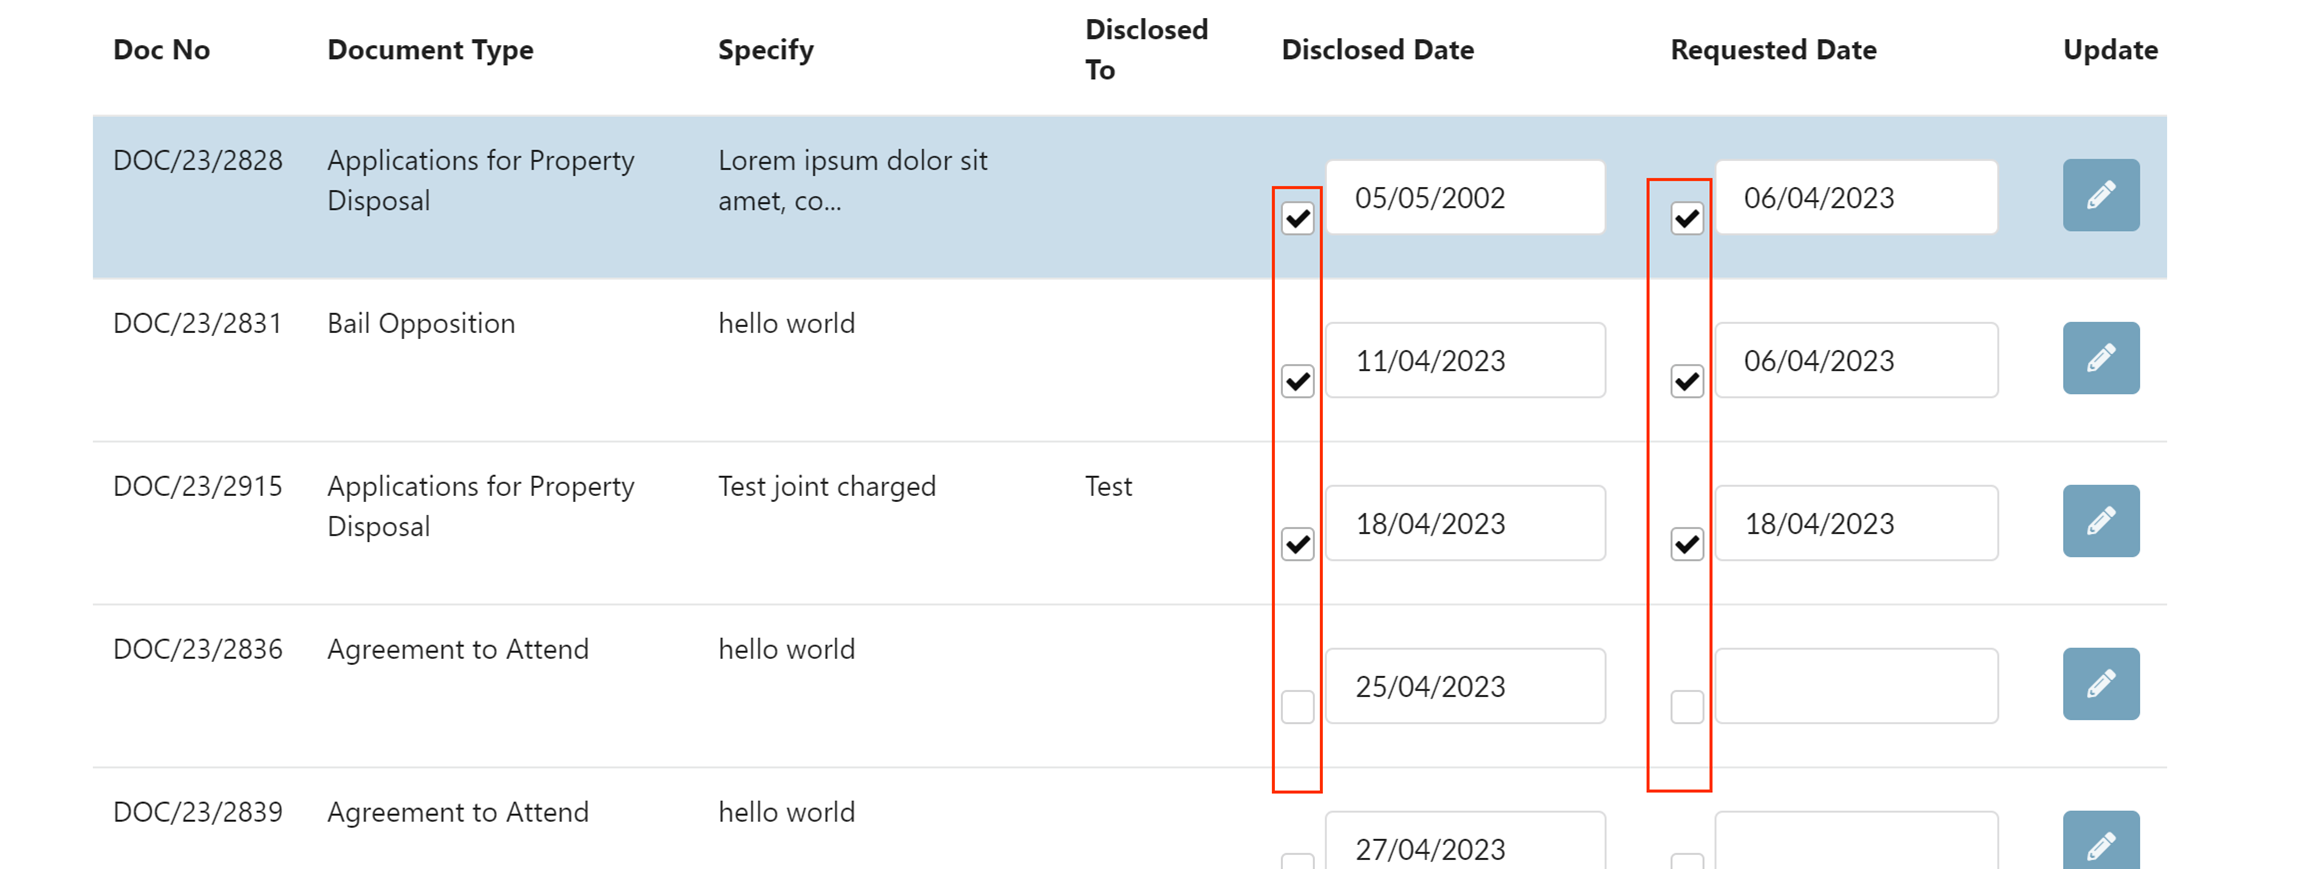
- Click Update All

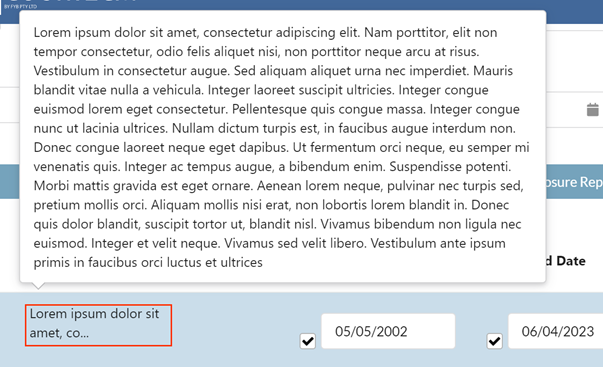
SPECIFY VALUES
To view truncated Specify values, hover over the Specify text.
ADD NEW DOCUMENTS
-
FIll in the mandatory fields (marked with a red *)

-
Click Add Document
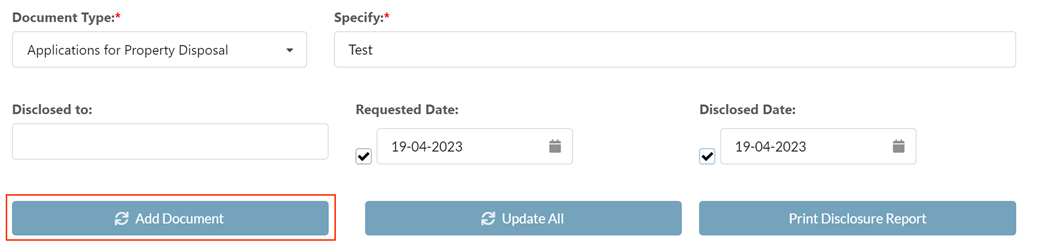
-
The document will be created as a new Record in CM using the Prosecution Document record type specified in the Admin console. This new document is also alternatively contained within all Joint Charged Files.
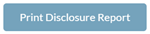
PRINT DISCLOSURE REPORT
Click Print Disclosure Report to print a PDF Disclosure Report.
JOINT CHARGING
The Joint Charging tab shows other Court Files that have a Related To relationship to the current Court File.
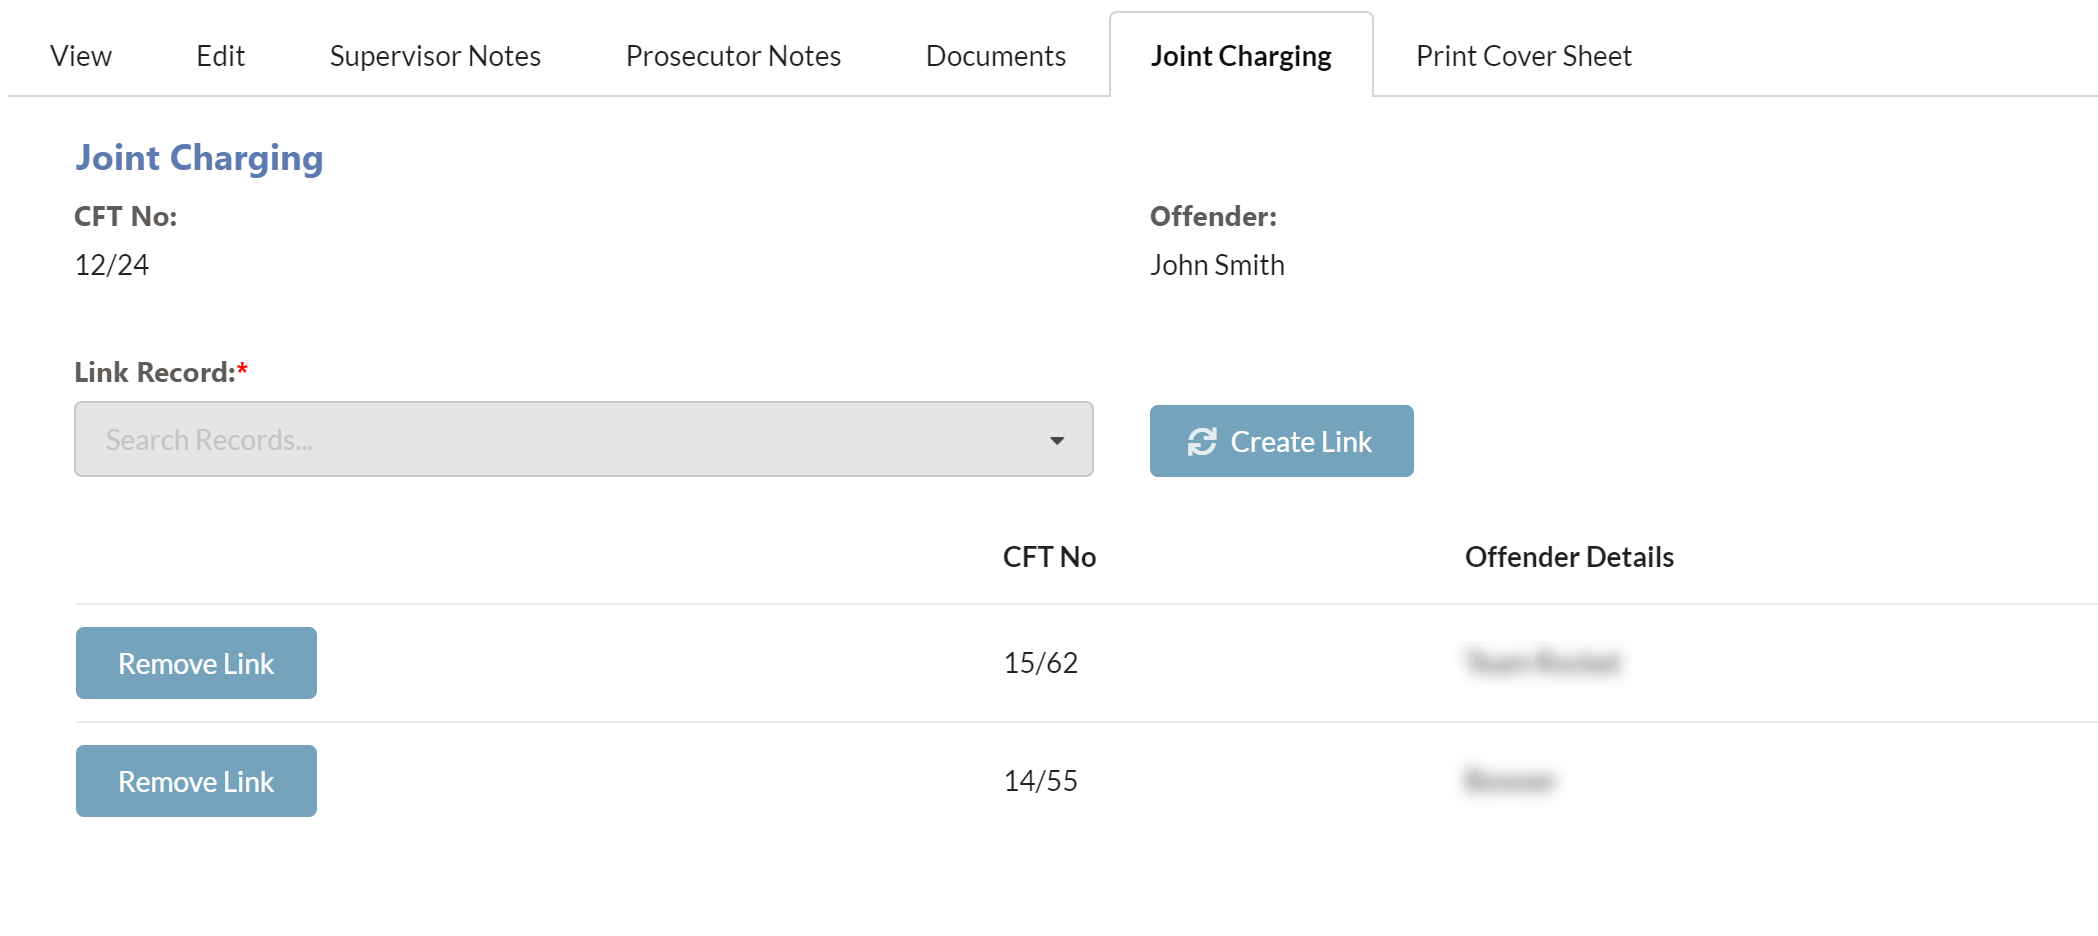
To create a new relationship:
-
Search for a new record using the Record Search field

-
Click Create Link

-
To remove existing relationships, click the Remove Link button
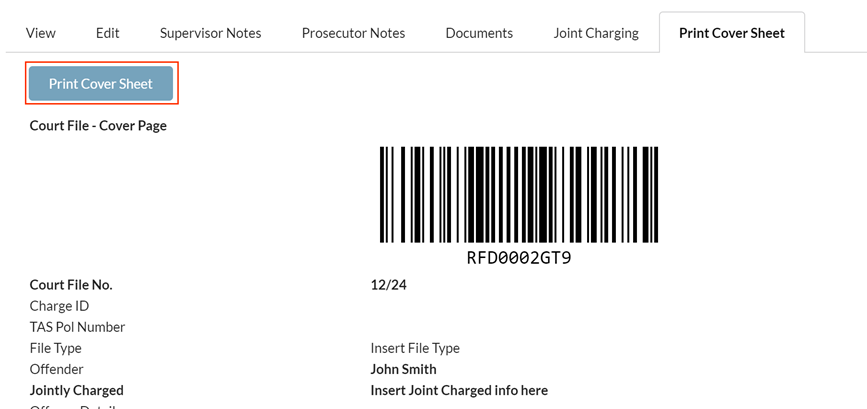
PRINT COVER SHEET
To print the Court File cover sheet, click the Print Cover Sheet button.