GETTING STARTED
- Open a web browser and browse to CM2Webshare
- This will load the CM2Webshare home page
COMPATIBLE BROWSER
Please ensure you are using a compatible browser
- Microsoft Edge
- Google Chrome
- Mozilla Firefox
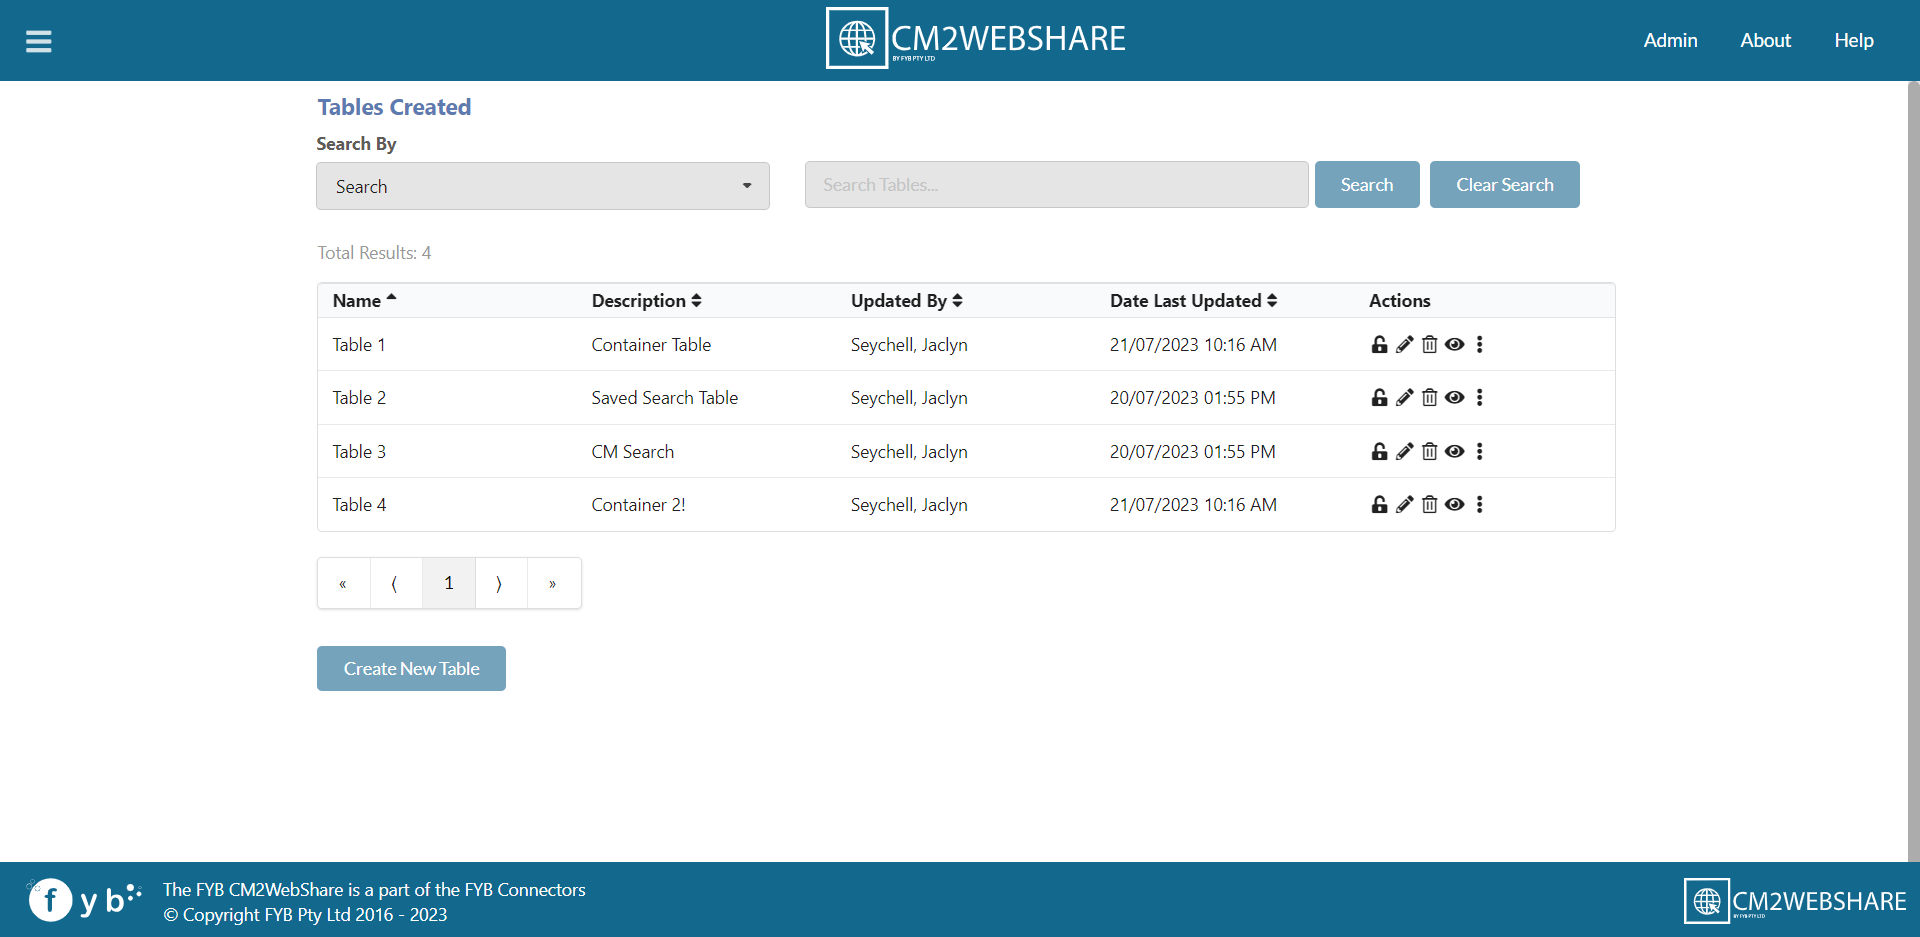
HOME PAGE NAVIGATION
Within the homepage, each table that is created has a range of features that can be applied. The following features are (in order of appearance):
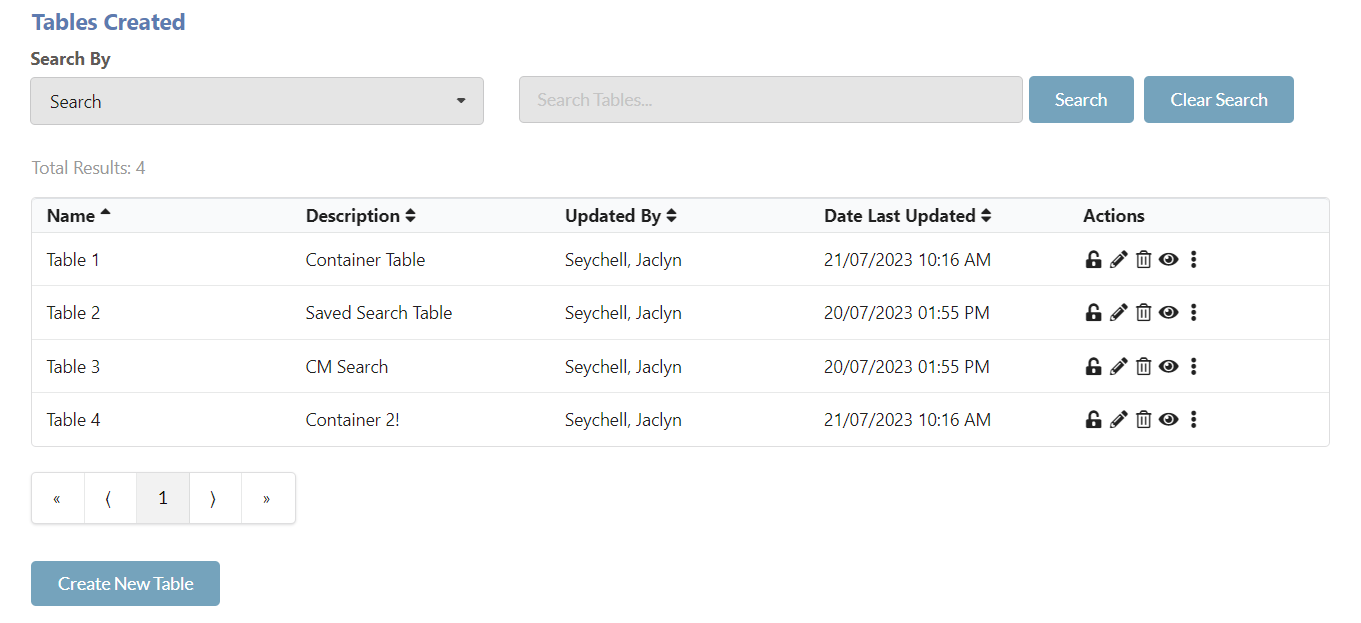
NAME
A unique name to find a CM2WebShare Table.
DESCRIPTION
An optional detailed description about the CM2Webshare Table.
UPDATED BY
The person who last updated the table.
DATE LAST UPDATED
The date and time which the table was last updated.
ADDITIONAL FEATURES

- Lock Show a table is locked for editing. An unlocked symbol will appear for Administrators and users who are editing the selected table.
- Edit a CM2WebShare Table
- Delete a CM2WebShare Table
- View a CM2WebShare Table
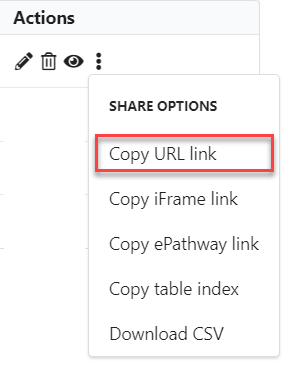
- Copy a CM2WebShare Table URL
- Copy a CM2WebShare Table iFrame Link
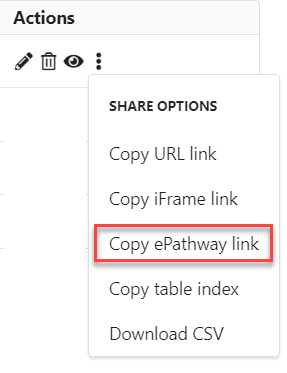
- Copy a CM2WebShare Table ePathway Link
- Copy a CM2WebShare Table Index (CSV formatting) Table Index
- Download a CM2WebShare Table CSV file Download
| Feature | Functionality |
|---|---|
| LOCK | If the table is currently being edited a lock icon will be displayed, otherwise if the table is checked out to you for editing a unlock icon will be displayed (Table can be unlocked via clicking on the unlock icon or performing a save after editing) |
| EDIT | Edit a pre-existing CM2WebShare Table |
| VIEW | View a selected CM2WebShare Table |
| URL | Copies the URL of a selected CM2WebShare table to the clipboard. This allows for the link to be shared. |
| IFRAME | Copies the iFrame embedding link for a selected CM2WebShare table to the clipboard. This can be implemented into a webpage that allows iFrame links |
| EPATHWAY LINK | Copies the ePathway link for a selected CM2WebShare Table to the clipboard. This can be used to display CM2WebShare tables within ePathway. There is a choice between a short link or standard link. Short link captures the table's layout and removes it from the URL, but provides the same output as the standard link, but helps with character limitations of ePathway. |
| TABLE INDEX | Create a Table Index of a selected CM2WebShare table in CSV format which can be placed into SharePoint to allow for content searching. |
| DOWNLOAD CSV | Downloads a CSV file containing the table index of CM2WebShare table |
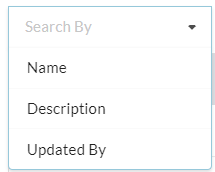
SEARCHING FOR TABLES
Use the Search By dropdown to determine the criteria to search on.
Enter the search into the search bar and press enter. Alternatively clicking the magnify glass will also start the searching process.

Any tables found will be displayed on the home page.

CREATING A NEW TABLE
-
On the Home Page, click on the Create New Table button
-
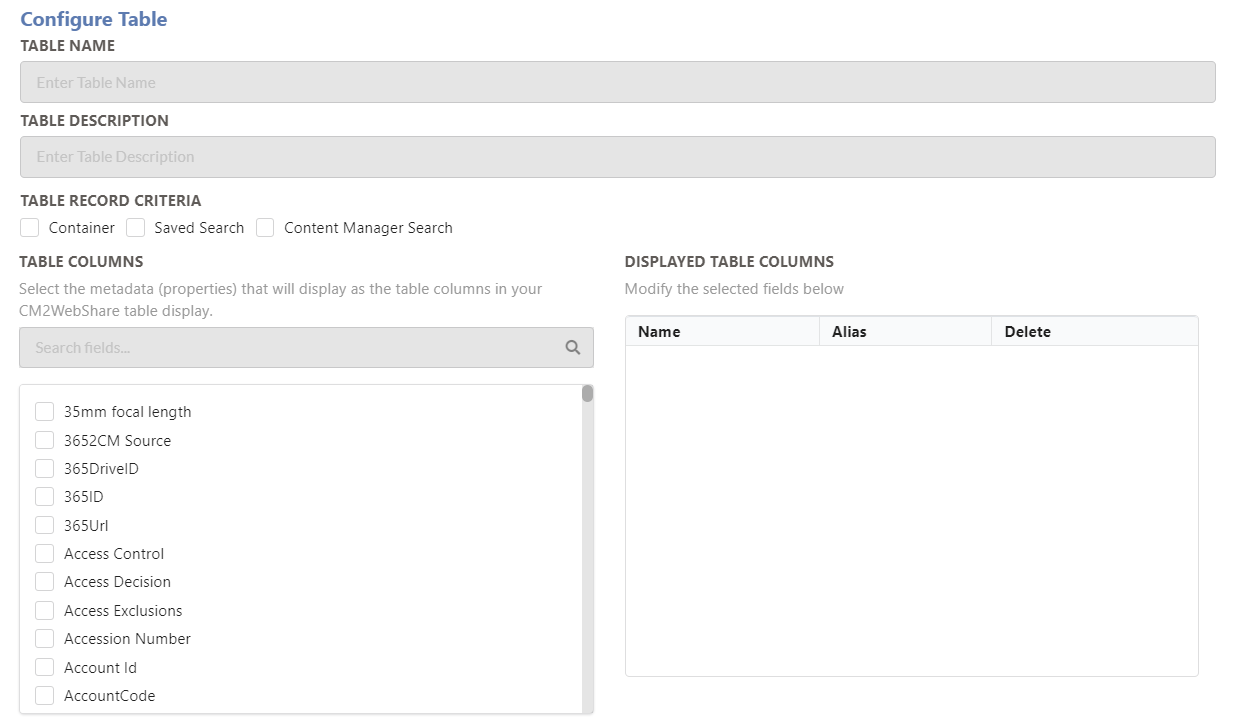
The New Table configuration page will load
-
Searching for Records can be completed in three separate ways:
a. Searching by Container
b. Searching by Saved Search
c. Searching by custom Content Manager String Search
SEARCHING BY CONTAINER
To activate container searching enable the container search checkbox and a search field will display for locating the correct Folder.
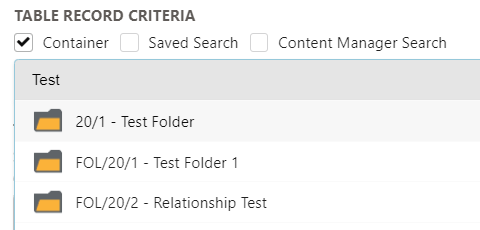
The Search Folder (Container) dropdown list will display all favourited folders upon your first click. To search for a particular folder, start typing the folder's title to begin a search.
SEARCHING BY SAVED SEARCH
To activate saved search searching click the Saved Search checkbox. An input will display upon click.

The saved search dropdown list will display all favourited saved searches available for display and is searchable by Save Search name. To see all saved searches available, in the input bar type "all".
A qualifying saved search must have records and folders that contain records only.
SEARCHING BY CONTENT MANAGER STRING SEARCH
To activate Content Manager string searching click the Content Manager Search checkbox.
You can input a Content Manager search string directly into this field.
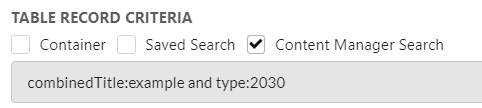
TABLE SETTINGS
- Table Columns (Metadata Properties)
Table columns are created by selecting Metadata Properties from the list provided as illustrated below
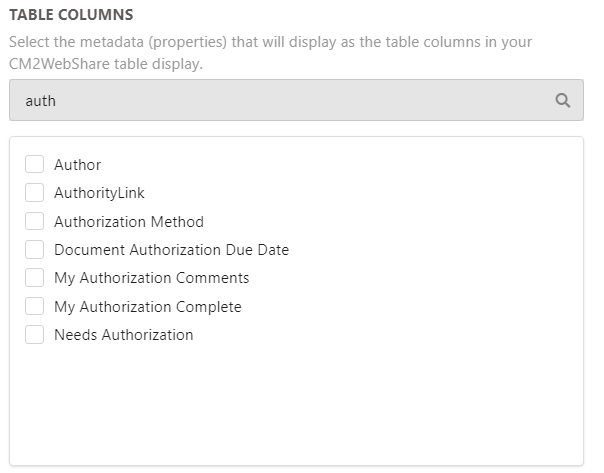
Metadata properties are populated by the predefined properties within Content Manager and any additional fields created. The search bar allows you to search through the list to find the property to intend to use.
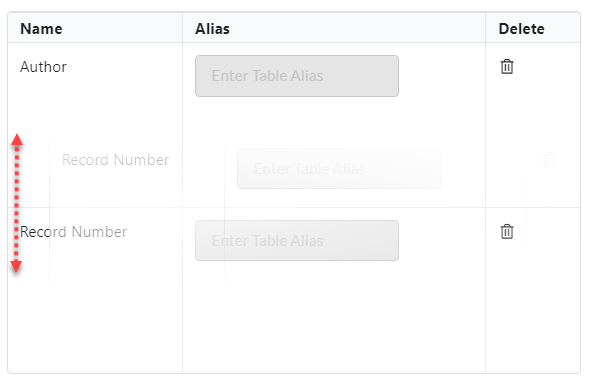
To add a column to the table, select the field desired using the checkbox. The sorting arrows allow for the table rows to be moved up and down to position the fields into the most ideal configuration for the display.
If you wish to remove a Field from the table, you can press the delete button on the corresponding row, or alternatively, uncheck the check box of the corresponding field within the list.
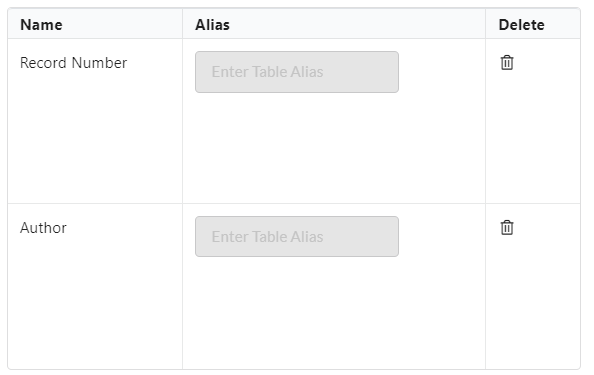
Table columns can be sorted by clicking on a row and dragging the row to the desired spot
- Extra Table Settings
Add extra features to your table by using the optional table settings below
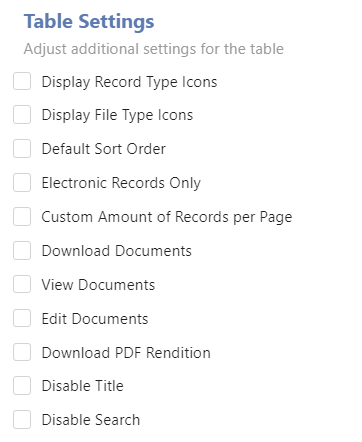
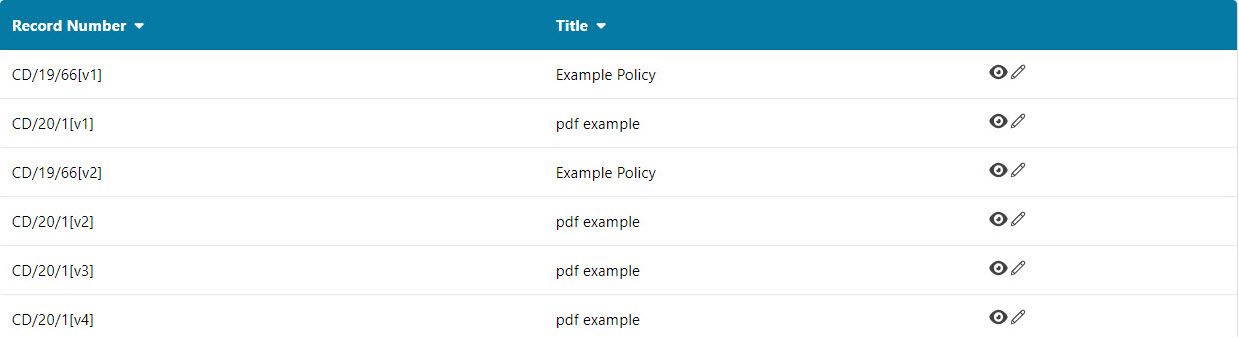
- Display Record Type Icons will allow for the Record's Title to have its corresponding Content Manager record type icon attached to the record's row, for clear identification of the records type.
- Display File Type Icons will allow for the Record's Title to have its corresponding file type icon attached to the record's row if there is an electronic record attached, for clear identification of the file type.
- Sort Table Data will allow for the CM2WebShare table to be sorted on load by a selected Content Manager Field in ascending or descending order.
- Electronic Records Only will filter the saved search to display only records that have electronic records attached.
- Custom Amount of Records per Page will create pages based on the number of records per page you want to display. Maximum number of records per page is 500.
The load time of a CM2WebShare table is dependent on how many records are defined per page. Exceeding 100 records will incur a longer processing time.
- Download Documents allows for records from Content Manager to be downloadable from the CM2Webshare table created.
- View Documents allows for records to be viewed within Content Manager using the CM Launcher.
- Edit Documents allows for records to be edited using the CM Launcher.
- Download PDF Rendition allows for records that have PDF Renditions to be downloaded (if applicable)
- Disable Title allows the Titling of the CM2WebShare table to be removed from view
- Disable Search Bar allows for the searching functionality of the CM2WebShare table to be removed from view.
CM2WebShare can only filter for electronic documents that are not contained in a hierarchical structure. Electronic documents that are contained in sub-level folders will not display
-
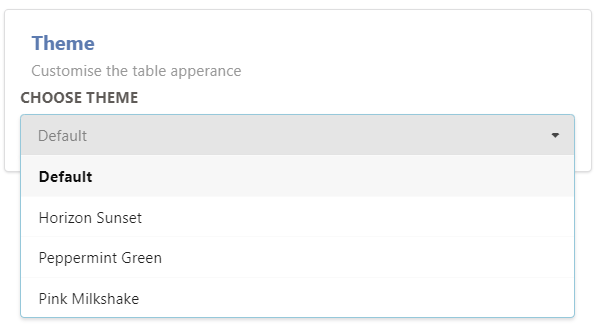
Table Themes
To add a theme to a table, select a pre-existing theme from the drop-down table.
If a theme is not selected, a default theme will be placed onto the table which may be changed within the editing stage.
-
Previewing the Table
Pressing save will allow you to see a quick preview of what your configured table will look like on display
EDITING A TABLE
- On the Home Page, click on the Edit Button (Pencil Icon)
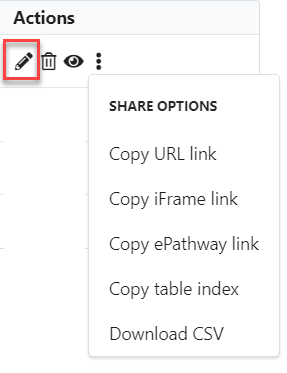
- The Edit Table configuration page will load
- You can now edit any of the existing settings needed
DELETING TABLES
-
On the Home Page, click on the Delete Button (Rubbish Bin Icon)
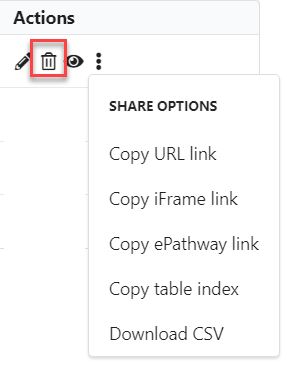
-
A confirmation will appear to confirm the deletion process
-
Click on the Delete button
VIEWING A TABLE
- On the Home Page, click on the View Button (Eye Icon)
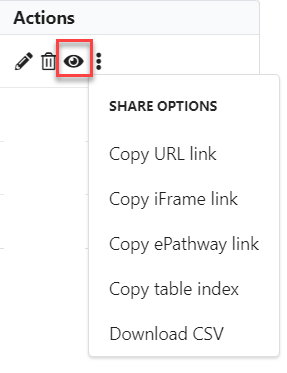
- The table will open in a new tab for viewing
ADD TABLE TO A WEBPAGE
FYB CM2Webshare provides you with multiple ways to share your newly created tables.
- Tables can be shared using a URL link to send via email, mobile, or hyperlinked within a web page
- Tables can be embedded in web pages using an iFrame link
USING THE URL LINK
-
On the Home Page, click on the URL button (Clipboard Icon)
-
The URL link to the selected table will be copied to the clipboard
-
Paste the link to the web browser to see the table
USING THE IFRAME LINK
- On the Home Page, click on the iFrame button ("< / >" Icon)
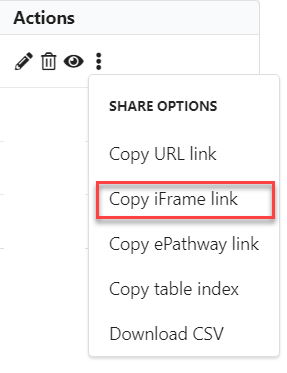
- A popup will prompt for the height and width for the iFrame (in pixels)
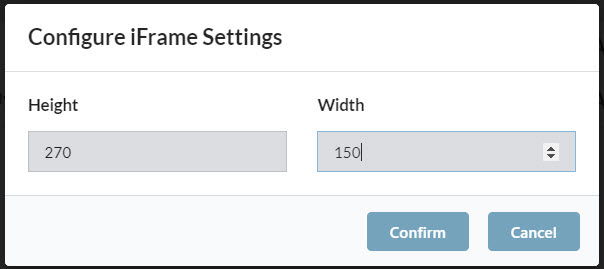
- The iFrame link to that table has been copied to your clipboard and now can be shared
The link will be in the following format :
< iframe src="http://[MYSERVER]/Grid?id=[GRID-ID]" width="XXpx" height="XXpx" frameborder="0">< /iframe>
iFrame links are compatible with webpages that allow iFrame embedding. If you wish to embed your table using a different embedding tool, use the URL button to obtain the link to the table. The link will require you to change the height and width of the frame to suit your page
CM2WEBSHARE TABLE MINIMUM SIZING
For CM2WebShare to seamlessly work within an iFrame, the minimum width for a CM2WebShare table with 3 columns, is 600px. For each additional column add 150px per column.
Please note these measurements are a guidance based off the default theme setting, and may require slight adjustment to suit your tables needs.
Adjusting the width to less than the recommended minimum width may see issues with the use of CM2WebShare tables.
EPATHWAY TABLE LINK
-
On the Home Page, click on the EPathway button (Path Icon)
-
The EPathway link to the selected table will be copied to the clipboard
TABLE INDEX (Comma Delimited Format)
-
On the Home Page, click on the Table Index button (A Icon)
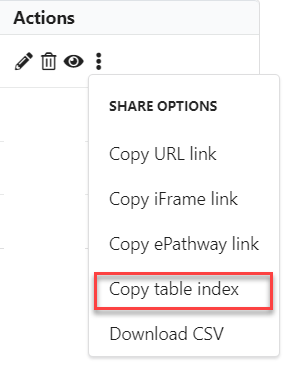
-
The Table Index of the selected table will be copied to the clipboard in CSV format.
DOWNLOAD CSV
-
On the Home Page, click the Download button (Download Icon)
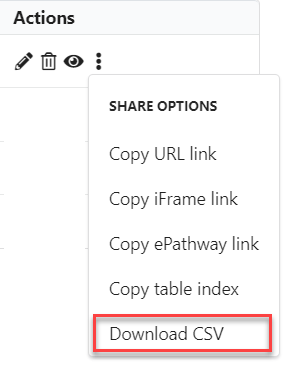
-
A copy of the table's content will be downloaded to CSV format
THEMES
-
On the Home Page, click on the Themes button from the dropdown menu

-
The Theme page will load if you are an administrator in Content Manager
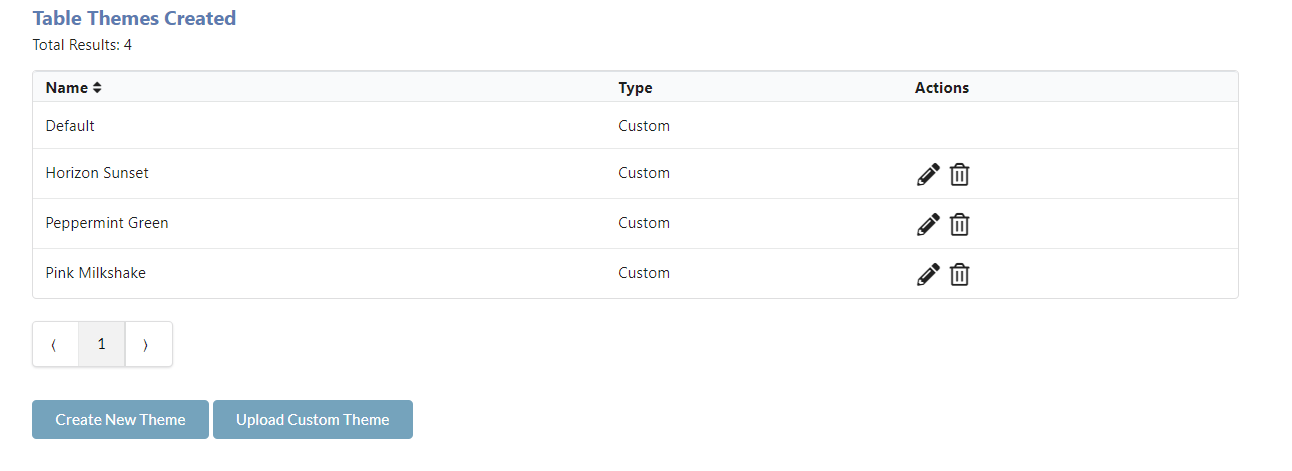
Within the theme page you can complete the following:
- Upload a customised theme using CSS
- Create a new theme using the CM2WebShare interface
- Delete an existing theme
UPLOADING A CUSTOM CSS THEME
-
Within the theme page, click on the Upload Custom Theme button
-
When the upload theme page load, supply a theme name
-
Select your CSS File within your computer by clicking on the choose file button
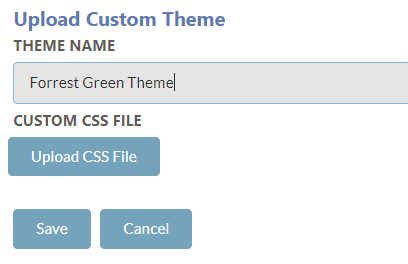
-
Click on the Save button to upload your theme
When creating a custom CSS file, please ensure that you have read the CM2WebShare CSS Styling Guide and Template, and followed the directions correctly to ensure that the CSS file created will work with the CM2WebShare table.
CREATING A NEW THEME
- In the Create New Themes page, fill out the details to create a new theme.
The colour pickers allow you to search for your desired colour
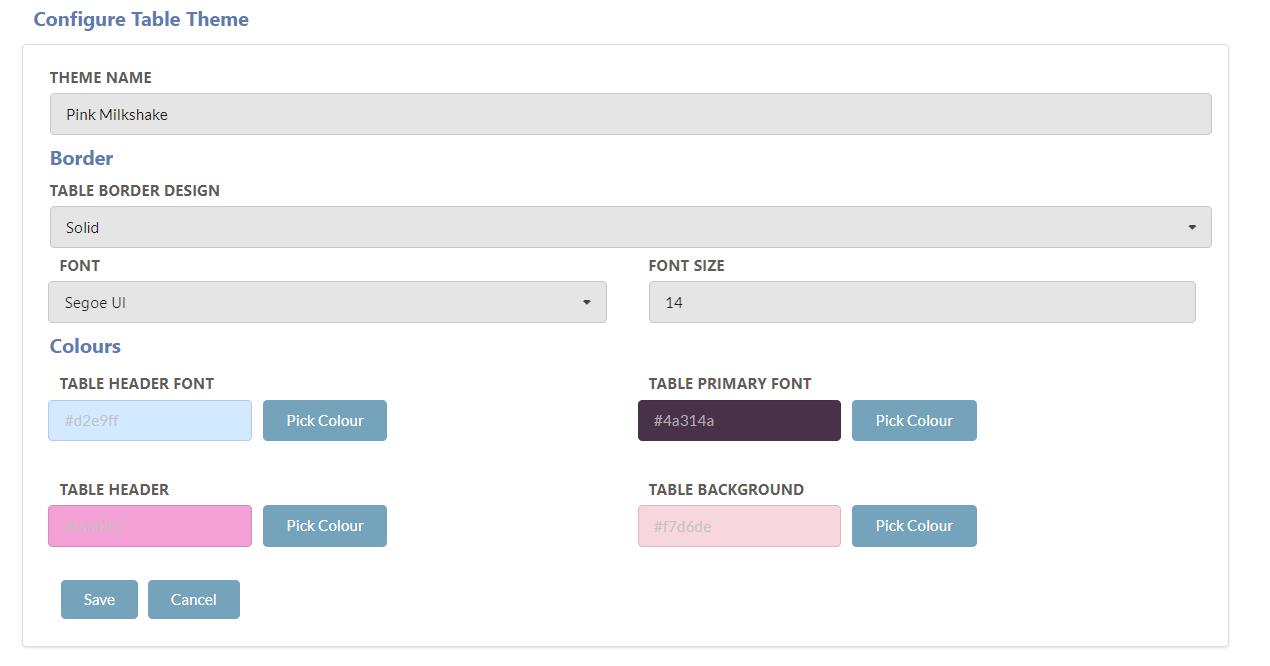
Not all theme options need to be selected to create a theme.
A theme name is needed to save a theme and you cannot name a theme the same name as a pre-existing theme.
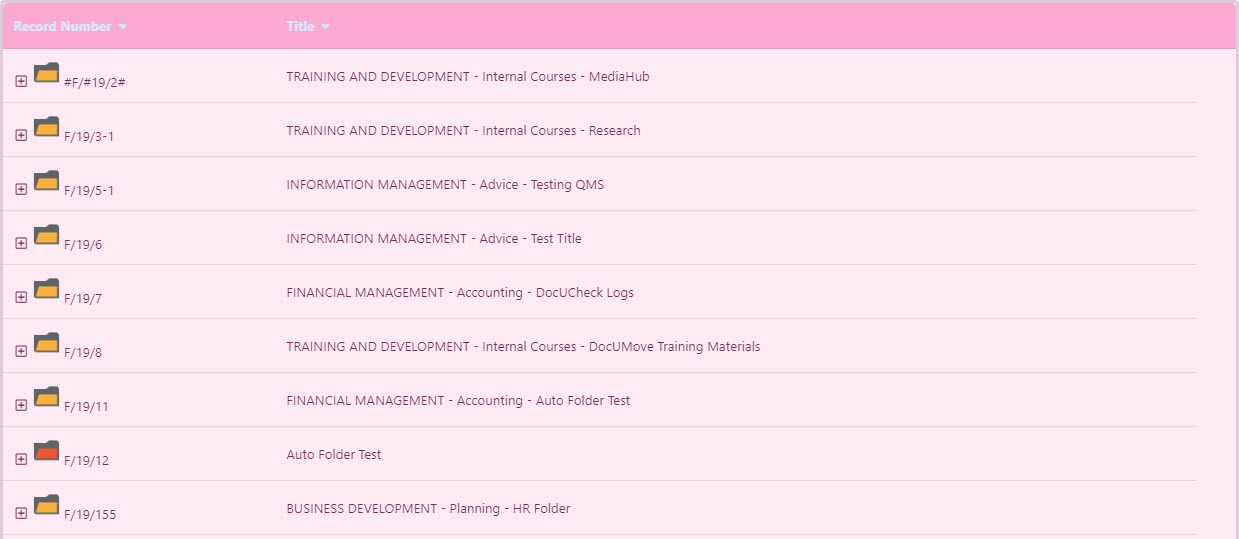
- Click on the Save button to save the theme
Themes can now be used on all CM2WebShare tables
DELETING A THEME
On the theme listing screen, to remove a theme please follow the steps below
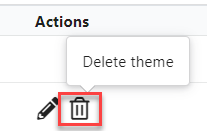
- Find the theme you wish to delete
- Click the trash icon to remove the theme
- When the prompt appears click om the Delete button
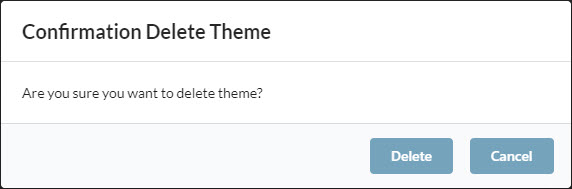
- The theme will be removed from the theme list
You cannot remove the default theme and themes that are currently being used by a table.
CUSTOM TABLES USING QUERY STRINGS
The CM2WebShare Custom Link Template allows for CM2WebShare tables to be created using Content Manager search strings.
CREATING A CUSTOM TABLE
-
Start with your base URL: www.servername/CM2WebShare/Grid?query=
-
Go to Content Manager and create a search string that will return the records you need.
3 Add the Content Manager search string after the '?query='.
URL : www.servername/CM2WebShare/Grid/Grid?Title:example%20and%20type:2030
If you wish to exclude options from your table, skip this step.
4 Add options to the URL, add '?options=' to the end of the Content Manager search string
| Option | Option Name |
|---|---|
| Display File Type Icon | fileicon |
| Display Record Type Icon | recicon |
| Display Electronic Records Only | electronic |
| Custom Record per Page | pages=[Number of Records] |
| Download Documents | download |
| View Documents | view |
| Edit Documents | edit |
| Display PDF Rendition | pdfren |
| Sort Table Data | sort=[Sort Field Name]=[ASC/DES] |
| Disable Search Bar | search |
| Disable Title | title |
All Table options have a set name. To enable an option, just add the option name after '?options='
To add multiple options, add %20 between each option.
The following table options can be configured within the URL.
URL : www.servername/CM2WebShare/Grid/Grid?Title:example%20and%20type:2030?options=VIEW%20EDIT%20PAGES=10
- To add a theme to the table, after options add &theme= followed by the name of the theme.
The theme must be already preconfigured in CM2WebShare to use the theme name. If the theme name has white space (example: FYB Theme) all whitespace is to be replaced with - (example: FYB-Theme).
-
To add fields to the table, add &fields= followed by the field name, replacing any whitespace with ' - '. To add multiple fields, use %20 between each field.
-
To add a name to the table add name= followed by the name of the table, replacing any whitespace with ' - '.
-
To add a description to the table add *description= followed by the description of the table, replacing any whitespace with ' - '.
-
Paste the created URL into the browser. If the URL is configured correctly, a CM2WebShare table will be created and will display the records from the Content Manager query created.