
UPLOADING RECORDS TO SHAREPOINT
-
Open Content Manager
-
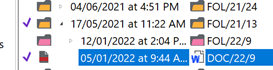
Tag the documents or folders you wish to upload to SharePoint. If uploading a single folder and its contents you can simply right-click on that one folder
-
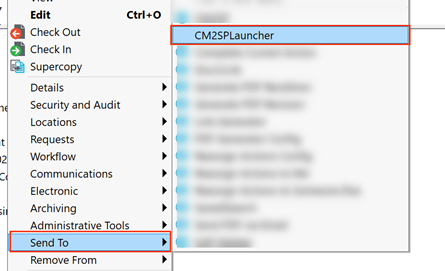
Right-click a tagged record, then select Send To -> CM2SP Launcher. Alternatively, you can press the CM2SP Launcher button from the ribbon if it has been configured
-
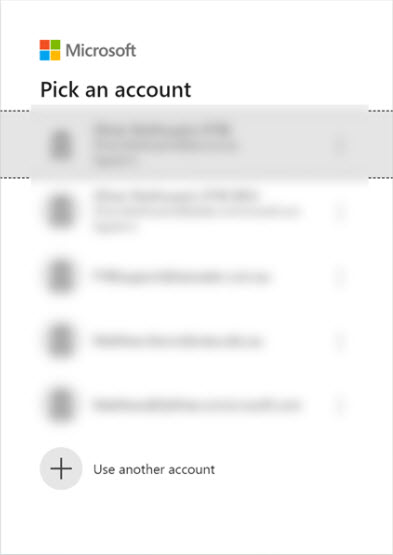
CM2SP will open to the Microsoft sign-in page, sign in using your Microsoft account
-
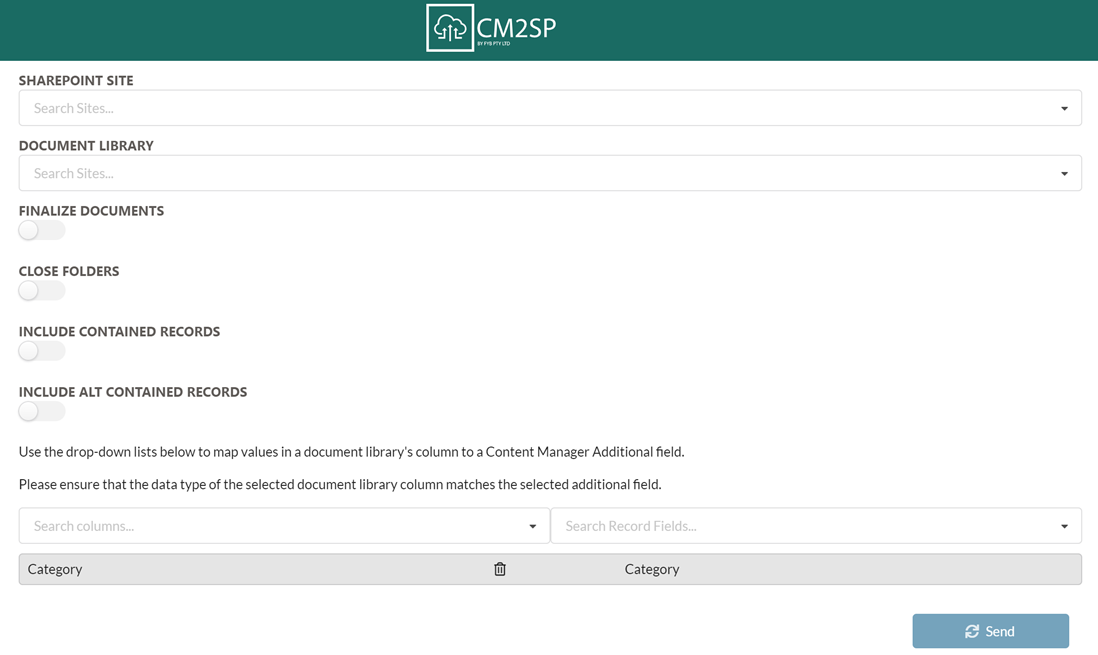
The upload page will be displayed after a successful sign-in
-
Select a SharePoint site

-
Select a Document Library, this is where the documents/folders will be uploaded to

-
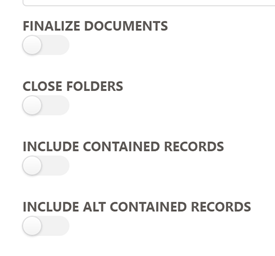
Select any/all of the configuration options (these are not mandatory)
| FUNCTIONALITY | DESCRIPTION |
|---|---|
| FINALIZE DOCUMENTS | If enabled, document records are finalized after they are uploaded to SharePoint. |
| CLOSE FOLDERS | If enabled, container records are closed after they are uploaded to SharePoint. See the CLOSE CONTAINER OPTIONS section for more information. |
| INCLUDE CONTAINED RECORDS | If enabled, records contained within tagged container records are also uploaded to SharePoint. |
| INCLUDE ALT CONTAINED RECORDS | If enabled, records alternatively contained within tagged container records are also uploaded to SharePoint. |
-
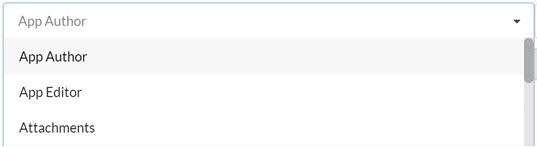
Specify the Content Manager fields you wish to map to SharePoint fields (skip to step 12 if you are not mapping any fields)

-
Select a Content Manager field
-
Select a Sharepoint Field
-
The mapping is added to the table

-
Click Send

-
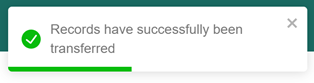
After all records are successfully uploaded, a success message is shown
-
The records will be located in the selected document library
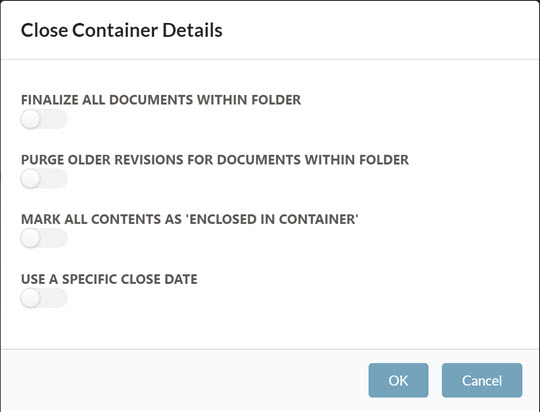
CLOSE CONTAINER OPTIONS
If the CLOSE CONTAINER option is enabled, a window is shown to specify the close container options before the records are uploaded to SharePoint.
| FUNCTIONALITY | DESCRIPTION |
|---|---|
| FINALIZE ALL DOCUMENTS WITHIN FOLDER | If enabled, all documents within the folder are finalized upon upload. |
| PURGE OLDER REVISIONS FOR DOCUMENTS WITHIN FOLDER | If enabled, all old revisions of the documents being uploaded are removed from CM. |
| MARK ALL CONTENTS AS "ENCLOSED IN CONTAINER" | All documents in the folder are enclosed within the container and have their home location updated. |
| USE A SPECIFIC CLOSE DATE | Allows you to designate a specific date for the date closed. |